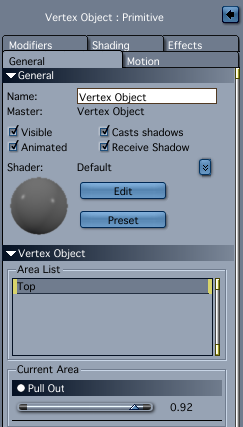
Morph Targets are these little sliders in 3D objects that can move geometry without changing it. For example a door can open and close, or a character can open and close their eyes.
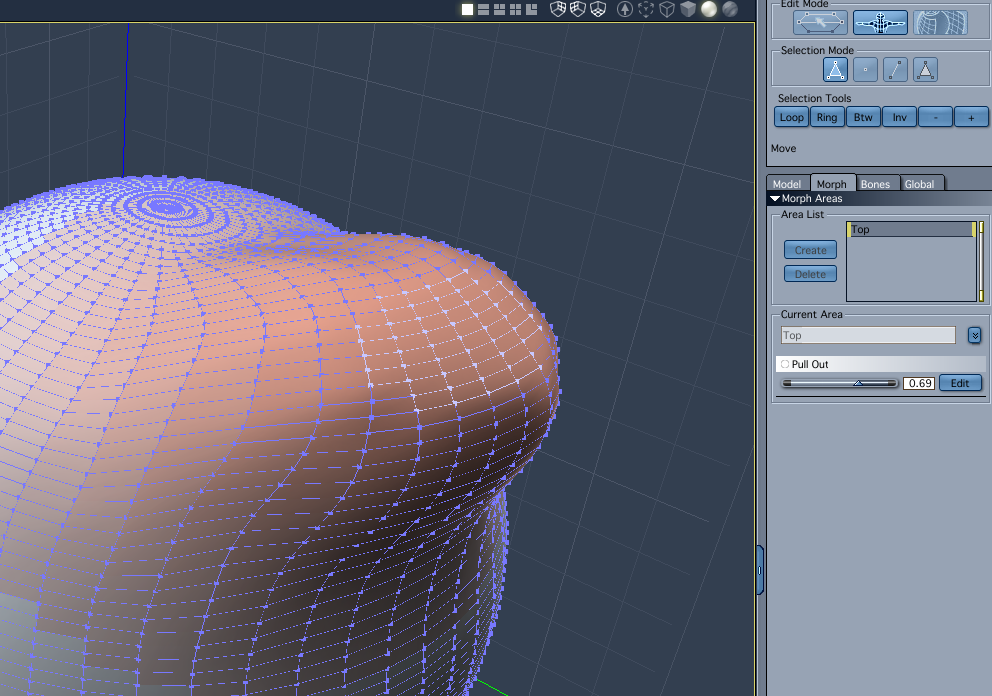
To create one in Carrara, head over to the Vertex Modelling room and select an area in which you’d like to create the morph. Choose soft selection if you like. In the sidebar, in the Morph Tab, click Create and give your morph area a name (mine is called Top).
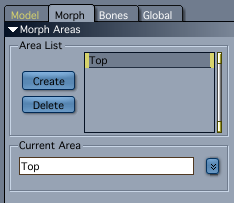
A Morph Area can have several Morph Targets inside it. To create a target, click that super tiny drop down indicator next to your Current Area. This will bring up a menu from which you select Create Target. Give your target a name that adequately describes what it does (like Open Door).
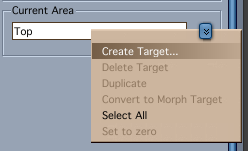
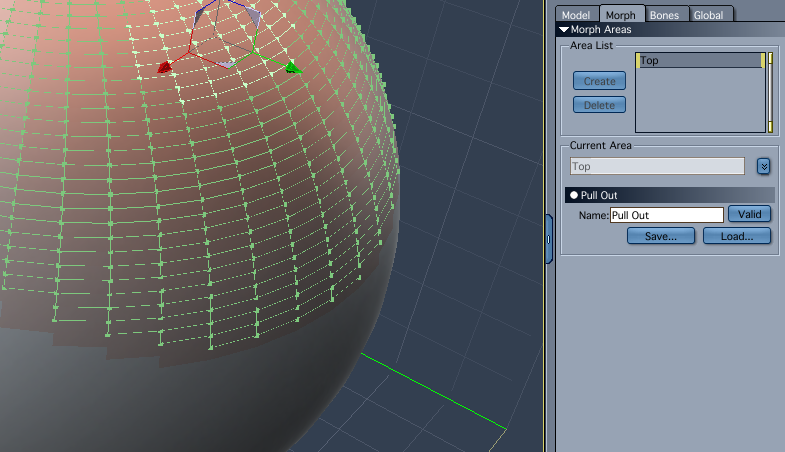
This creates a little slider which does not appear to do anything at present. Click Edit and you’ll see your morph area in green on your object. Notice that you can only select from that area now, so select away and tweak vertices to create your morph. Don’t worry, none of those changes will destroy your geometry.
When you’re happy with your morph, click Validate – and all your changes seem to disappear again. That slider here is still not working – not to worry.
To see your Morph Target in action in the Vertex Room, you’ll have to switch over to the Animation Tab (it’s the little man icon under Edit Mode in the sidebar). You’ll see a very similar slider with your name on it which is working. Move it around to see your morph acting on the geometry.
Your morph is also accessible in the Assemble Room: select your object in the scene, then in the General Tab select the Morph Area and see your morph, complete with working slider.
