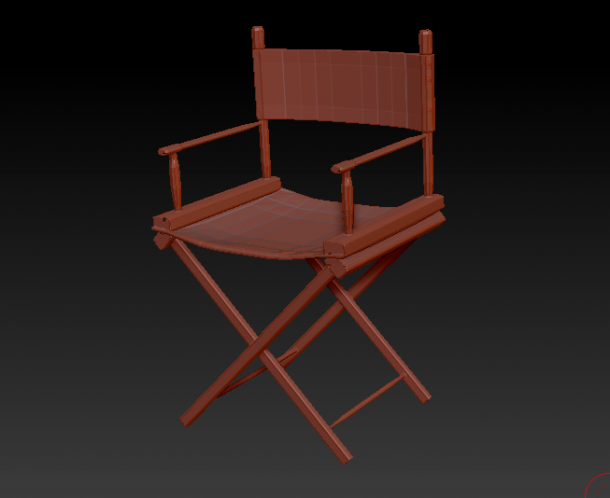
UV Unwrapping with conventional tools takes all the fun out of 3D modelling – at least for me. Until I met the UV Master plugin for ZBrush. It can do in less than a second what would take me days in Hexagon or Carrara.
Here’s a quick guide on how to use UV Master in ZBrush 4R6.
Load your 3D object into the scene the usual ZBrush way: head over to Tool – Import, select your OBJ file and drag it once into the working space. Hit Edit to enter 3D mode.
Now head over to Zplugin – UV Master and see these many options:
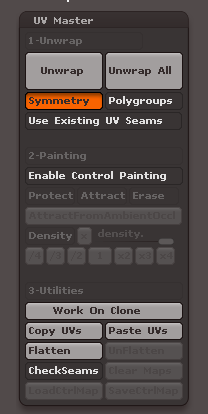
Choose Symmetry only if you have a symmetrical model, otherwise untick it. If your model has Polygroups you can select this option to preserve those in the map.
Hit Unwrap and watch the status message at the top of ZBrush. It will say something like “18 islands generated in 0.28 seconds”.
To see UV Master’s handy work click Flatten and you’ll see how it has unwrapped your model:
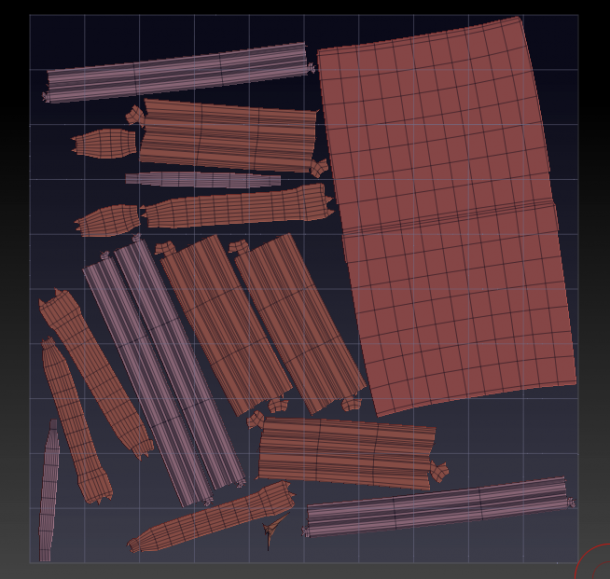
Click Unflatten to bring back your 3D object. If you don’t like what UV Master has done you can tweak the settings, unwrap differently and check the results again by hitting Unfold.
You can guide UV Master by suggesting areas onto which to place the seams where your model is split. To do this select Enable Control Painting. Your object turns white, indicating nothing has been control painted yet. You now have three options enabled: Protect, Attract and Erase.
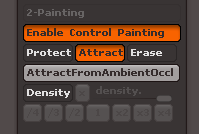
Attract lets you draw in dark blue on your object, suggesting where you would like seams to appear. Likewise, Protect lets you draw in red where you don’t want seams to appear. Erase lets you remove control paintings altogether.
Attract From Ambient Occlusion will attract seams to cavities of your model, much like where you’d want them by default. It will auto-paint the object.
Density lets you give higher or lower details to certain parts of your model by painting parts of your model. Select Density, pick a value (x4 means a much higher density, and /4 means a lower density compared to the default – which is 1). ZBrush will pick funky colours for you.
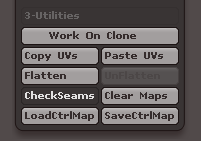
You can save such a control painting with SaveCtrlMap and load it again later using LoadCtrlMap. Those options will only show up when you’re not in Protect/Attract/Erase mode.
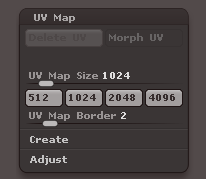
To export your map, head over to Tool – UV Map and select the size you’d like it to be.
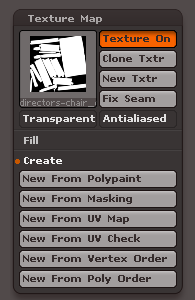
Next head over to Tool – Texture Map and pick any of the funky options. Most of them will create a texture map in rather odd colours (like Texture from UV Map, Vertex Order or Poly Order), while others are more usable in Photoshop later. Texture from Polypaint will create a white map, Texture from UV Check will create a grey map. Pick one of your choice and see a thumbnail shown in the menu.
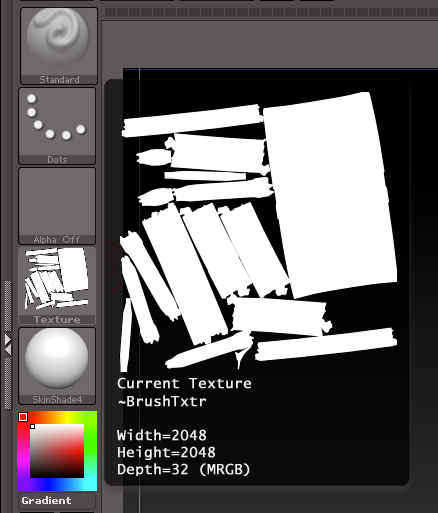
Select Clone Txtr to bring it over to the left hand texture selection channel, from where you can export the image as either PSD or PNG (click on it and a lightbox-like window opens with an Export option at the bottom).
1 thought on “Creating UV Maps with UV Master in ZBrush”