Much like a drawing programme, it is more or less required to use a Wacom tablet with ZBrush. Without one it doesn’t really make much sense. Like the rest of this weird piece of software, navigating around an object in 3D is completely different than in any other application.
My Wacom Intuos 4 is setup by default with the lower pen button as “right click” which is used in combination with a modifier key to navigate space. While right-clicking (and not touching the tablet)
- move the pen to dolly around your object
- hold CTRL/CMD to zoom
- hold ALT/OPT to pan
There’s a LOCAL button on the right hand side. When active this will dolly around the entire object. When not active it will dolly around the polygon section you were last working on.
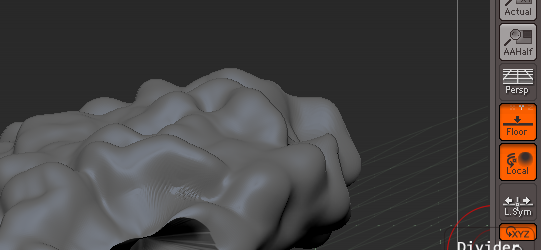
Orthographic and Perspective Views
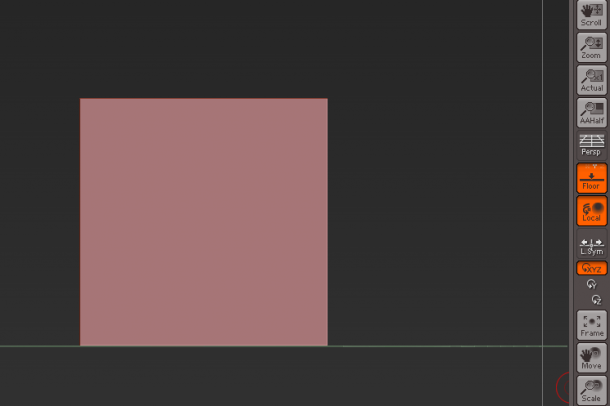
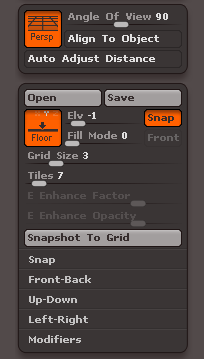
Just above the LOCAL button you’ll find a PERSP button. When inactive it will display your object orthographically (i.e. without foreshortening, meaning each side of a cube has the same length, and each side is parallel to the opposite):
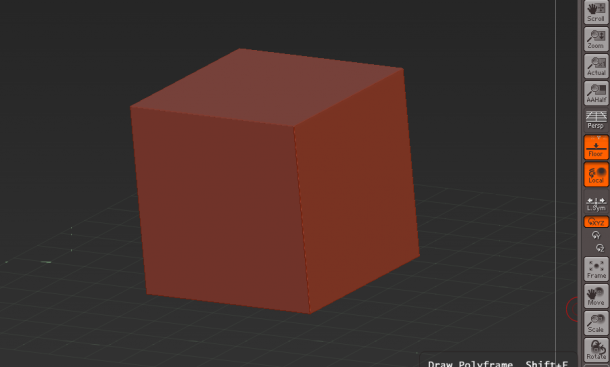
Activate PERSP to see the object with perspective foreshortening applied (i.e. things further away from the camera are smaller than the closer ones):
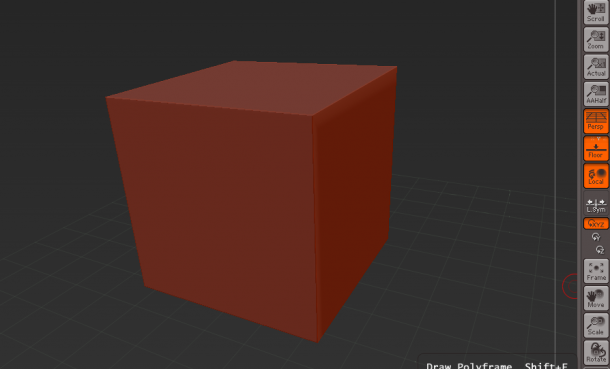
You can choose how much of a distortion is applied by heading over to Draw – Angle of View. It’s akin to the combination of focal length and distance to he object. The default is 50, mine is currently set to 90:
Other orthographic views are “straight on” views, such as left, right, top, bottom, etc. You can display those by holding down the SHIFT key, then moving to either edge of the monitor.
Note that for such views the object needs to be rotated accordingly already: you can’t look at the top of an object and shift straight to the bottom view. Rotate the object so that the bottom view is showing, then hit SHIFT and drag (while right clicking).
It sounds more complicated than it is in reality.
