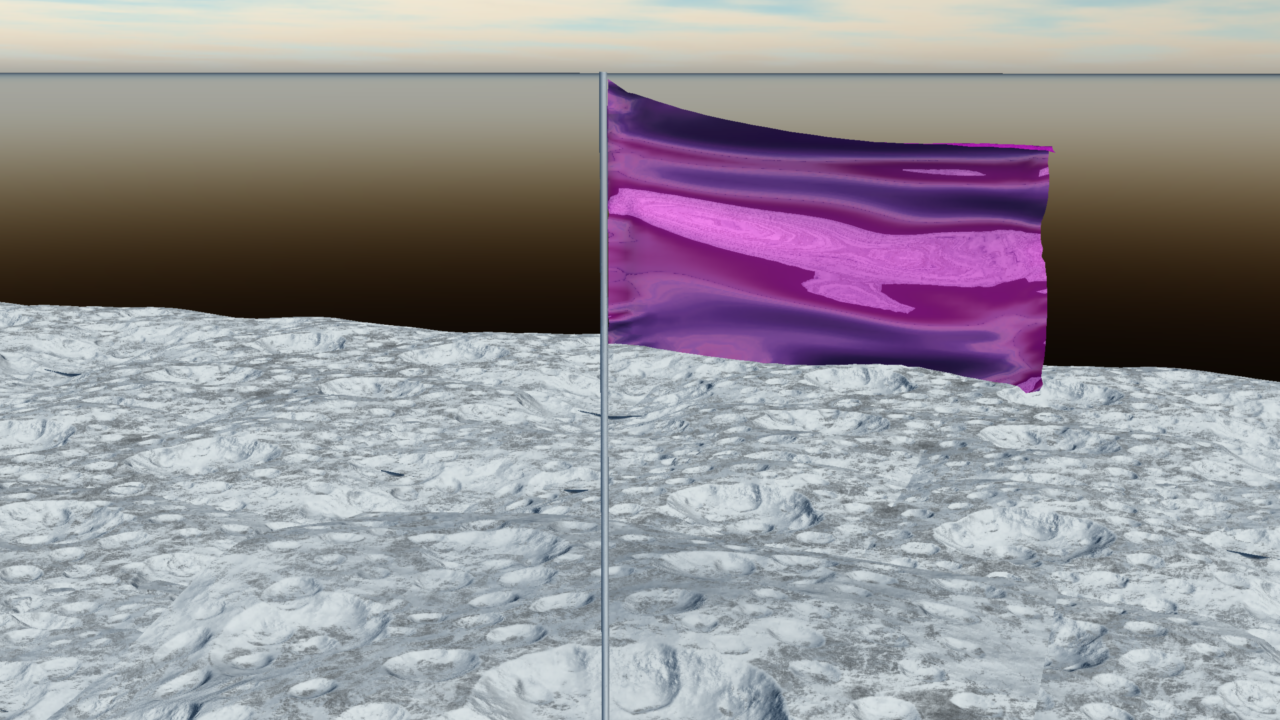
Carrara lets you turn any object in your scene into a Soft Body object with the help of a Soft Body Modifier. To create a waving flag we need to use a combination of two modifiers: one that makes the object a “soft body”, and one that attaches it to something else, such as a flag pole.
Here’s how to do it in Carrara 8.5.
The objects in my scene are:
- a thin cylinder for the flag pole
- a grid (or squished up cube) as the flag
- optional: to create some wind I’m also using a Directional Force, but that’s more of a fine-tune
All our work is happening in the Assemble Room.
Select the flag, head over to Modifiers and add a Soft Body modifier. This is where you can setup the physical properties of your object, such as stiffness, how it reacts to air flow, how much internal surface pressure it has, and if you would like it to collide with itself in case it folds.
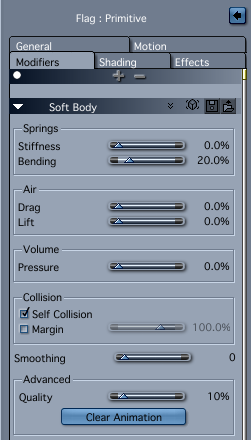
The values here are largely self-explanatory and require a bit of experimentation. Notice that nothing appears to happen if you change any of these. To see your object take on the new properties of this modifier, click on the Simulate Physics icon at the top left (the “bone in a dotted circle with an arrow” button).
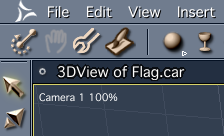
As soon as you click it Carrara will go to work with all physics calculations in your scene. It will render an animation which is governed by the duration you’ve set with the little yellow arrow icon in the timeline (not the actual animation duration). By default this is set to 4 seconds. If you want to see what happens beyond this, simply move that little yellow triangle in your timeline, then hit Simulate Physics again.
The flag is not attached to anything yet, so it will either stay in place, drop to the floor, or if you’ve already added a directional force it may drift away outside your scene. To attach it to the flag pole we need to add another modifier, this time it’s a Soft Body Attach Modifier.
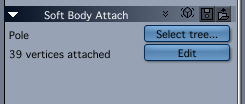
With it we’ll tell Carrara which other object our flag is attached to. In the first box, select your Flag Pole Cylinder. In the second box (edit) you’ll open a kind of paint mode. This will let you select which vertices you’d like to attach. In our case, we only want the points closest to the pole to be attached to the pole. Red points are selected, white points are unselected.
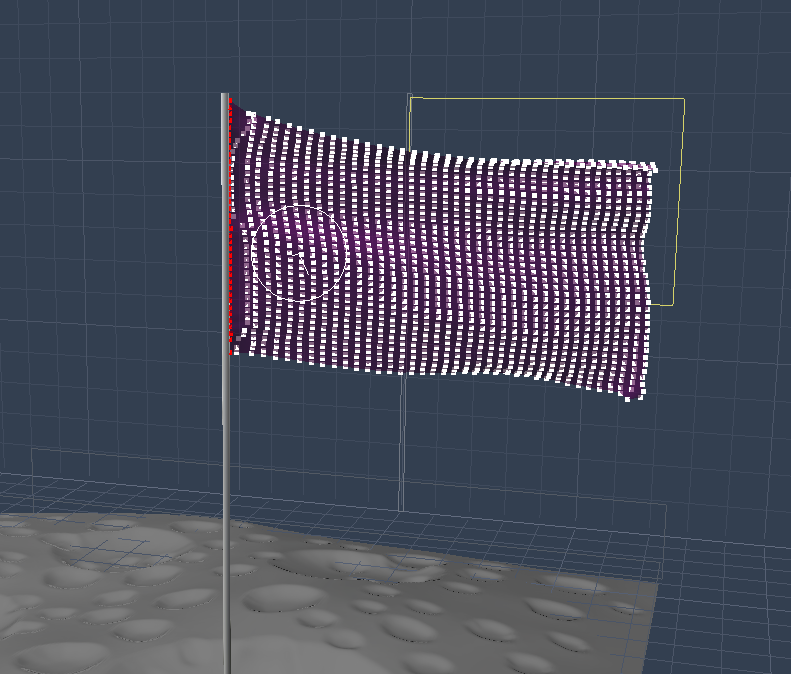
Selection can be a bit tricky: I’ve not managed to find a way to change the size of the paint selection brush – I’m sure there is one, but I find it easier to select too many at first, and then choose the little minus icon and unselect what I don’t need.
Notice the three new icons in the top left corner: those are “select points” (plus), “deselect points” (minus), and “we’re done here” (tick icon). When you’re done, select Simulate Physics again to see your result.
To render one particular image, simply drag the animation playhead to a desired position and select render. You can also render the entire animation of course.
The quality of physics relies on the amount of points your object has: the more points, the more accurate the waving will be, but at the same time the longer it will take Carrara to calculate the effect. Especially with cloth type objects, increase the tessellation for better results.
Hi and thank you, Jay.
To to change the size of the paint selection brush you have to shift-click and drag on one of the points to attach.
Thanks for the tip Riccardo, I’ll try it out!