Carrara has a concept of Motion Paths. Those are bezier curves to which another object can be constrained during animation. I’ve described how to use them in this article.
Blender has the same concept: create a curve (any curve will do), then add a Clamp To constraint to your object using the curve. Here’s how to do it:
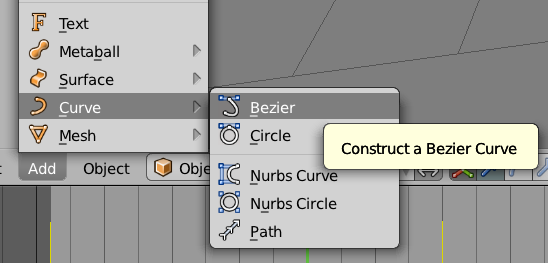
Using the default scene, we’ll make sure our default cube can only move along the path of a circle. Let’s create one first by choosing Add – Curve – Circle. You can use any path object you like. Tweak the path as you like. I’ll leave mine on the floor for this example.

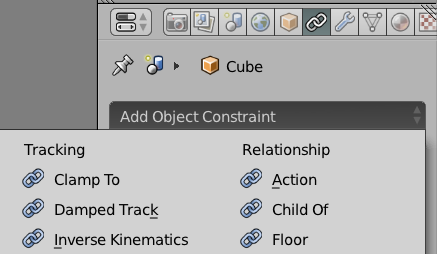
Now select the object you’d like to constrain to this path. I’ll use my default cube by right-clicking on it. Next head over to the Properties Palette and select the little chain icon. Select a Clamp To constraint from the huge list of options (under Tracking).

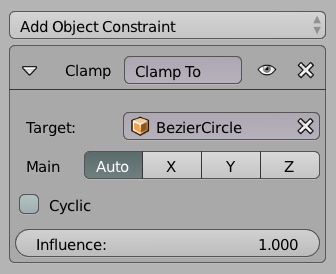
Under Target, choose your curve object – a Bezier Circle in my case. You can even define which axis you’d like to clamp and how strong you’d like the object to be influenced by the curve by tweaking the Influence parameter.

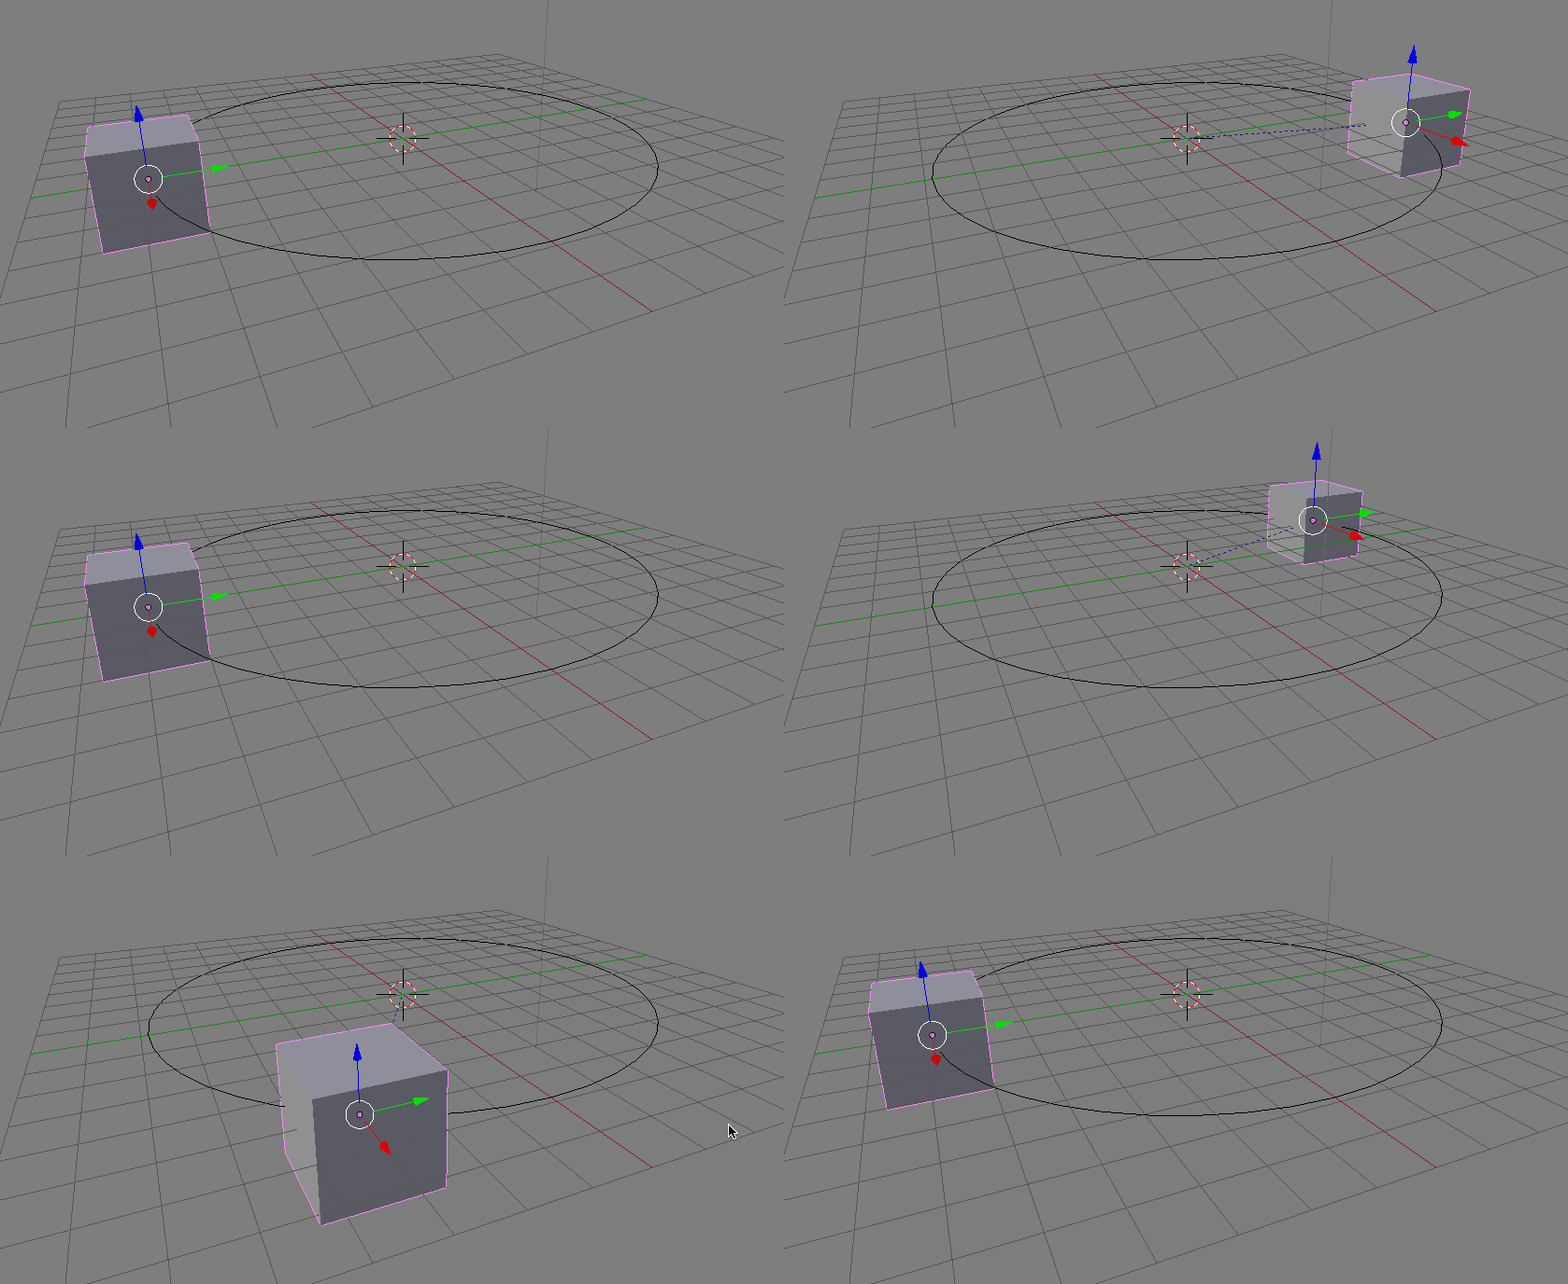
Now try and move the cube using any of the transform options: it behaves as if it’s safely mounted on the path. And there we have it: the cube now follows the path of the circle!
