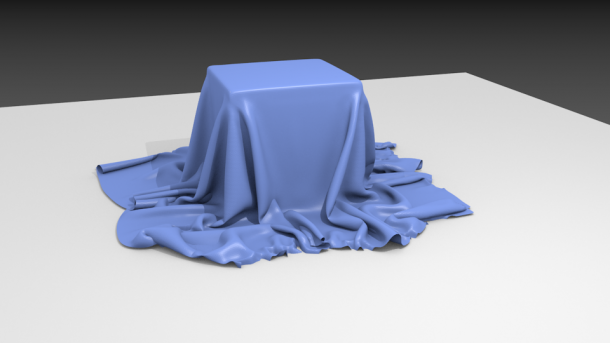
Blender has an excellent physics engine that can simulate cloth – among a great many other things. Blender does this using a modifier: all we have to do is declare one object as being “the cloth”, and other objects as the ones colliding with the cloth.
Let’s see how in this quick example.
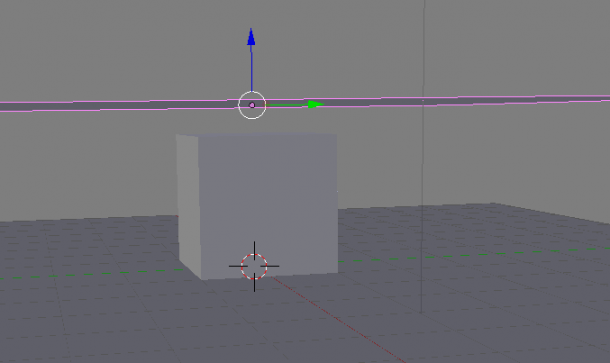
Starting with the default scene, I’ve added a plane to the scene as the ground, and a grid with a resolution of 100×100. The difference between a plane and a grid is that a place only has four vertices, and a grid has many more. The more vertices we have, the better our cloth is going to look like.
I’ll position the cloth above the cube so that it can fall down during the simulation and drape itself around the cube. The scene looks something like this:
Now I’ll select the cloth and head over to the Properties Palette on the right and side. Click the little Physics icon on the far right – it resembles a bouncing ball. If you don’t see it, expand your palette.
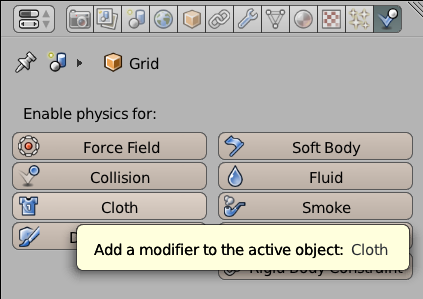
This will bring up some other interesting properties that allow us to modify how the cloth behaves when draped. Choose from a few presets or go crazy and build your own. I’ll stick with all the defaults for now.
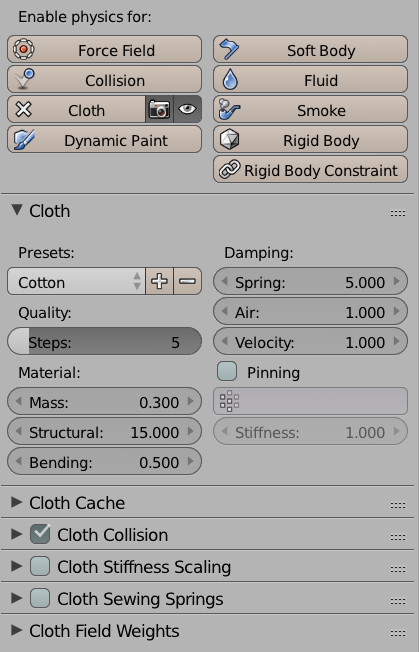
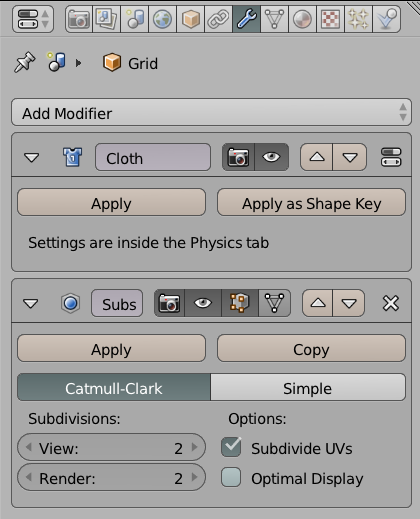
Enabling cloth like this will create a cloth modifier – just in case you happen to examine the little wrench icon, you’ll find it in the list. It’s a good idea to head over there now and add a Subdivision Modifier to your cloth. This will imply more geometry without the overhead of having to calculate this during the simulation.
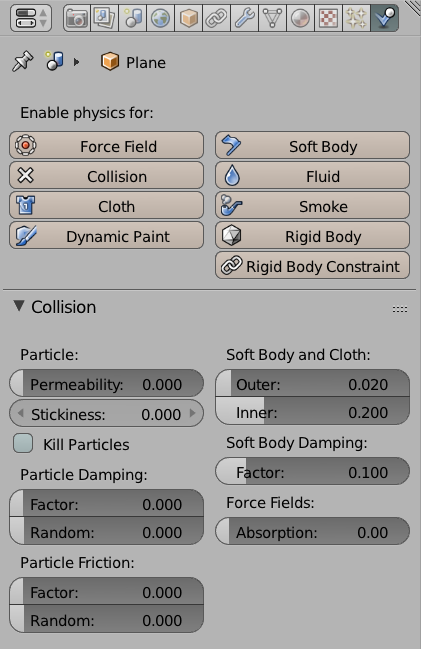
Next we’ll select the objects we want our cloth to collide with – in my case that’s the ground plane and the cube. Then head over to the Physics Icon again and declare these objects as Collision Objects.
Now comes the fun part: asking Blender to calculate the physics. This happens simply by pressing the Play Button on the Timeline. By default an animation is 250 frames, and if you press play now, Blender will calculate all 250 frames. This is a lengthy operating and often not necessary for a still image.
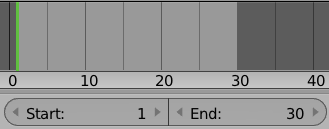
To trim this down, set the end point of your animation to something like 30 (at the bottom of the screen). This will make Blender stop calculating after 30 frames. Depending on the size of your cloth you may need more frames, but you can always add them later. Blender will remember previous calculations and simply start at frame 31 if no other properties have changed.
Press Play (on tape) and Blender will start draping your cloth frame by frame. When it’s done it will present you with a fluid animation. Feel free to stop it and move the playhead to a desired point in time at which your cloth looks best.
You can of course render out the entire animation too and have your cloth interact with moving objects or other forces such as wind.
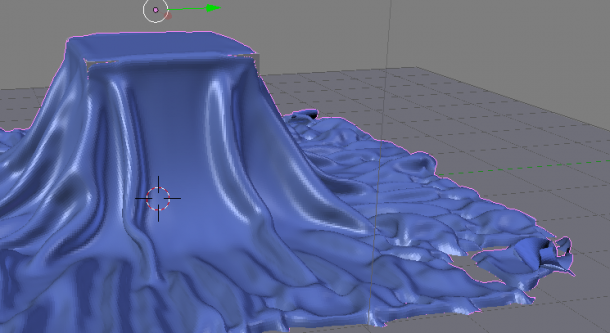
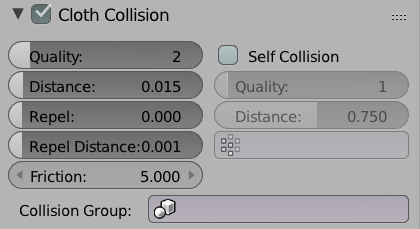
Notice that the cube pokes through the cloth at the corners and seemingly sinks into the floor. This can be fixed either by lifting the cloth object up a little bit, or by selecting the cloth object and tweaking some of its collision properties (click the Physics Icon in the Properties Palette and scroll down to find this option).
Take a look at the Distance value: the default is 0.015, and only a tiny increase to 0.04 can make a difference here. Don’t increase the distance too much, otherwise the cloth will appear to hover over the ground.
Every time you make a change to any of the physics properties, Blender must recalculate the animation. It does this automatically as soon as you hit play, updating every single frame. As soon as you see a fluid motion again in the viewport all frames are updated.
And what’s even better: this animation cache is saved with your .blend file! Open it at a later time and everything is pre-calculated without the need to run the simulation again.