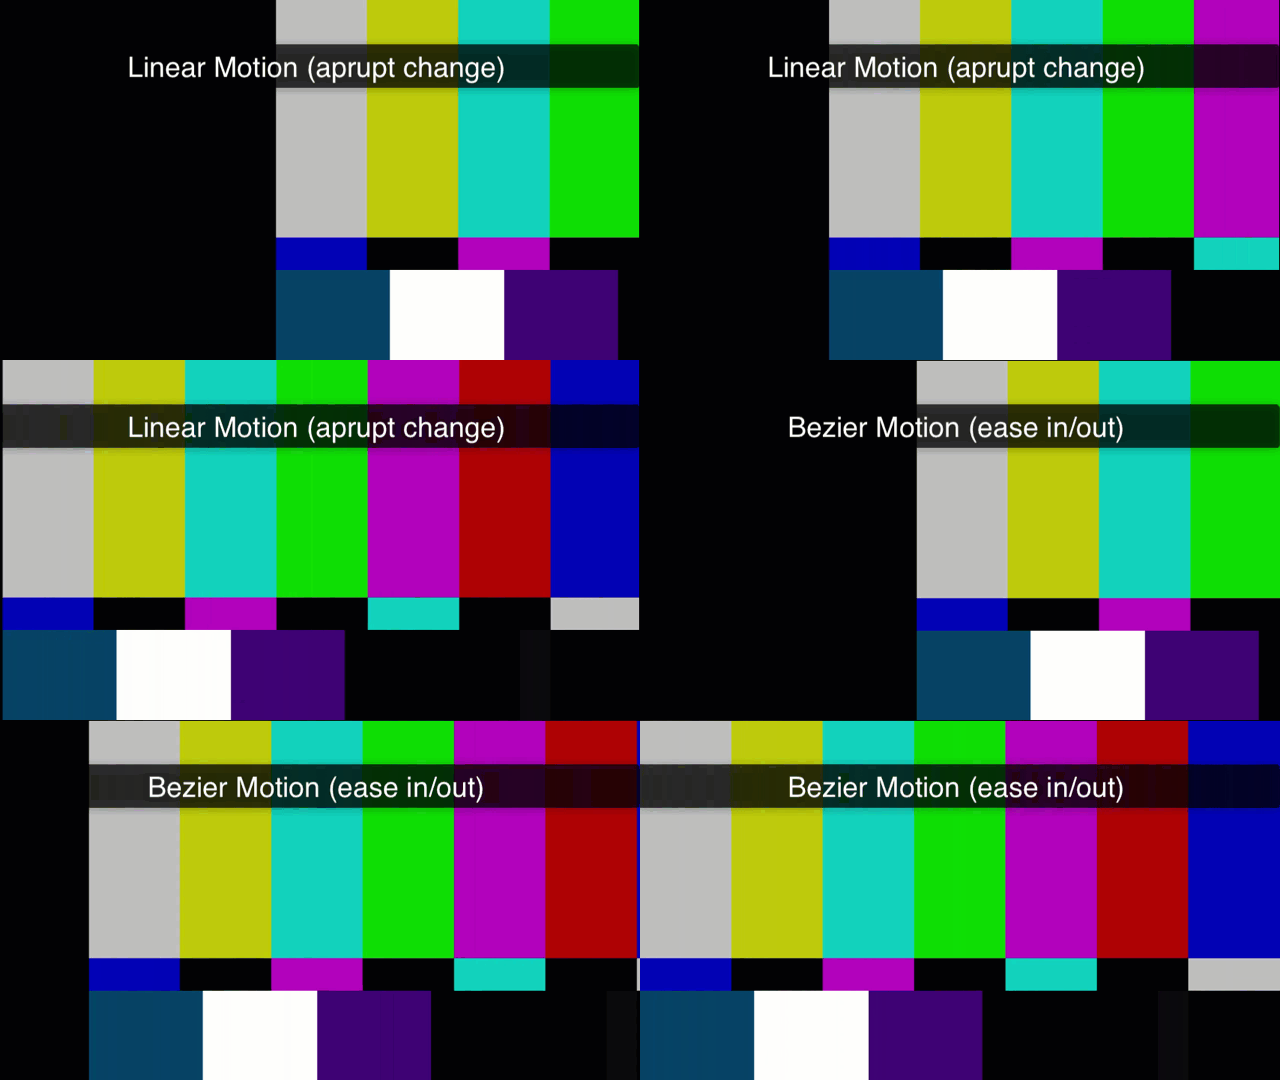
Tired of linear animations in Premiere Pro? We’re in luck, because Premiere does support full control over ease-in and ease-out controls when you animate with keyframes. It’s just extremely clunky to use.
The process of rendering such frames in between is sometimes referred to as “tweening”. Let’s find out how to use it.
A quick recap on how to set keyframes in Premiere:
- position the playhead
- select the clip in the timeline
- head over to the Effect Controls window
- select the little “clock” icon next to the parameter you’d like to animate
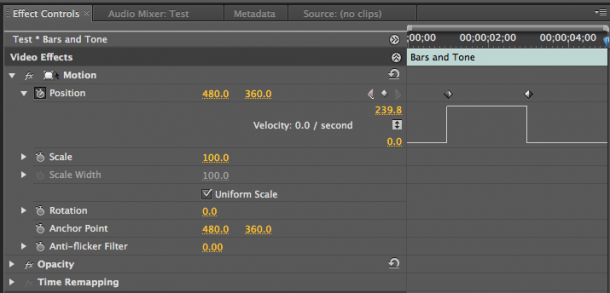
In my case, I’m moving those exciting colour bars from left to right. Here’s what my Effects Control window looks like:

I’m animating the position value and I’ve already set my keyframes. Those are set automatically if you change a value of an animated property at a new position, or you can set a keyframe manually if you click on the little diamond icon (in between my two super tiny arrows).
If we open the little disclosure triangle to the left of the clock icon we see a new slot open underneath the parameter. Mine is showing “velocity” and a very rectangular curve. This is how the motion will be calculated: from 0 to 100% and back. This is the default in Premiere: it’s linear and abrupt.
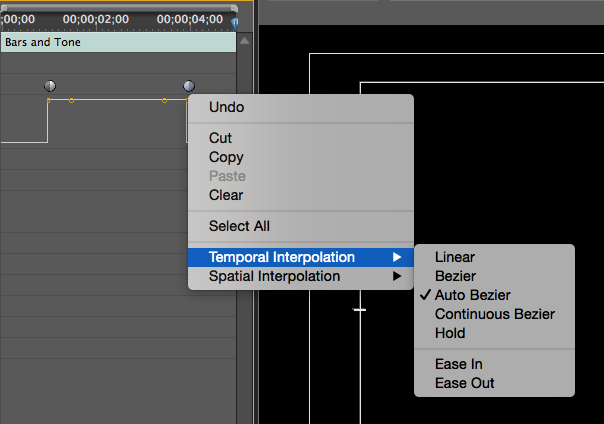
But it doesn’t have to be that way: we can ease our transitions in and out so that it looks more natural. To do this, right-click on a keyframe and bring up a context menu. Select Temporal Interpolation – Auto Bezier. Notice how your keyframe changes from a diamond into a little circle icon.

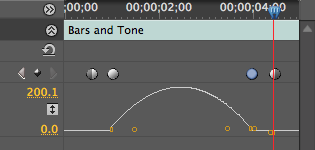
The curve however hasn’t changed, and neither has our abrupt animation. That’s because Premiere can’t quite calculate a tweening motion yet. We need to tell it when so start the ease-in and when to stop it.
The easiest way todo this is to set additional keyframes: one before and one after our animation. Position your playhead accordingly and click the little “add keyframe” icon. Notice how the curve changes as soon as you add those extra keyframes.

Now when we play back our animation, it behaves more like what a camera man would do when he starts and stops a pan.
The curious will no doubt have noticed that apart from Auto Bezier there are several other tweening options that can be applied. If you’d like to adjust those handles manually, and perhaps accelerate an animation, choose Bezier instead, then drag the handles you see in the tweening curve.
More info on the Adobe Website:
- https://helpx.adobe.com/premiere-pro/using/controlling-effect-changes-using-keyframe.html
- https://helpx.adobe.com/premiere-pro/using/motion-position-scale-rotate-clip.html