Shaders are an important component in many 3D applications, but I never knew that DAZ Studio understood that concept too. I was under the impression that the relatively simple Surfaces Tab would be how to tweak what an object looks like.
Turns out, DAZ Studio has Shaders! And here’s how to apply them. Pay attention kids: this topic is going to become a lot more important as Iray waltzes into our 3D lives.
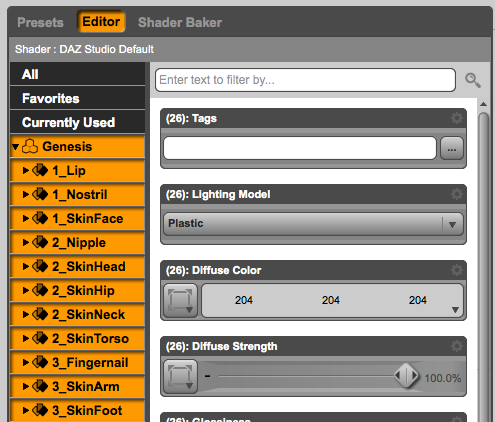
Select your object in the scene and head over to the Surfaces Tab. A Shader can not be applied to a selected model, we must select individual surfaces of the model first. In this example, I’m using the Genesis figure. I’ll select it so that all parts of the figure (and therefore all surfaces) are selected.
Now let’s find a Shader. I can’t find a way to display them in the Smart Content tab (huge surprise), but there are some we can find via the Content Library tab: under My DAZ 3D Library, find the Shader Presets folder. Explore any you’ll find in those subfolders. An interesting one is Shader Mixer.
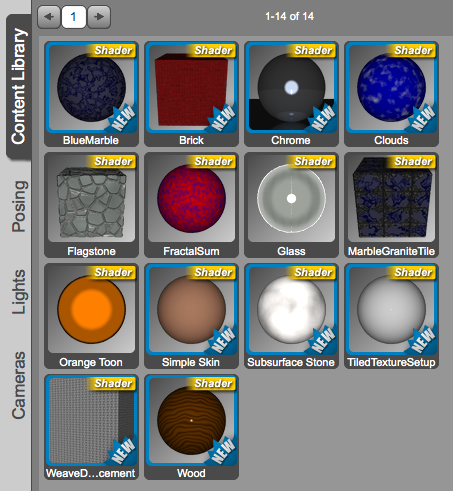
With the desired surfaces selected, double-click any shader and do a render. Here’s Genesis rendered with the Flagstone Shader:
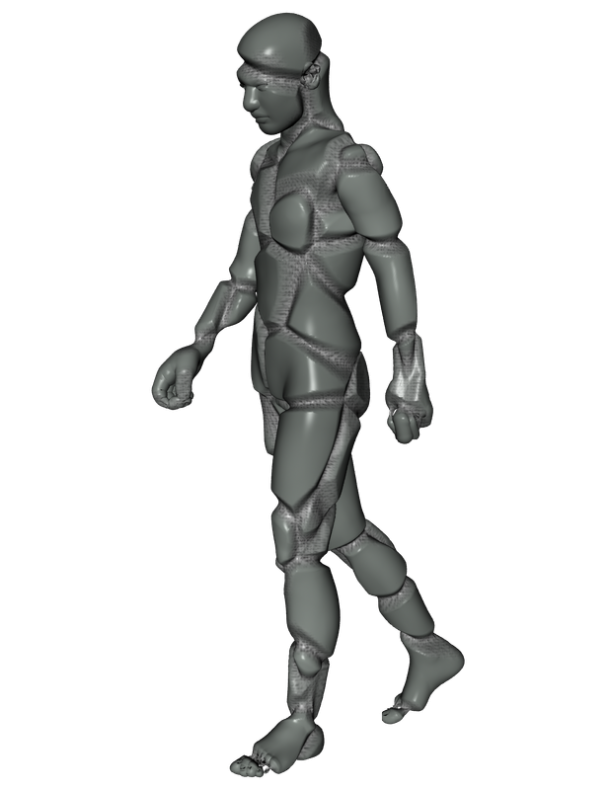
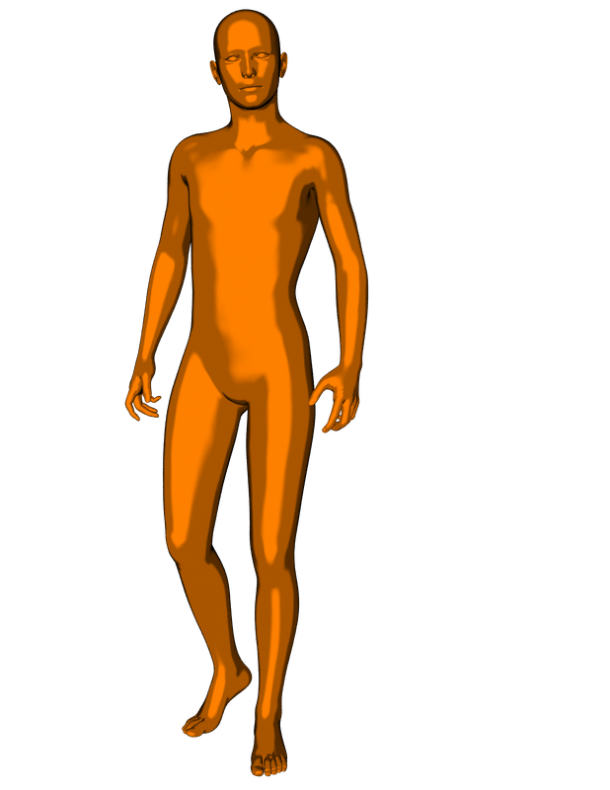
Notice how the Shader distorts the geometry of the figure. Or as Orange Toon:
You can also combine one shader with another: this can be helpful to prevent the new shader from replacing any texture maps we may have. Hold down CMD (or CTRL on Windows), then double-click the Shader you’d like to mix. Mind you, this doesn’t always work, but it’s what they suggest in the manual:
Iray Shaders
DAZ Studio 4.8 comes with several Iray Default Shaders, which can also be found under Shader Presets (indeed a weird name – but hey, I’m just the messenger).
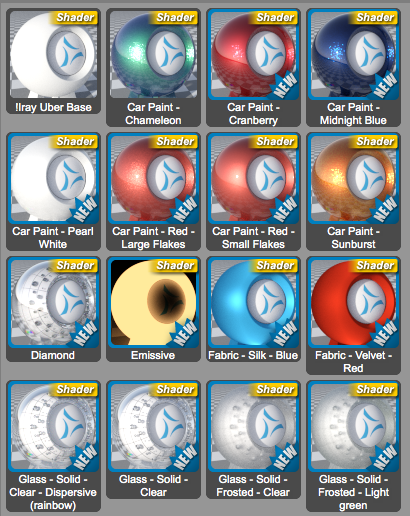
It is recommended to apply the Iray Uber Base to any material that was originally setup to be rendered in 3Delight. This is an opportunity to mix shaders as described above.
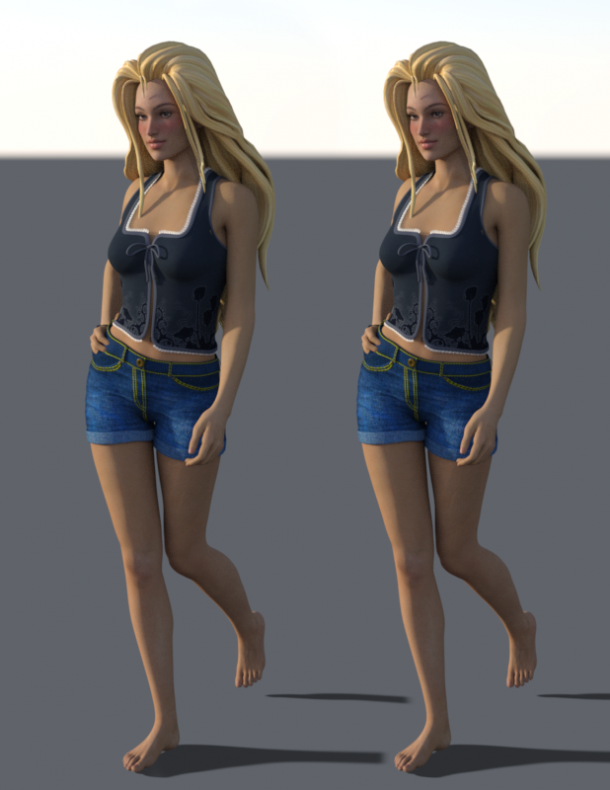
The difference isn’t huge, but I guess they’ll eventually come out with Iray Skin Shaders and whathaveyou. Here’s a quick comparison between a character with default materials applied (left), and the Iray Uber Base mixed in (right):
Without the Iray Uber Base, under the Surfaces Tab, all we get is settings for RSL settings for 3Delight (=Renderman Shading Language, as defined by Pixar). Applying the Iray Uber Base will remove/convert these and make the MDL settings available (=Material Definition Language, as defined by NVIDIA).