Poser has an ingenious weapon against one of the biggest annoyances of 3D clothing: poke through. It’s caused by the clothing intersecting with another figure (the character, or another piece of clothing), causing undesirable effects.
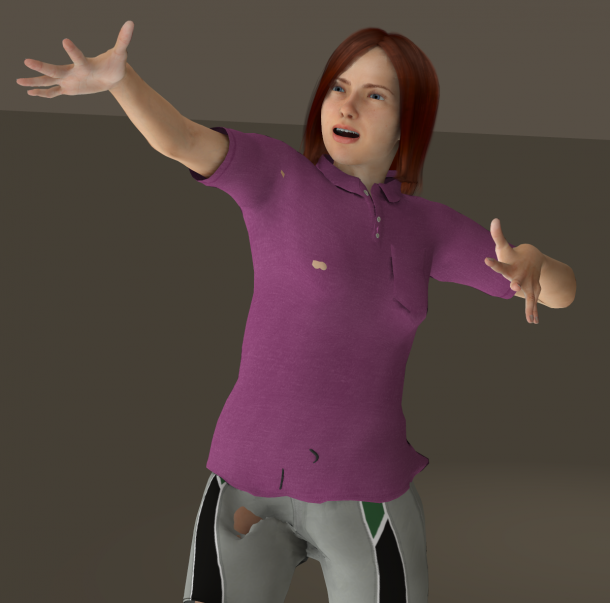
Take this example below: Roxy strikes a pose, and somehow her shirt and pants reveals her skin in several places. Also, the bow of her pants is poking through the shirt. Not good!
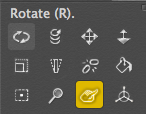
To fix it we can use Poser’s clever Morphing Tool. It’s the little finger icon. Select the piece of clothing you’d like to fix and select the tool.
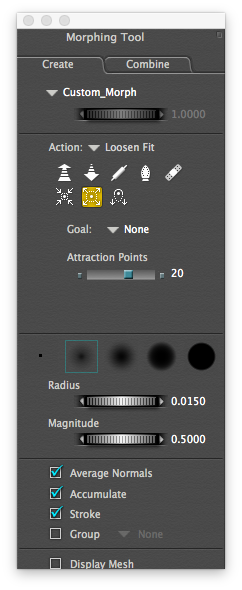
As soon as you select it, another palette appears.
 The idea is that with the following operating, we’ll create a morph that can be dialled in and out of necessary – this will come in handy if only a handful of extreme poses will cause the poke through effect we’re trying to eliminate, while others do not.
The palette has two tabs, we’ll stick with the Create Tab for now. If you feel so inclined, double-click the value that currently reads Custom_Morph to change it into something that describes what you’re fixing. This isn’t necessary, but in larger scenes it helps to remember what such a dial does.
Under Goal, select the figure against which you would like to fix the poke through. In our case that’s Roxy, as she’s clashing with the shirt.
The 8 icons in the palette let you choose how the poke through should be fixed, or more accurately, what type of transformation will be applied to the clothing item: pull, push, flatten, smooth, restore, tighten, loosen or sag. Let’s choose loosen fit for now.
If you hover over your figure, notice the little coloured dots appearing. This shows the area that will be affected when you try to brush over the object (left-click and drag to do so). Magically, poke through will be eliminated as if by magic!
You can also change the goal to another clothing item and perform the action again. Try different tools and see how they behave. Perhaps the shirt needs to be loosened a little so there’s a bit of breathing room between Roxy and the pants? Perhaps the arms look too tight? You can do a lot with this tool
If the brush isn’t the right size, change it using the Radius parameter. Magnitude defines how much influence the brush has. Here’s the result of less than 30 seconds work:
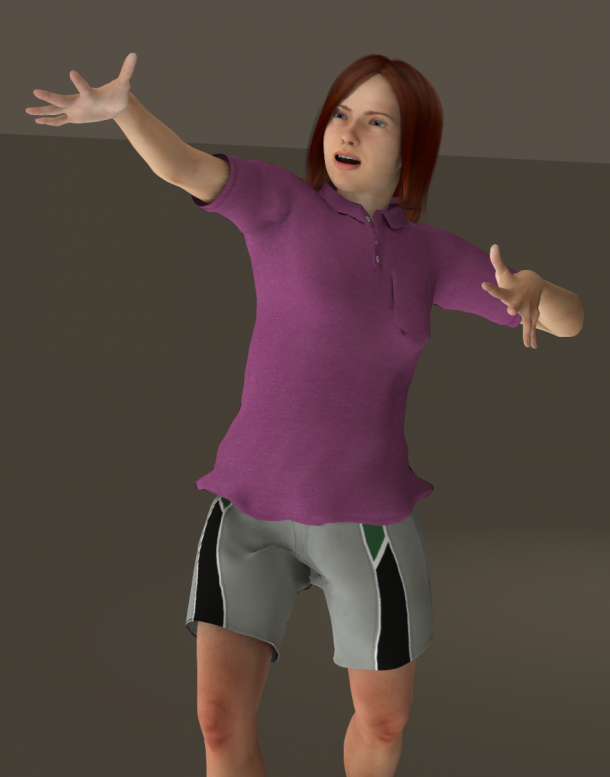
While it’s not exactly ZBrush, the Morphing Tool is a remarkably strong little helper that can be used right inside of Poser – no other tools are required.
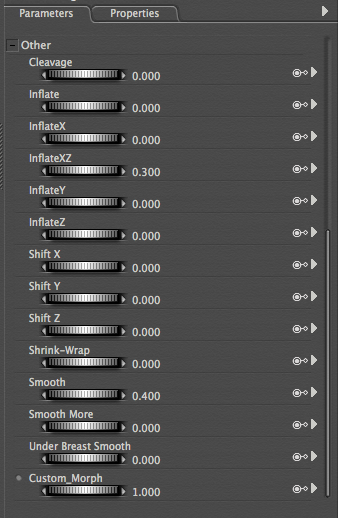
The morph that is created with this is automatically set to “on” and can be found in the Parameters Tab (at the very bottom of the list).
