Premiere Pro has the concept of a Default Transition. This can be applied to multiple selected clips or even all clips in the current timeline. It’s a very handy tool indeed, and I’ve only just found out about it!
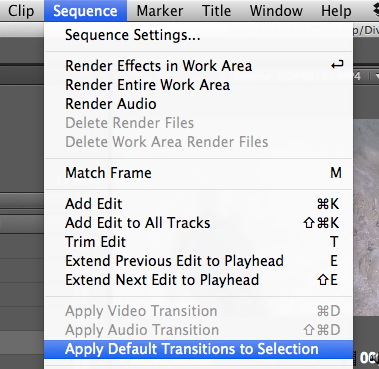
To apply it, select the clips in question (either drag around them, or SHIFT-select them in the Timeline), then choose Sequence – Apply Default Transition.

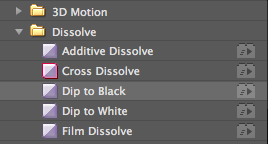
By default, the Default Transition is a Video Cross Dissolve and an Audio Constant Power transition. You can tell by which transition has a little red marker around it.

To change it, simply right-click another transition and select Set Selected as Default Transition.
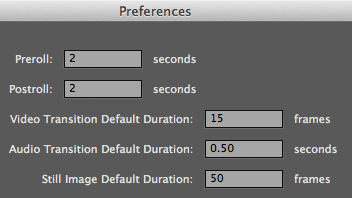
You can set the duration of this transition under Preferences – General.
