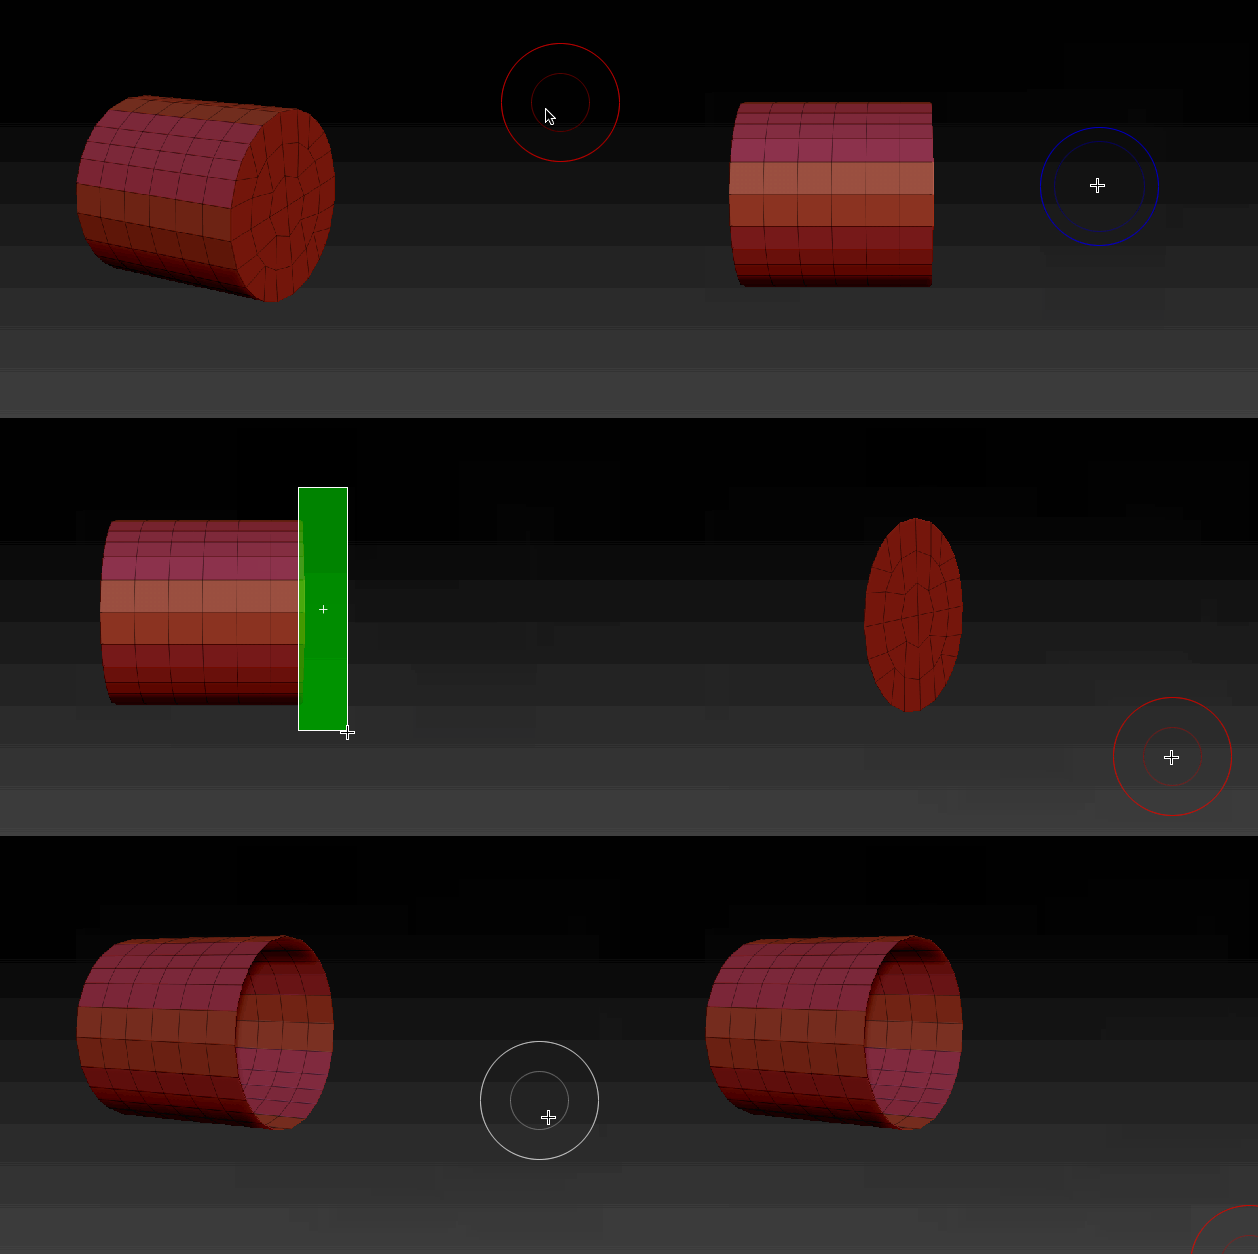
In Hexagon you can simply select a face (polygon) and hit the delete key, but things are slightly more complicated in ZBrush. Here’s how to remove one or several faces of your 3D object in ZBrush.
First, select the desired polygons. In my example above it’s the flat side of a cylinder, so I’m rotating the object while holding SHIFT to make to snap to the exact side view. Then I drag a mask with CTRL+SHIFT, which will select only those faces and hide the rest of the model.
I’m using rectangular selection for this, but depending on your model you may need something else. Hold down CTRL and choose the appropriate selection method on the right hand side of ZBrush.

Next I’ll invert my selection. This is done by CTRL-SHIFT dragging on an empty part of the screen, showing the previously unselected part of the model and in my case hiding the bottom faces.
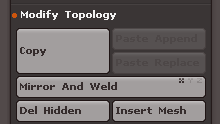
To remove all hidden parts of the model, head over to Tool – Geometry – Modify Topology and choose Delete Hidden (or Del Hidden as the button reads).

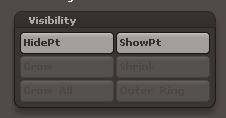
If you’ve accidentally (and inadvertently) hidden parts you didn’t meant to, you can make them visible again using the Visibility menu (also under Tool). Select ShowPt to bring hidden sections back.
