How to add thickness to an object in ZBrush using the Move Tool

While other 3D apps usually have an option to bring thickness to an otherwise flat object, ZBrush does not. Hurra.

Here’s an extremely fiddly and imprecise way to add thickness to a flat object (such as a 2D plane) using a Morph Target trick I’ve learnt from BadKing the other day.

First, bring in a flat object into your otherwise empty document. The Plane_3D primitive will suffice nicely for this demonstration. Drag it out, enter Edit mode and turn this thing into a PolyMesh 3D.

Turn the object on its side and hit Move (right next to the default Draw).

If you held down SHIFT while looking at the plane from its side, you’ll notice that you don’t see your object anymore – only the Move Tool. That’s just fine. It’s all part of the “fun” of using ZBrush. Have you used the Move Tool before? It takes a bit of getting used to. But I digress…

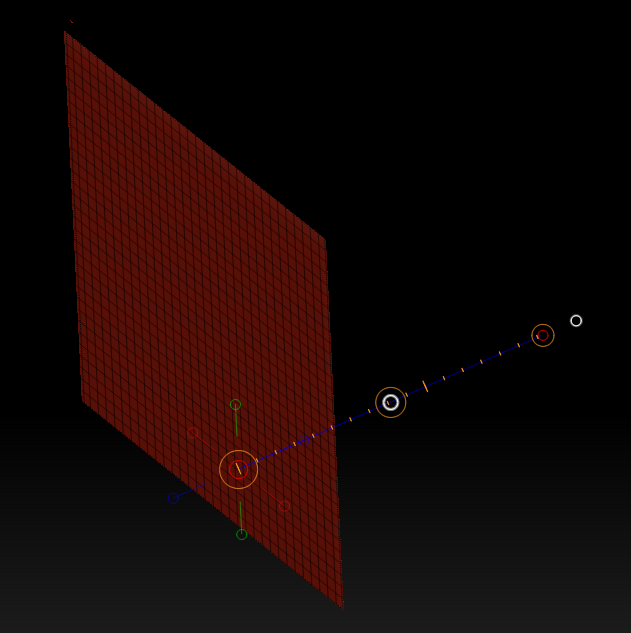
Click on the little blue circle on the right and you’ll see the tool change, expanding itself to the right. That’s excellent because we’ll move our invisible plane ever so slightly to the right in just a moment.

Screen Shot 2016-04-29 at 17.31.33

So in my screenshot, where the green line is, that’s the side of my plane. Feel free to turn the view around a little so we reveal the plane like so:
Screen Shot 2016-04-29 at 17.35.15

Read more

Filed under: Categories 3D Tagged as: Tags

How to apply Subdivision Surfaces in DAZ Studio

Screen Shot 2016-04-27 at 22.37.50

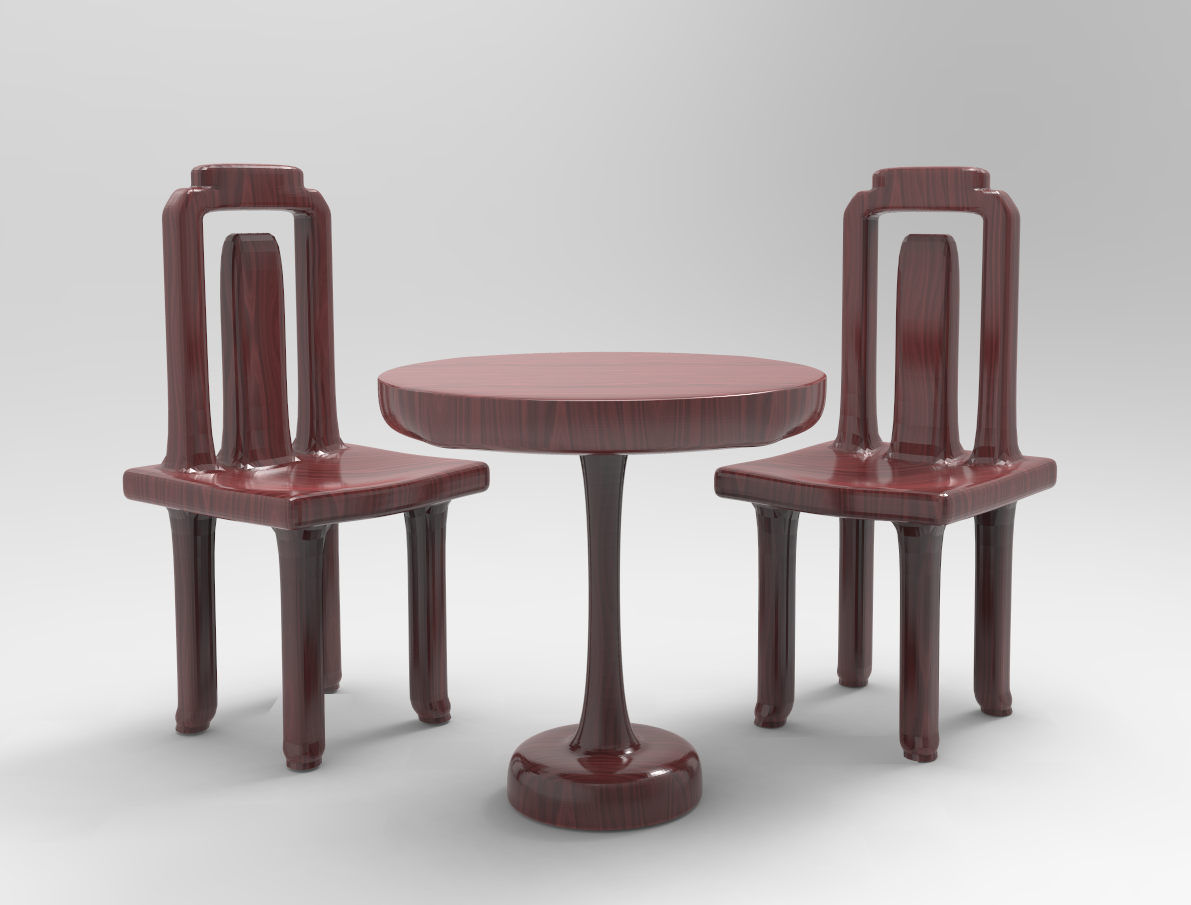
I was modelling a chair in ZBrush the other day and wanted to bring it into DAZ Studio for rendering. So I exported my chair as OBJ from ZBrush, imported it into DAZ Studio and was slightly surprised by the result: it looked more edgy, and not as smooth as it appeared in ZBrush.

Why was that, I wondered, and – more importantly – how could I fix that?

The secret sauce is called Subdivision Surfaces (SubD) and it’s easy to add to any object or figure that doesn’t already have it applied. Let me show you how to do this in DAZ Studio 4.8.

Read more

How to cut holes in ZBrush

Screen Shot 2016-04-27 at 10.52.43

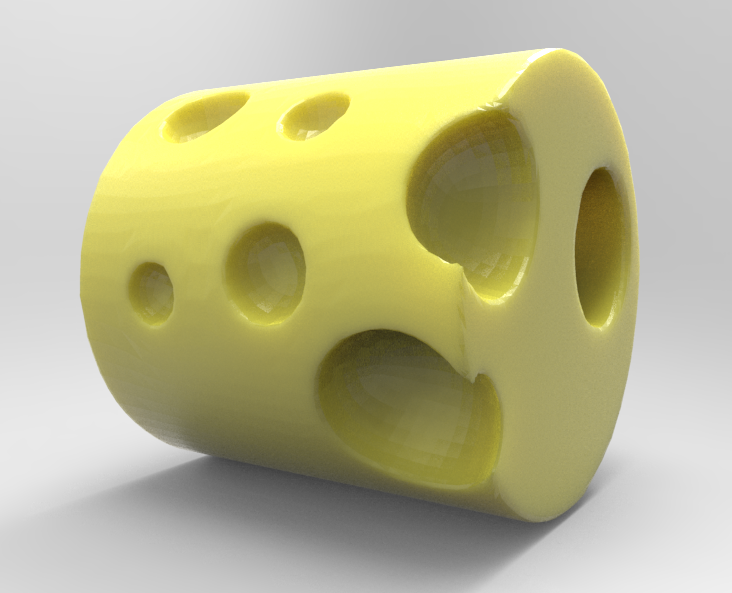
Sometimes we need to cut holes into an object. Every other 3D app under the sun would call this a Boolean Operation – except for ZBrush of course, where this problem is solved with a (totally unintuitive) DynaMesh trick.

While the ZBrush manual mentions that this is easily achieved, they’ve missed out the part on how to actually do it.

Let me explain that here before I forget (which is probably tomorrow).

Read more

Filed under: Categories 3D Tagged as: Tags

How to use Radial Symmetry in Manga Studio

Manga-Radial

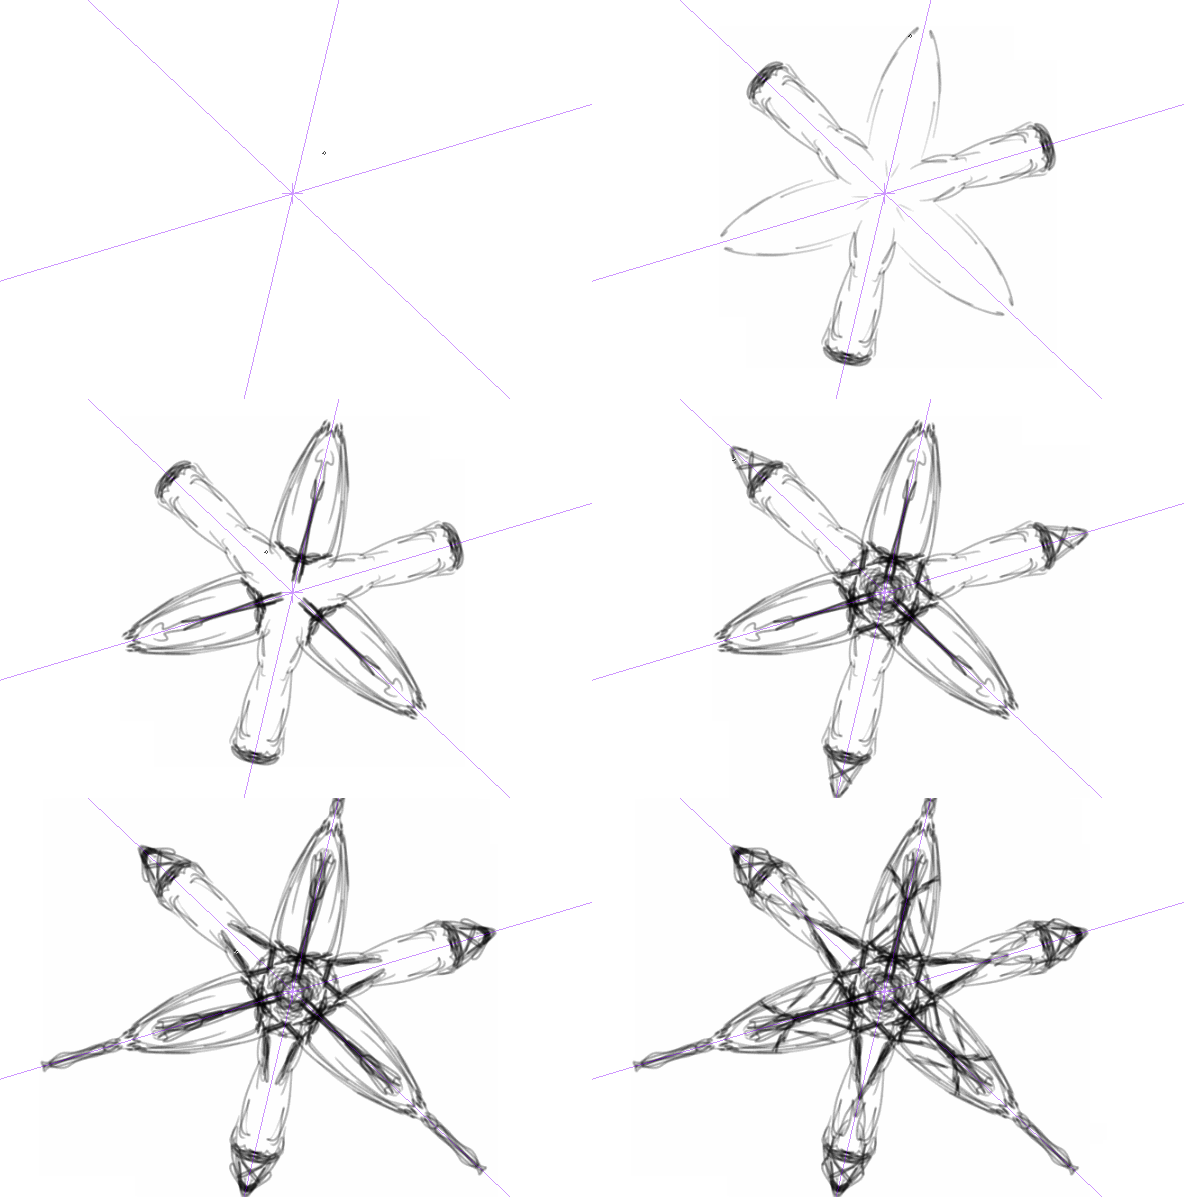
In my previous article I’ve explained how to use Radial Symmetry in SketchBook Pro, and because I can never remember how to use it it Manga Studio (or Clip Studio Paint as it’s now called), I thought I’d explain it here for future reference.

The Radial Symmetry feature has been part of Manga Studio since version 5.0, but it’s slightly complex to get started with it if you’ve never used it before. Radial Symmetry is created with a Ruler Layer, so I’ll explain how to create and use one.

Here’s how to accomplish this rather daunting task:

Read more

How to use Radial Symmetry in SketchBook Pro

Autodesk have recently introduced a new feature to SketchBook Pro: Radial Symmetry. While we had this feature for a while in Manga Studio, it’s much easier to use in Sketchbook Pro. Here’s how. Radial Symmetry is available to Pro members only, since version 8.1.0. From the menu bar, select the symmetry icon and click on the …

Read more

How to select multiple parts of a brush in ZBrush

Several brushes in ZBrush insert 3D meshes into your object rather than sculpting it. Some of the default brushes are named IMM in the brush menu, but you can get dozens of others from sites like BadKing.com.au (check it out – they’re phenomenal). IMM stands for Insert Multi Mesh, and such brushes can be created …

Read more

Filed under: Categories 3D Tagged as: Tags ,