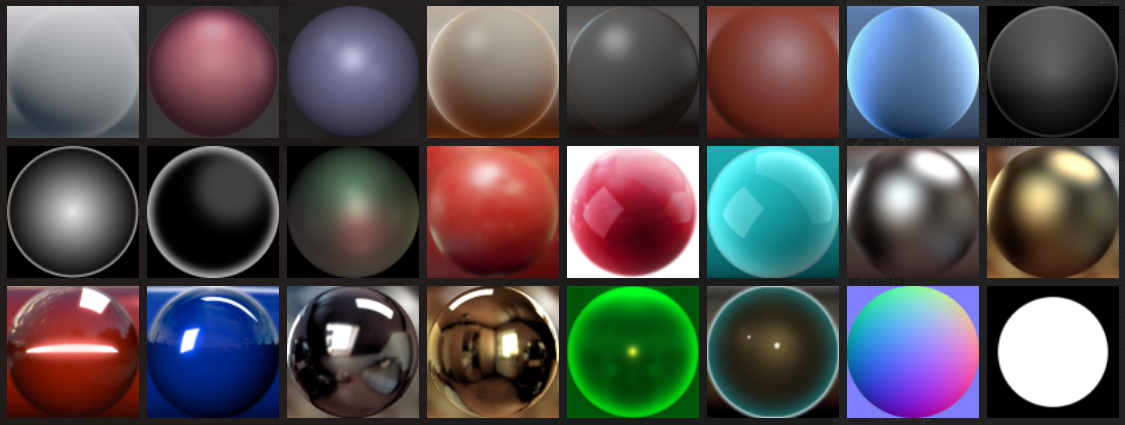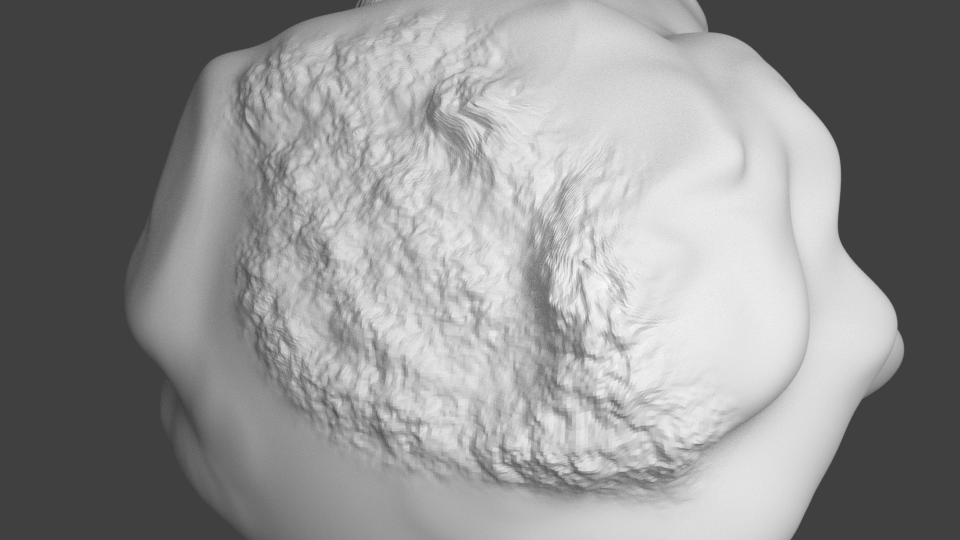
Blender allows us to sculpt with textures to add fine detail to each brush stroke. In ZBrush this feature is called sculpting with alphas, but the principle is a little easier to understand in Blender (at least for me). Here’s how to add a texture to a sculpt brush in Blender.
First, enter Sculpt Mode at the bottom of the screen and pick your favourite brush on the top right. Scroll down to find the Texture menu. By default there’s no texture applied, as shown by the red and white checkerboard icon.
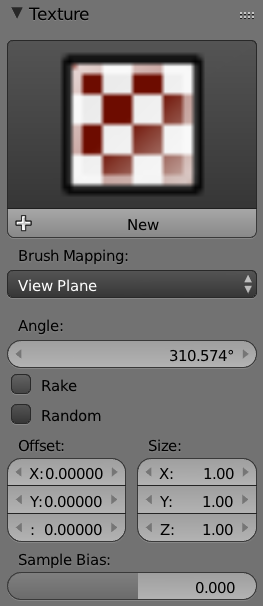
Hit New and the icon will turn black, still indicating there’s no texture to be seen. We’ll see one pop up here as soon as we choose one. Now head over to the Properties Palette and find the Texture menu. It looks just like the red and white checkerboard icon from before, but it’s located on the right hand side of the screen.
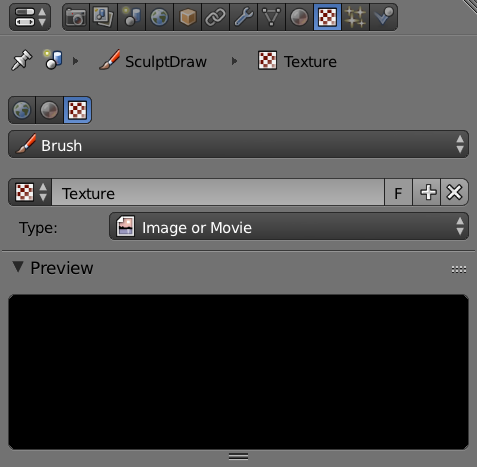
Under Type, you can either pick one of your own files (choose Image or Movie from the list), or select from a variety of built-in textures. Take a look at the Preview to see what they look like. Note that your own images will be turned into a black and white (alpha) image.
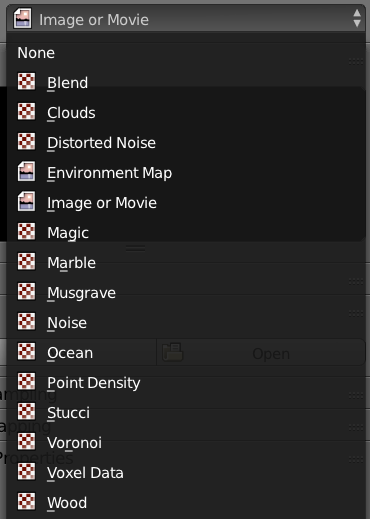
Now grab your sculpt brush and make a stroke on your object. Alas there’s fine detail in your sculpting endeavours!
Sometimes it’s difficult to see those fine additions with the default grey material. Thankfully there’s a way to apply a different material to our objects while we sculpt, exactly like there is in ZBrush. This feature is called Matcap and can be found under the Shading Tab on the right hand side of the viewport (press N to bring up that palette – I don’t really know what it’s called).
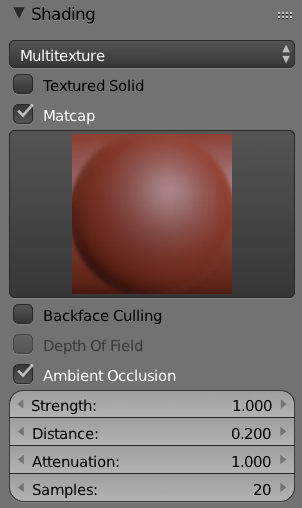
Tick the Matcap box and up comes a material selector. Click it to choose from a variety of different surfaces, some more shiny than others. The dark red clay looks almost exactly like in ZBrush, in case you ever get homesick 🙂
