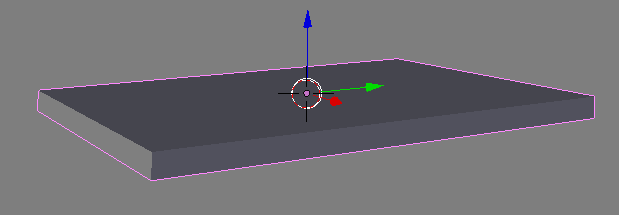
Adding thickness or depth to an object is easy in Blender, thanks to its lovely Solidify Modifier. It’s as easy as adding the modifier to your object and changing the properties – you can even do this while you’re still working on the geometry.
Let me show you how to do it.
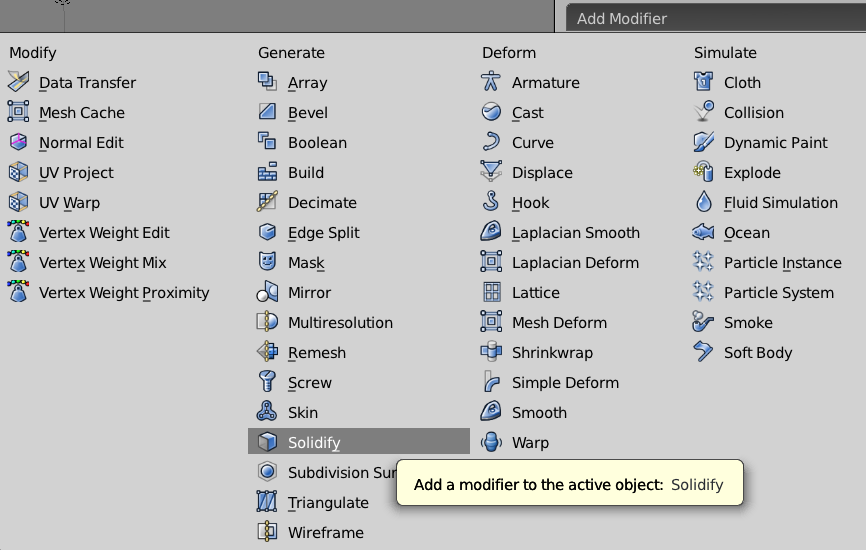
For this example, let’s create a 2D plane (Add – Mesh – Plane). Stay in Object Mode and find the little wrench icon in the property palette. Select Add Modifier and see a huge window pop up:

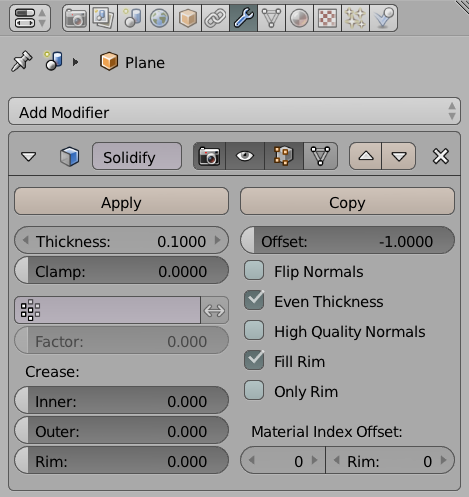
Pick the Solidify Modifier and you’ll see it in a list, together with any other modifiers you have applied to your object (we only have one). The default thickness is 0.01. That’s a bit hard to see, so I’ve increased mine to 0.1.
There’s a lot to discover here, play with the values, and you’ll see the result in your viewport immediately.

The great thing about a modifier is that it is changing your geometry on the fly, so really nothing has happened yet that needs to be undone if things went awry. If that’s not what you want, hit Apply and the modifier’s changes will be baked into your geometry.
1 thought on “How to add thickness in Blender”