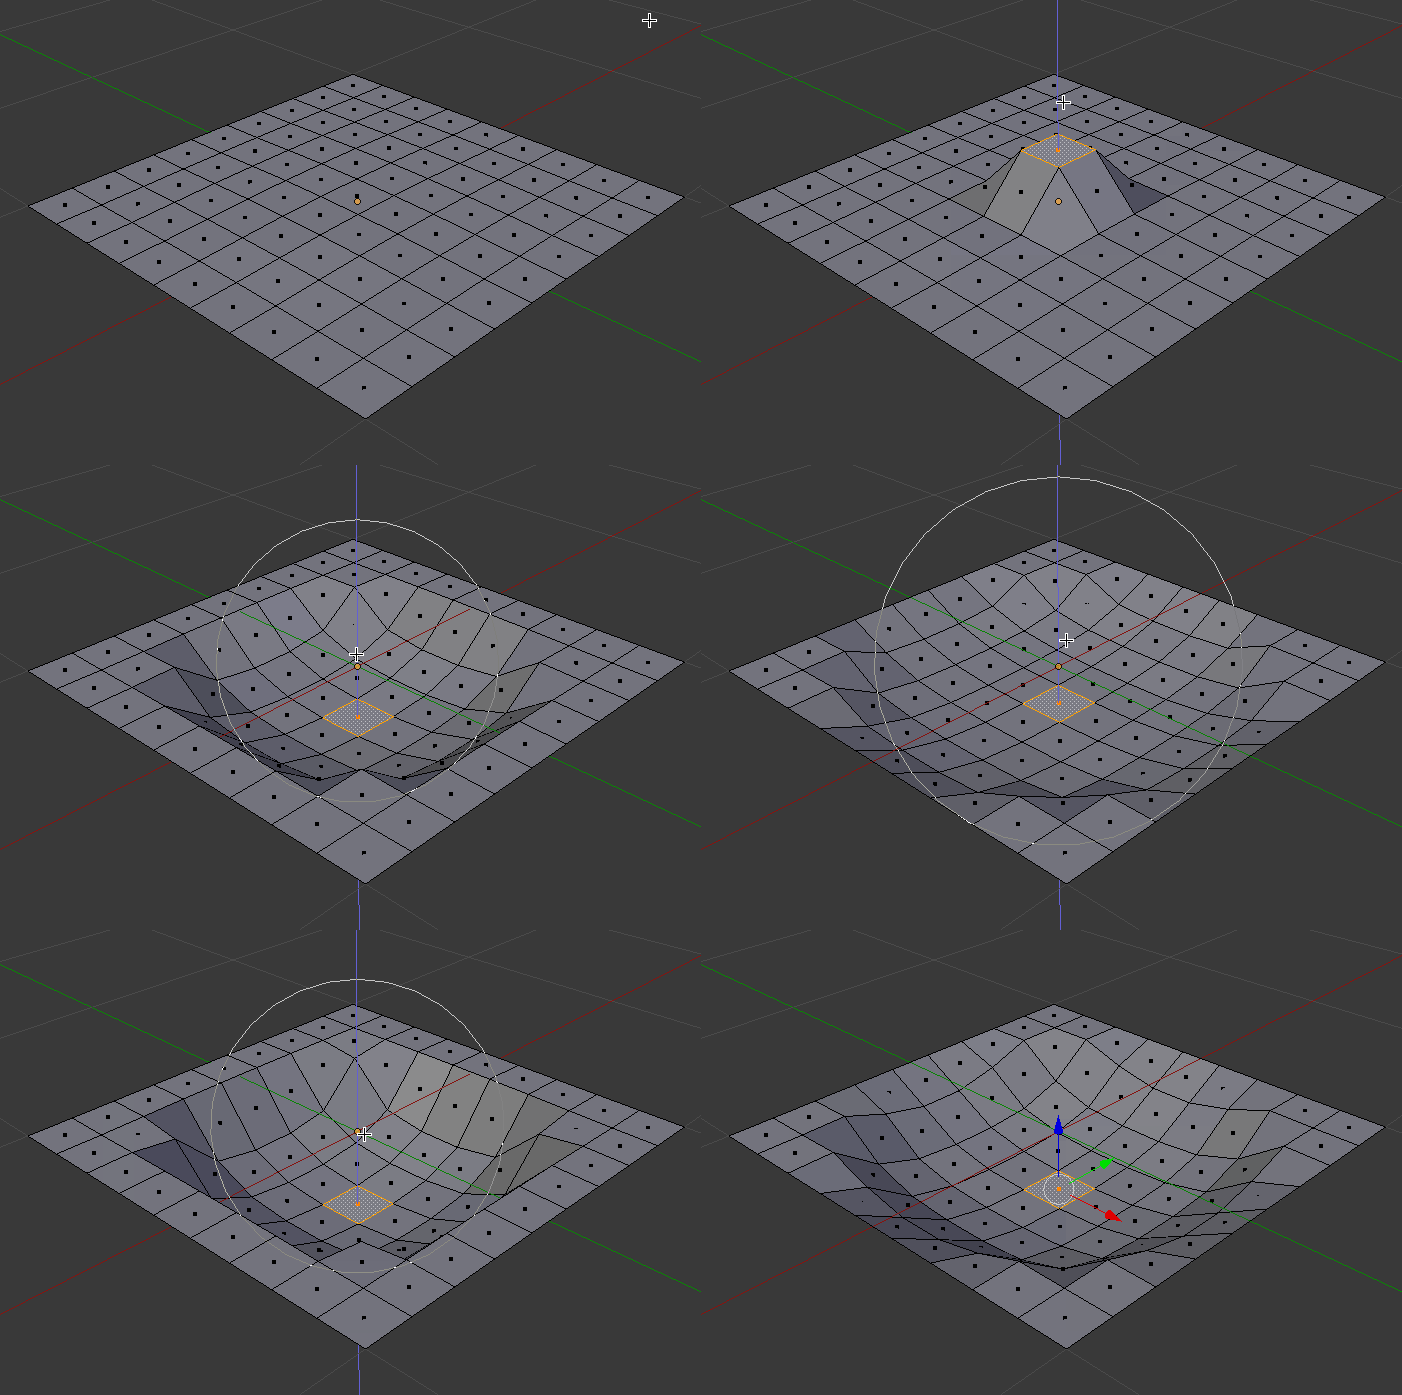
Proportional Editing is what Blender calls a tool with which you can modify part of your object with an area of influence around your selection. Other apps would call this Soft Selections. The principle is the same: pick a selection, and rather than just move the selection, you have influence over an area of gradual falloff.
In the above GIF I’ve selected a single face in the middle of a grid. Without proportional editing, only the face is moved. With proportional editing, the whole area around it is moved. Let’s take a look at how to use this tool.
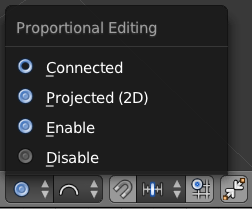
You can find this tool at the bottom of the 3D Viewport, it’s a little circle that’s grey when disabled and blue when enabled. Proportional Editing can be toggled on and off with the O key.

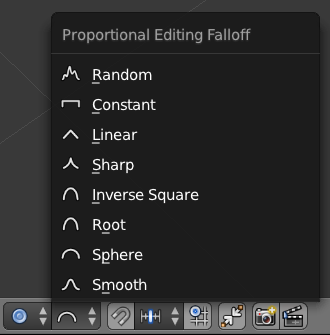
Next to the circle icon – when enabled – is a menu for the type of falloff you’d like to have around the selected area. It’s best to play around with these to see what effect they have. The default is Sphere.
To change the size of the influenced area, scroll the mouse wheel while left-dragging the selection. On Mac trackpads, you can use the two-finger swipe up/down gesture. This will change the size of the white circle that appears when you start dragging.
Really great tutorials. Thank You for posting!!
Thank you, Pat! You’re very welcome 🙂