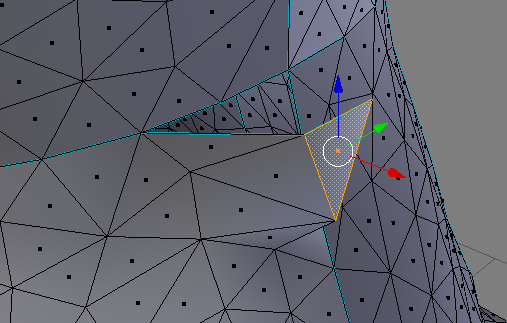
Sometimes 3D objects are created with duplicate vertices that should be in the same place. Imagine two sides of a cube: ideally they should share the same points, but when you place two planes closely next to each other, they’re just two planes and not one object.
For that we need to “weld” vertices together, an expression shared by pretty much every 3D package – except for Blender, where “being different” is just as important as “being complicated”. In Blender, welding is called “removing doubles”.
Let me show you how to do this – no matter what you want to call it.
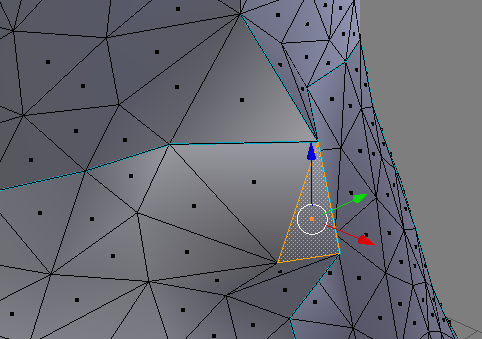
In the screenshot above I’ve exported the default dress from Marvelous Designer, using the “thin” and “do not weld” options. The dress looks fine, but where the patterns meet, the seams are coming apart. Let’s turn the whole dress into a welded object.
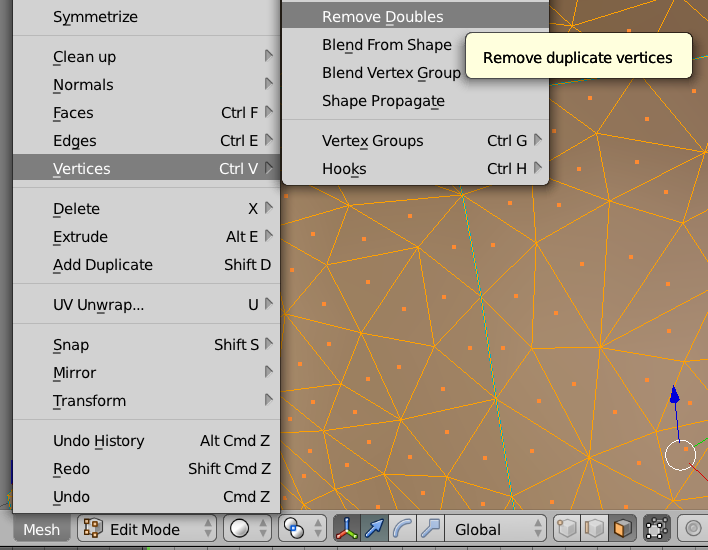
So first, import the object you want to weld using File – Import. Scale and position the object, then enter Edit Mode. Now select all vertices (Select – (De)select All, or hit the A key until everything is selected), then find the Mesh Menu and choose Vertices – Remove Doubles (D).

And that’s it – the whole object is now welded. Obviously this operation also works with two single points if you need it.
