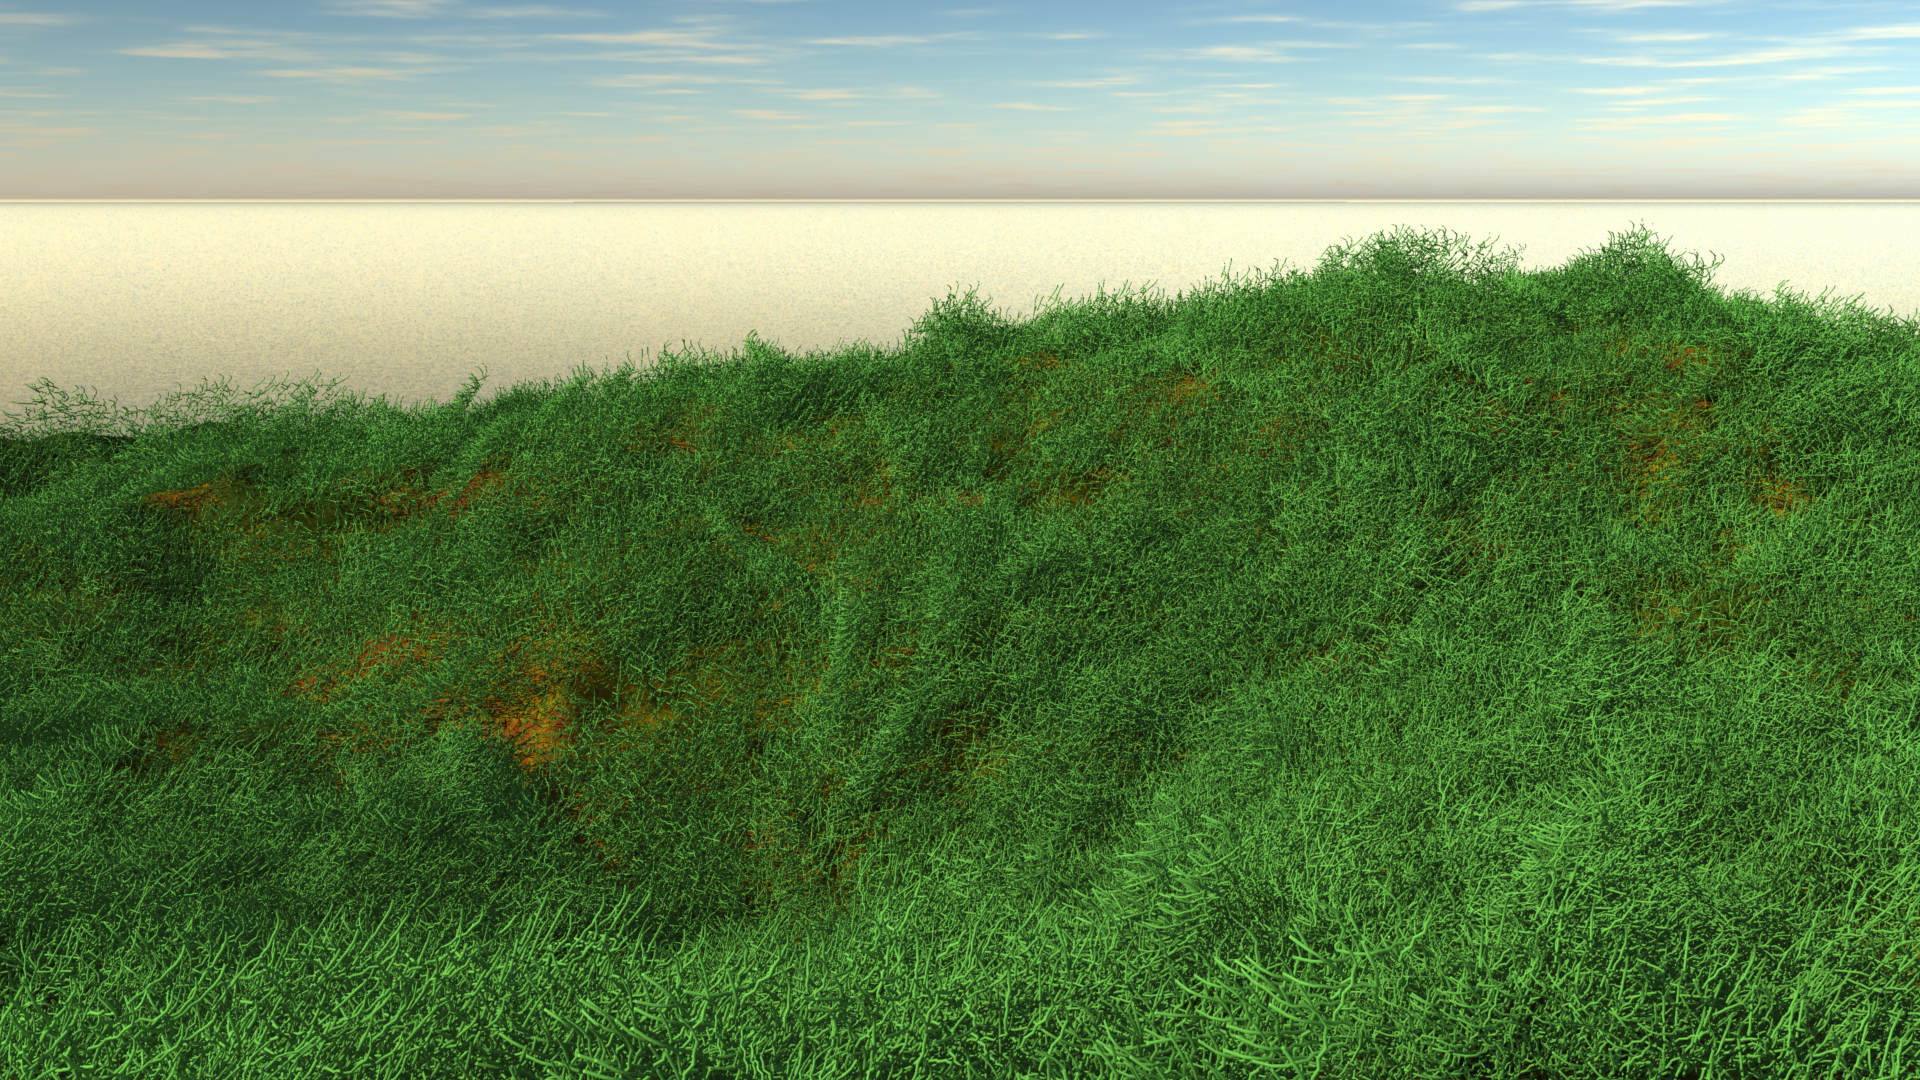
 My first idea of growing grass in Carrara was to make use of the Hair Object. It sounds like an easy workflow too: drag the hair object onto my terrain, adjust its growth behaviour, adjust the colour to resemble grass, and case closed. This approach works fine with primitives and vertex objects.
But sadly, it doesn’t work with terrains. So I thought, perhaps I’ll apply a patch of hairy grass to a plane, and then use a Surface Replicator to replicate the plane all over the terrain. That doesn’t work either: while the plane itself is being replicated, the actual hair (or grass) that’s growing on it is not. I compare this to using the best string trimmer vs scissors on your lawn. Perhaps the Hair Object isn’t such a good idea to be used with growing grass on a huge terrain after all.
A very different approach comes from Phil Wilkes, who has kindly shown how to model a more complex patch of vegetation in this video. I’ve taken the same approach but only modelled a single stalk of grass, replicated it onto a plane, and then replicated that plane onto my terrain.
Here’s how I did it step by step.
Setting up the scene
I’m starting with a medium sized scene and add a single terrain. The defaults will work just fine here. Frame up the camera so that we see a nice part of it without the terrain edges. I’ll also add an infinite plane to the scene and add a muddy water shader to it so that we can hide that hideous brown nothingness below the horizon.
As for the background, I head over to the Scene tab and choose Realistic Sky under Atmosphere. Untick the box that says “Show Ground”. Edit the sky to your heart’s content.
The final thing I’m doing is to select my single default light and change it to become Sunlight. That way, the light controls are linked to the sunlight controls of the realistic sky.
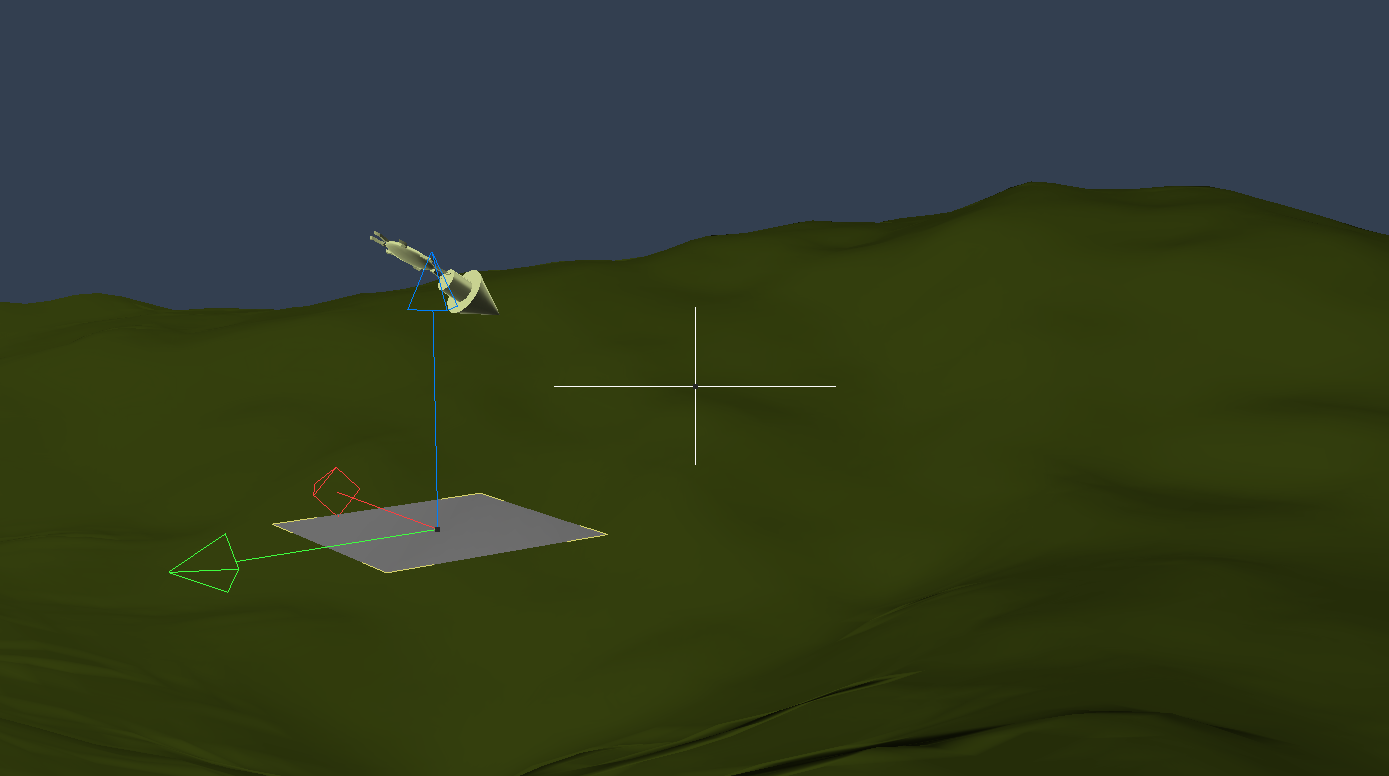
Creating a single stalk of grass
I’ll add a Vertex Object to the scene, which switches us into the Modelling Room and a seemingly empty scene. I’ll add a cylinder here, aligned to the Y axis, with the default values. I’ll make it long and thin using the scale tools, and add some rotation on the segments so that it doesn’t look too artificial. Feel free to taper it at the top or make it flat.
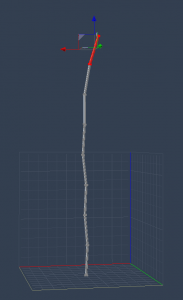
Switch back to the Assembly Room to end the modelling session.
Creating a patch of grass
Let’s add a plane to the scene on which we’ll replicate several hundred iterations of our grass stalk. Also add a Surface Replicator object to the scene and double-click it to adjust its properties.
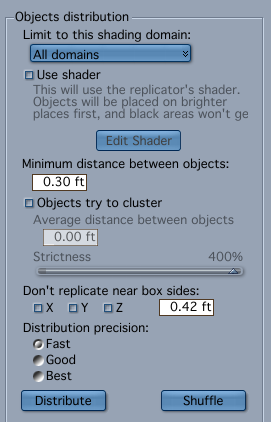
The source object for the replicator shall be our plane, and the object we’d like to replicate on it is the stalk of grass. Adjust the values for X, Y and Z with 40, 40 and 180 so that there’s a bit of variation in our stalks. I also add -30% into the scale field, which will render some smaller stalks for us.
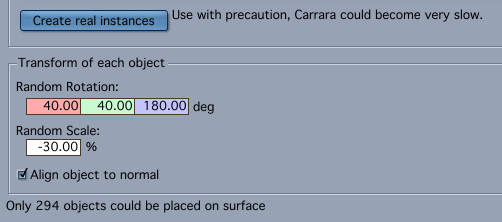
Depending on the size of the plane, and the size of the stalk, and depending on how dense you’d like your grass to look, adjust how many stalks you’d like to replicate on the plane. 100 is the default. To get a preview, switch back to the Assembly Room, select the replicator and set the preview mode from its default Bounding Box to Mesh. This will show you the stalks in the scene.
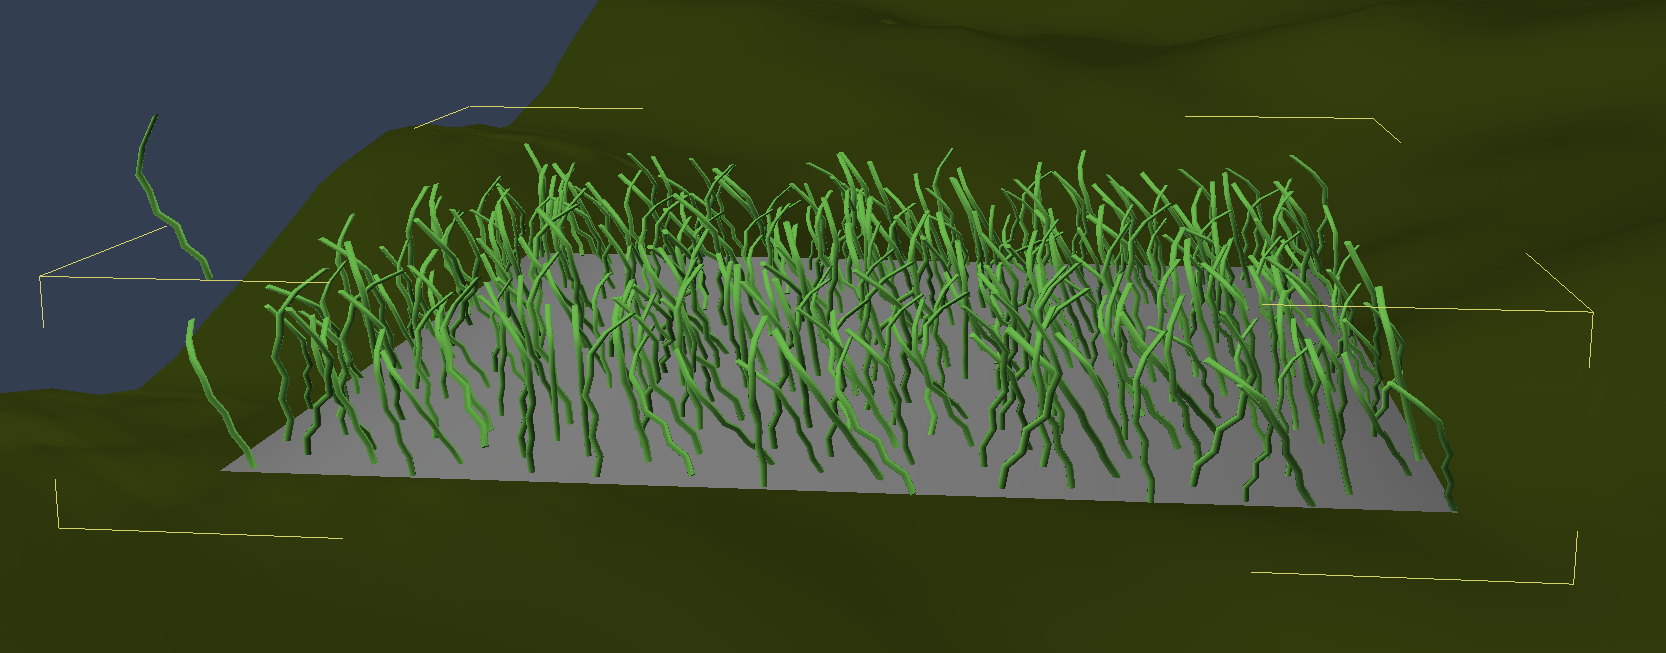
If the grass does not replicate dense enough, check the “Minimum distance between objects” setting. It’s set to 1ft by default, which may be too much given the size of the plane. Lower it to replicate more objects on a narrow space.
When you’re happy with the results, return to the replicator and turn its calculations into a real mesh b pressing the “Create real instances” button. Switch off the visibility of the plane before you do, we don’t really want to see it. Now you’ll have a group with lots of grass stalks.
Feel free to remove the current replicator, the plane and the original grass stalk from the scene – we no longer need it.
Colouring the grass
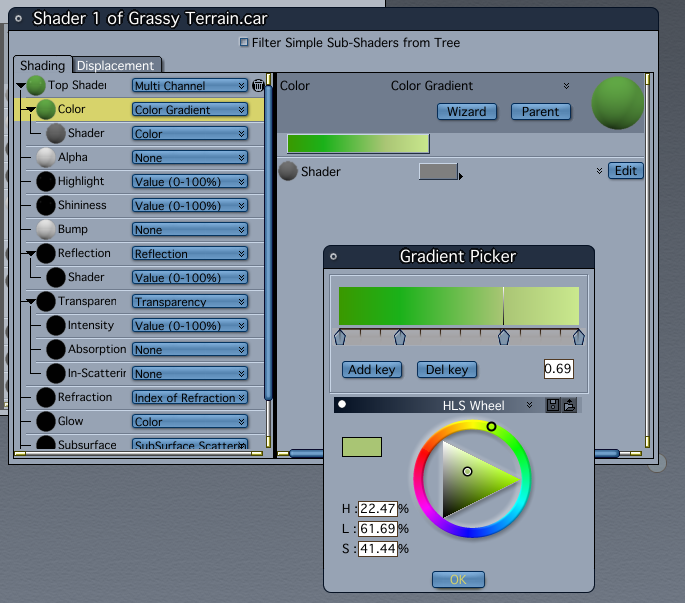
Editing the default shader and turning the default grey stalks into something that looks more like grass is extremely easy. All I did was to add a gradient with several shades of green, leaving all the other values at their default.
Shader Room Connoisseurs can probably whip up something spectacular here, but a gradient will do for our scene. One day I’ll understand all these options other I’m sure…
Covering the terrain with grassy patches
To cover the whole terrain with grass, let’s add another Surface Replicator and use our patch with it, much like we did above, but on a larger scale. Select the terrain as the source, and the grassy patch as the item to be replicated.
Technically we could simply replicate our single stalk on the whole terrain, but I found it has performance drawbacks.
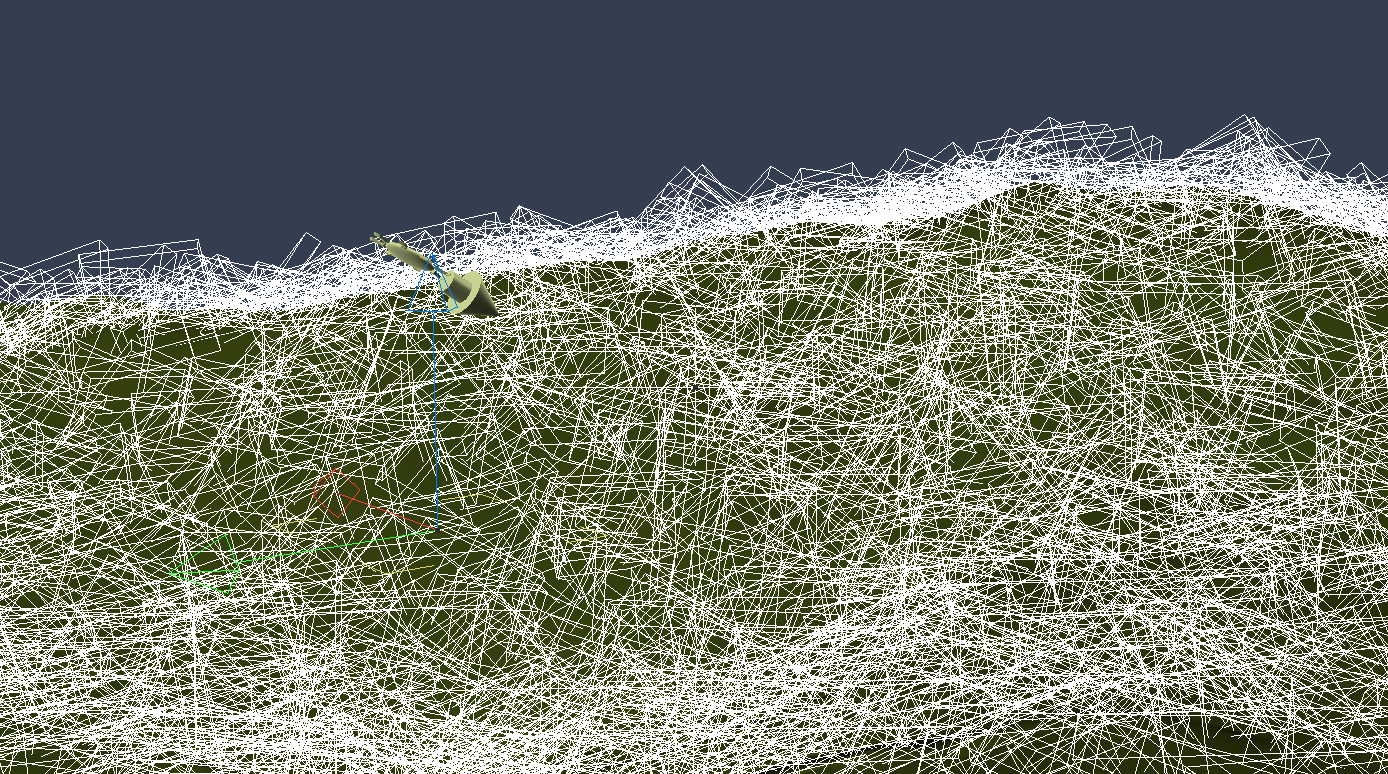
If all you see is a jumbled mess, that’s OK – it’s just the replicator showing its default Bounding Boxes again. Switch it to Mesh and see a preview of our grassy terrain.
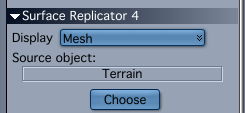
It takes Carrara a moment to calculate all the instances and make them show up. Drawing all this detail also makes Carrara a bit laggy and unresponsive. To change camera positions or do test renders that are non-grass related, switch the visibility of the whole replicator off to make Carrara fast and snappy again (it depends on the amount of replicated instances and the speed of your machine of course, but even the fastest computers will have a bit of lag with thousands of replicated meshes).
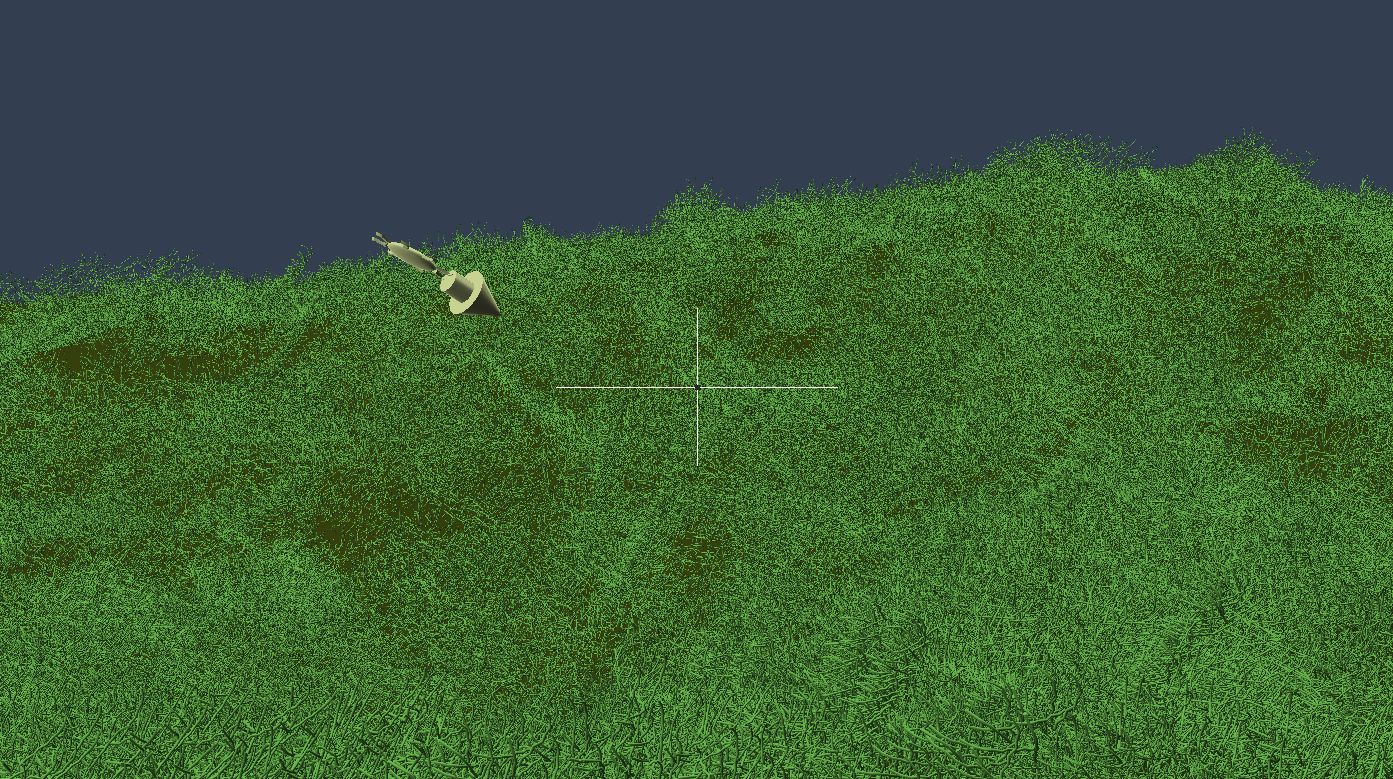
And there we have it! Real looking grass without using a Hair Object.
Just one more thing…
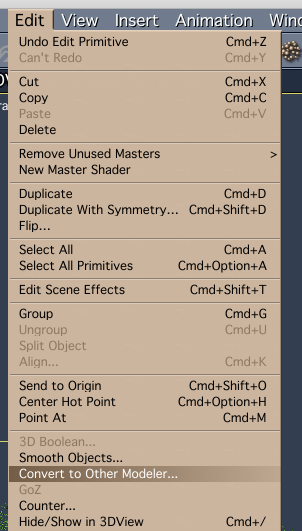
Speaking of which, there is another trick to make hair grow on a terrain, thanks to a tip from Antaran on the Carrara Forum: convert the terrain object into a vertex model! It means the terrain will no longer be editable, but it also means that hair will now grow on the terrain.
The option to convert is located under Edit – Convert to Other Modeller. Maybe I’ll try that option next.
2 thoughts on “How to grow grass on a terrain in Carrara”