 Material Zones are – as the name suggests – different parts of a single object that can each be assigned a shader. This sounds more complicated than it actually is.
In a nutshell, you can tell an object that its top should look different than its bottom at render time – figuratively speaking.
Such zones can be assigned only at the modelling level, so that each surface can be described differently by your rendering app. Here’s how to assign these Material Zones in Blender.
Let’s assume we had a lightbulb type object, and we want to assign a glass material to the top, and a metal material to the bottom.
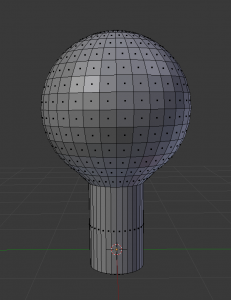
With our object selected, enter Edit Mode by hitting the Tab key. Go to face selection mode and make sure nothing is selected. Then select the top of the bulb, making all faces of what will become our first material zone light up orange.
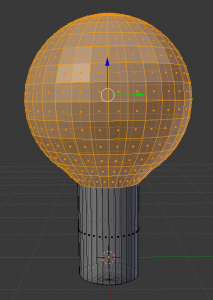
On the right hand side in Blender, select the Materials Tab. It’s a little orange circle type icon. Looks like right now there’s no material we can use here. We’ll change that in a moment.
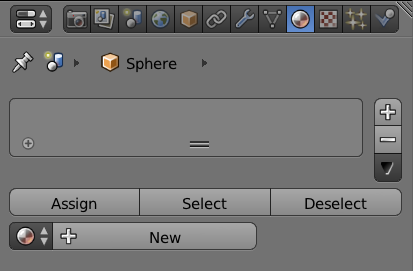
Blender thinks about Materials in two different ways, which I thought very confusing at first. Trust me, it does make sense though when you think about it: in Blender, there’s a Material Slot, and there’s a Material. A Material Slot defines a Material Zone as other 3D apps know it, while a Material defines the actual surface characteristics specific to Blender.
While we can use the zones (or slots) in other apps, we cannot use any of the surface specifics we setup in Blender. Those are render engine specific (we can’t use a Poser Material in DAZ Studio or Carrara for example, or an Iray material in 3Delight).
To visualise what we’re doing in Blender, we’ll create a Material Slot for each zone we want, and a single Material inside each zone so that our model will have different colours in the viewport.
With the faces of our top part selected, and being in Edit Mode already, click the little plus icon on the right hand side of the grey box (the one above the Deselect button in the previous screenshot). This will create a Material Slot, and hence a Material Zone for us.
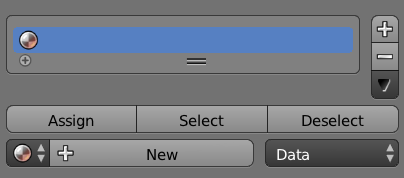
Nothing appears to happen, making matters even more confusing. We can’t seem to name our zone appropriately either. That’s OK, there’s nothing to worry about. Let’s create a Material inside this zone by clicking the New button. Lots of options spring into action. Don’t be scared!
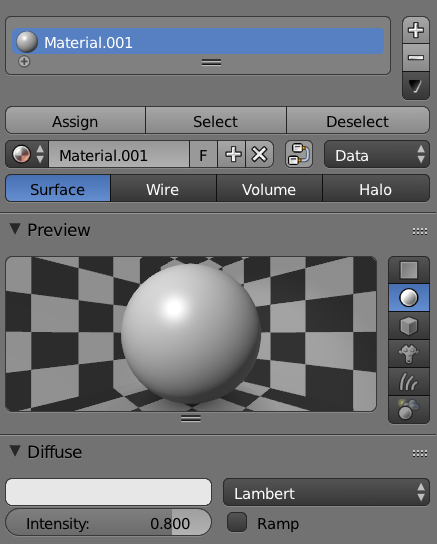
Blender has now created a new Material and aptly titled it “Material.001”. Everything underneath it describes the material itself. Let’s rename Matrial.001 to something sensible like “Glass” by double-clicking the bottom box. This will also change the top box, so we’ll have a Material AND a Material Zone with our desired name. We’re getting somewhere!
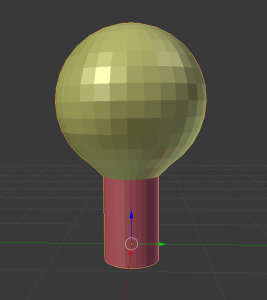
You can also change the colour of your material by double-clicking the colour swatch in the Diffuse option. I’ve changed mine to yellow. This is what it looks like so far:
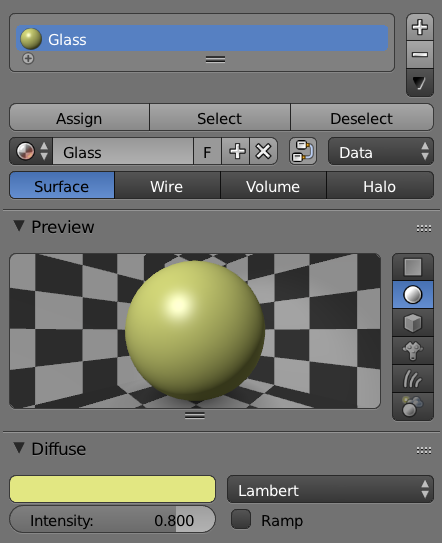
So far so good – let’s head back to the viewport again, where our new material is already applied to our entire model. Select the bottom part of the object now.
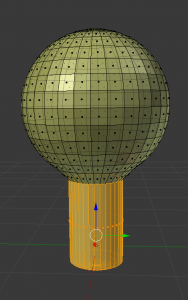
We need a new Material Zone, so let’s click the plus icon next to the top box that reads “Glass”. We get the same as before: a new slot without a material.
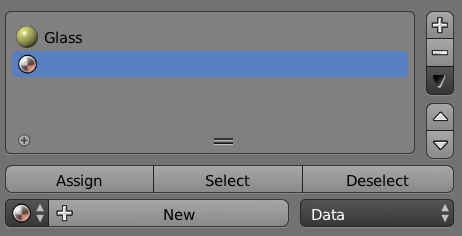
And just like before, click the New button to create a material. This time we’ll call it Metal and give it another colour. Perhaps red, just so that it’s not grey.
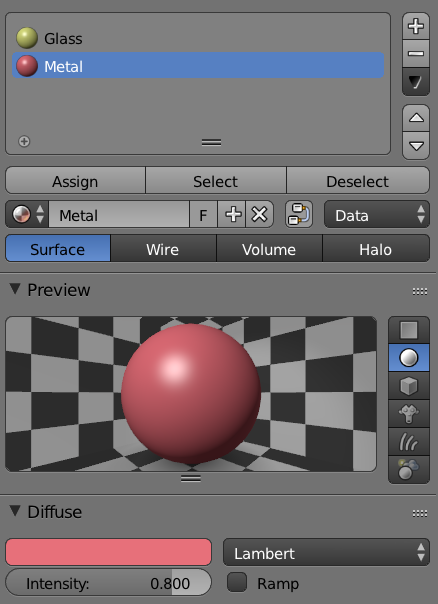
Now – very important – hit the Assign Button. This will apply our new zone and material to our object. This was not necessary before: Blender applied the first material for us, because we only had a single one – regardless of the selection. For any subsequent materials and zones, always hit the Assign Button after you’ve made your selection.
And that’s all there’s to it. Now we can export our object and pick up the new Material Zones in other apps.
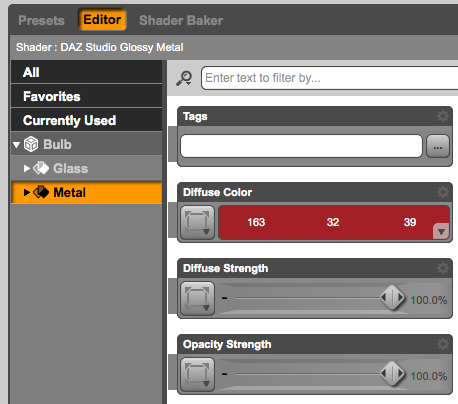
Here’s what our bulb looks like in DAZ Studio’s Surface Tab. It even imported the Diffuse Colour of our material – isn’t that nice? Thanks, Blender!