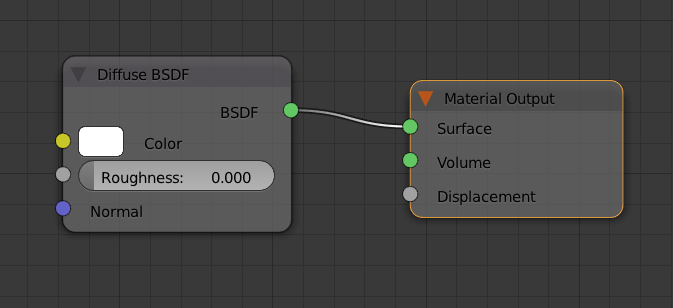
When we setup a standard material for Blender’s Cycles render engine, it’ll start with just a single diffuse node like this:

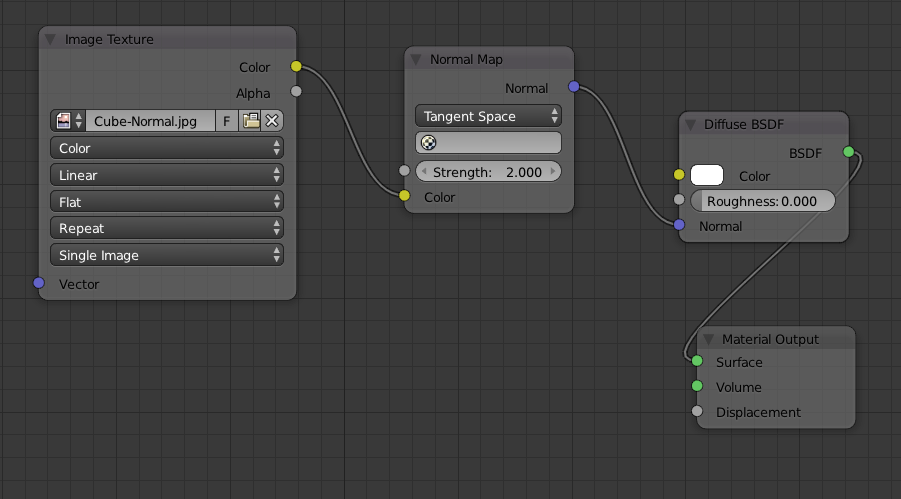
To add a Normal Map to this setup, we’ll need to add two things:
- a new Texture Map node (Add – Texture – Image Texture)
- a new Bump Map node (Add – Vector – Normal Map)
Open your normal map in the texture node, then connect its colour output to the Colour input of the Normal Map node.
Now connect the Normal output of the Normal Map node to the Normal input of the Diffuse node and see your bump map applied to the model. Change the viewport to Rendered to see live results.

To change the intensity of the Normal Map effect, fiddle with the Strength value in the node.
If you want to apply both a normal map and a bump map, apply the bump map first, then connect the normal output of the Normal Map node to the normal input of the Bump node (because the Normal Map node doesn’t have a normal input, but the Bump node does).
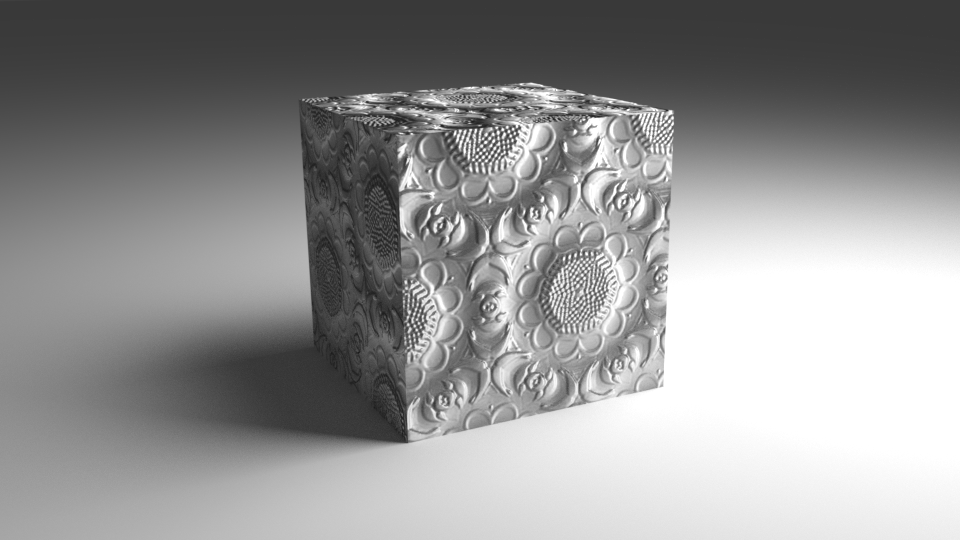
Here’s what my cube looks like with just a normal map applied:

There are a lot of other options you can use in regards to Normal Maps. Check out Wayne’s article for more details:
You should add that ” Image texture node needs to be set to ;non-color data; “