 Manga Studio has a really nice feature that I have been looking for in Photoshop for some time: a Selection Brush.
In addition to the usual lasso, marquee and Magic Wand tools, there is a way to simply paint over a part of your image, which then becomes part of (or reduces) the current selection.
Turns out this feature (and then some) is part of Photoshop too – it’s just not called a Selection Brush. Although from what I understand, there is such a feature in Photoshop Elements (a different product entirely).
In Photoshop, this tool is called the Quick Mask feature. It’s dead simple and extremely versatile. What’s not to like? Here’s how to use it:
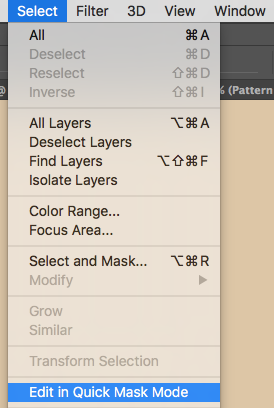
- either, head over to Select – Edit in Quick Mask Mode
- or simply hit the keyboard shortcut Q to toggle the feature on or off
When you enter Quick Mask Mode, you can use any brush of your choice (or any drawing tool) to create a selection in your document. I find the mechanical hard or soft pencils work quite well. Don’t forget, you can use the square brackets to change the size of your brush too.
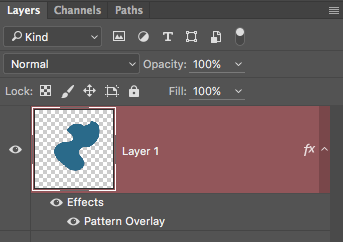
Once activated, notice that your active layer turns red. This means you’re not changing the layer contents.
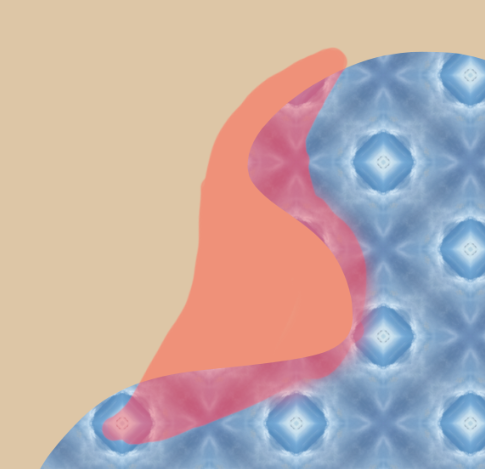
When you draw on your document, all brush strokes appear in the same type of red. Anything that you paint will turn into a selection. You can use the eraser brush to remove parts of your selection. You can also go to town with the Shape Tool if you like.
Now toggle the Quick Mask feature off again by pressing Q (or head over to Select – Edit in Quick Mask Mode). And voila – your red painting is now a selection!
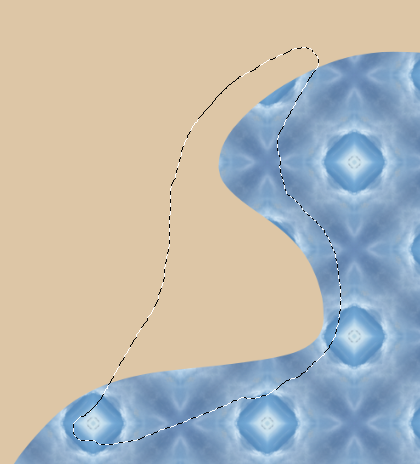
Sometimes the simplest things can make your day 🙂