Did you know that Blender has a built-in video editor? We can use that to turn an image sequence into a movie file. I’ve described how to do this Photoshop here, but I thought it would be fun to try the same thing in Blender.
Here’s how to do it:
- switch to Video Editor mode (top of the screen, the menu that reads “Default” by default)
- if this is the first time you see this layout, STAY CALM!
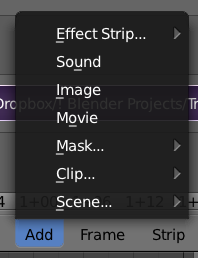
- head over to Add – Image (bottom of the screen)
- select all images in the sequence
- on the right hand side, choose where in the timeline the first frame shall go (for example, Frame 1)
- leave the end frame alone, it will be matched automatically (unless you’d like to shorten the sequence)
- also choose which channel this sequence shall go on
- hit return (or Add Image Strip at the top right)
Your footage is imported onto the desired channel in the Video Sequence Editor.

The default duration in Blender is 250 frames, but your sequence may be longer or shorter than that. Let’s fix that. In the Timeline (bottom of the screen), scrub to the last frame and press E. This will adjust the animation. You can also add a numeric value into the end field if you like.
You can also tweak the beginning of the animation by scrolling to the desired start frame and hit S in the Timeline.
Fading in and out
Blender can even fade in and out if you wish. To do this, we need to set two opacity keyframes for each fade. Here’s how to do it.
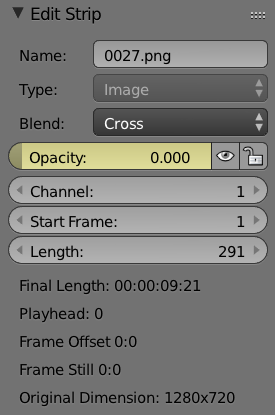
For a fade-in at the beginning, move your playhead to the beginning of the timeline. Head over to the Edit Strip panel on the right hand side (hit N if it’s not open). Hover over the Opacity field and press I to set a keyframe. Now change the opacity value to zero.
Advance a few frames to where you’d like the fade in to finish. Hover over the Opacity field again and press I again to set another keyframe, then change the opacity value to 1. Preview your handy work by playing the clip from the beginning.
Repeat in reverse at the end of your sequence for a fade out.

Don’t worry that the clip fades to and from “checker boards”: we haven’t set a black background, but if we’re rendering without an alpha channel later, this will appear as black.
Rendering the video file
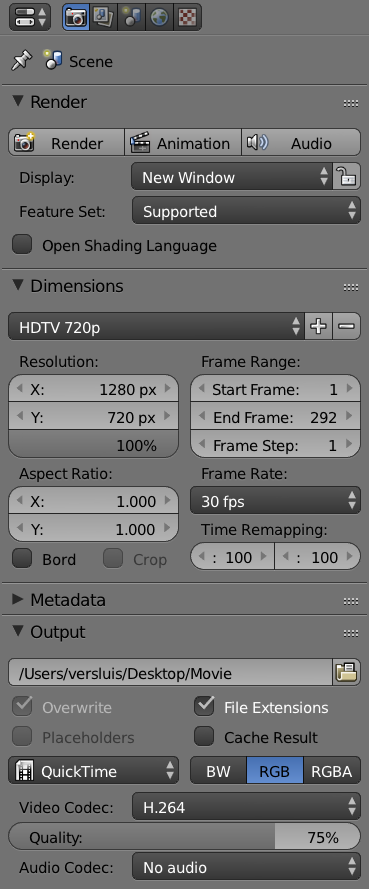
To export your movie file, we need to use the standard rendering options in the Properties Palette. Either switch back to the default view, or open a new panel and turn it into the Properties Palette. Choose the Rendering Tab to see the following options (it’s first one, with the camera icon).
- under Dimensions, make sure that image size, aspect ratio and frame rate are set correctly (check out the presets, or create your own)
- pick a wrapper and codec (under Output)
- also pick a folder to save your output in the same section (a double-slash // will save the movie file in the same directory as your .blend file)
- under Render, hit Animation
Blender will now go to work and assemble your movie.
