I recently discovered the Manuel Bastioni LAB add-on for Blender. Judging it only by the title you’d never guess it’s an extravagant people generator of the highest caliber! Bastioni was working with the folks from MakeHuman for many years, but The LAB is his own project.
In a nutshell, it creates ready-to-use characters, complete with poses and morphs, as well as many other complex goodies. And as with many complex things, rendering can take a while. I tend to prepare a scene on one machine, transfer it to a faster system and let it render while I setup the next scene.
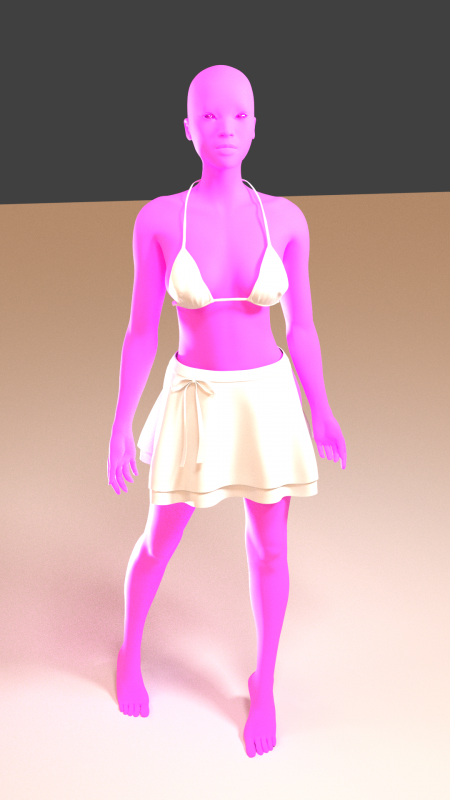
This workflow usually works a treat with .blend files, but not necessarily with those containing Manuel Bastioni characters. Turns out the skin has a good chance of looking alien purple. Quite a nice effect, but perhaps not all the time.
Lucky for us, knowing why this happens will help us understand how to fix the problem. It’s not a bug, just a question of which box to tick when saving those files. Let me show you which box that is and how to avoid the purple skin effect.

Why does this happen?
Let’s talk about why this happens first. What is the purple skin effect? It’s a simple matter of missing textures. Manuel Bastioni LAB characters come with several highly detailed skin maps. Those are applied as materials, and if the references to those files are wrong, then Blender will render purple.
I first noticed this when I saved a .blend file on my Desktop, rendering fine on my local machine, and then moved the file to another location (Dropbox). The target machine rendered the skin purple. This told me that the textures in question are not part of the .blend file, but must be saved elsewhere.
Where are those texture files saved?
When you install the add-on, those texture files are installed automatically. On a Mac that location is
- Library/Application Support/Blender/278/scripts/addons/manuelbastionilab.
You can enter the Library folder by clicking on Go while holding down the ALT key. 278 is the version number, which may be different on your system.
Sadly I don’t know where the equivalent files are on Windows at the moment. I’ll add it here as soon as I find out.
In order to have the whole collection available on your target system, you must install the add-on on all computers that shall be part of the rendering workflow. It does help if it’s the same version of both Blender and the add-on of course… and don’t forget to restart Blender after installing the add-on for good measure.
Help! It’s still rendering purple!
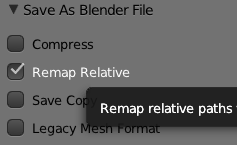
The installation alone may not be enough if the files are still not referenced correctly. When you save a file, Blender has a tick-box on the left hand side that reads Remap Relative.

When you save your file directly from Blender to a different directory, with this option enabled, Blender will create new and updated references to all external files. That’s exactly what we need!
Without this option, Blender will save the file without updating references to external files. It’s like moving the file manually with Finder or Windows Explorer.
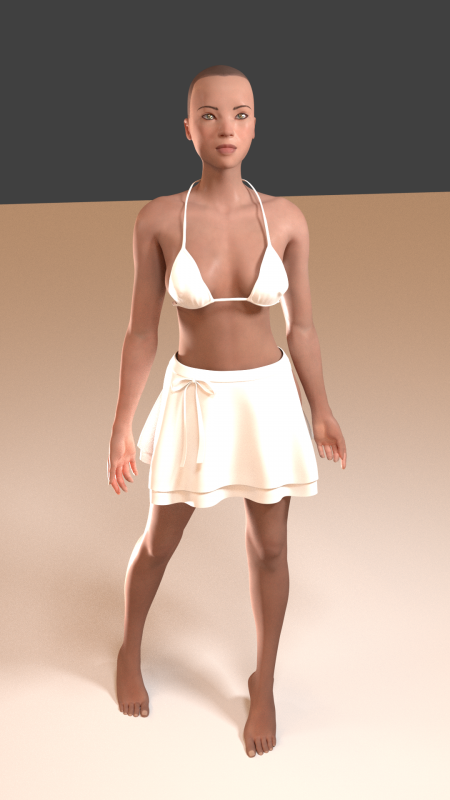
Now the target system should be able to pick up the textures correctly and render beautiful skin tones, just like Manuel had intended it.

Hope this helped!