ShadowBox is an interesting feature with which we can create 3D geometry from three intersecting masks. Let’s see how to get started with it step by step in ZBrush 4R7.
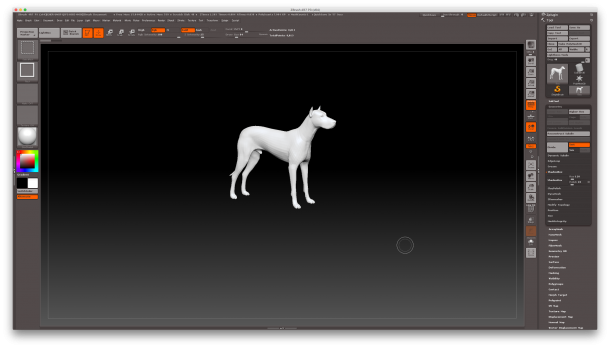
Select any tool to begin, perhaps something that can serve as a starting point. I’ll use the Dog tool. To do this, hit the COMMA key to open the toolbar, select Tools, and then select Dog.ztl. Drag one dog out on your canvas, then enter Edit mode.
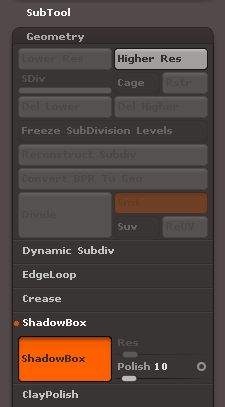
Now head over to the Geometry tab and open the ShadowBox option, then click on the box ShadowBox button. It should light up orange. This will replace your Dog tool with the ShadowBox tool.

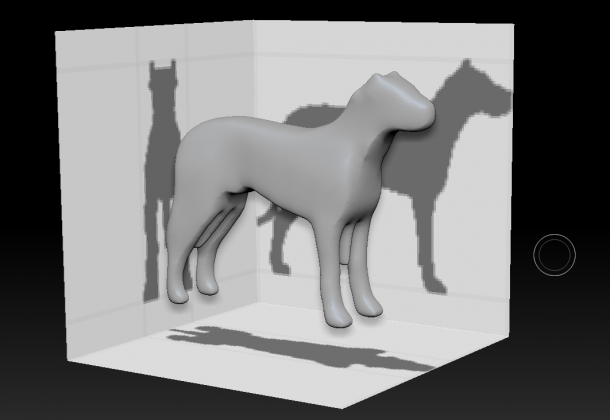
Notice how the shape of the dog changes to something much less detailed. That’s because the dog is projected onto the walls of the ShadowBox, and as such, some details are lost. We can combat this to a certain extent by increasing the resolution slider next to the big ShadowBox button. I’ll leave mine at the default of 128 for now.
You can turn the ShadowBox off at any time, and as a result you’ll be left with a new 3D tool (the less-detailed dog in my case).
To modify the 3D geometry in the centre of the ShadowBox, use the mask tool to draw on any of the three sides (the mask tool is activated by holding down CTRL). This part probuablytakes a lot of practice and patience: I haven’t been able to come up with something sensible using ShadowBox. I hope you’re having better luck than me.
To clear the entire ShadowBox, simply drag outside of the box with the mask tool.
- For more details, check out the videos at the ZBrush Classroom: https://pixologic.com/zclassroom/workshop/shadowbox

