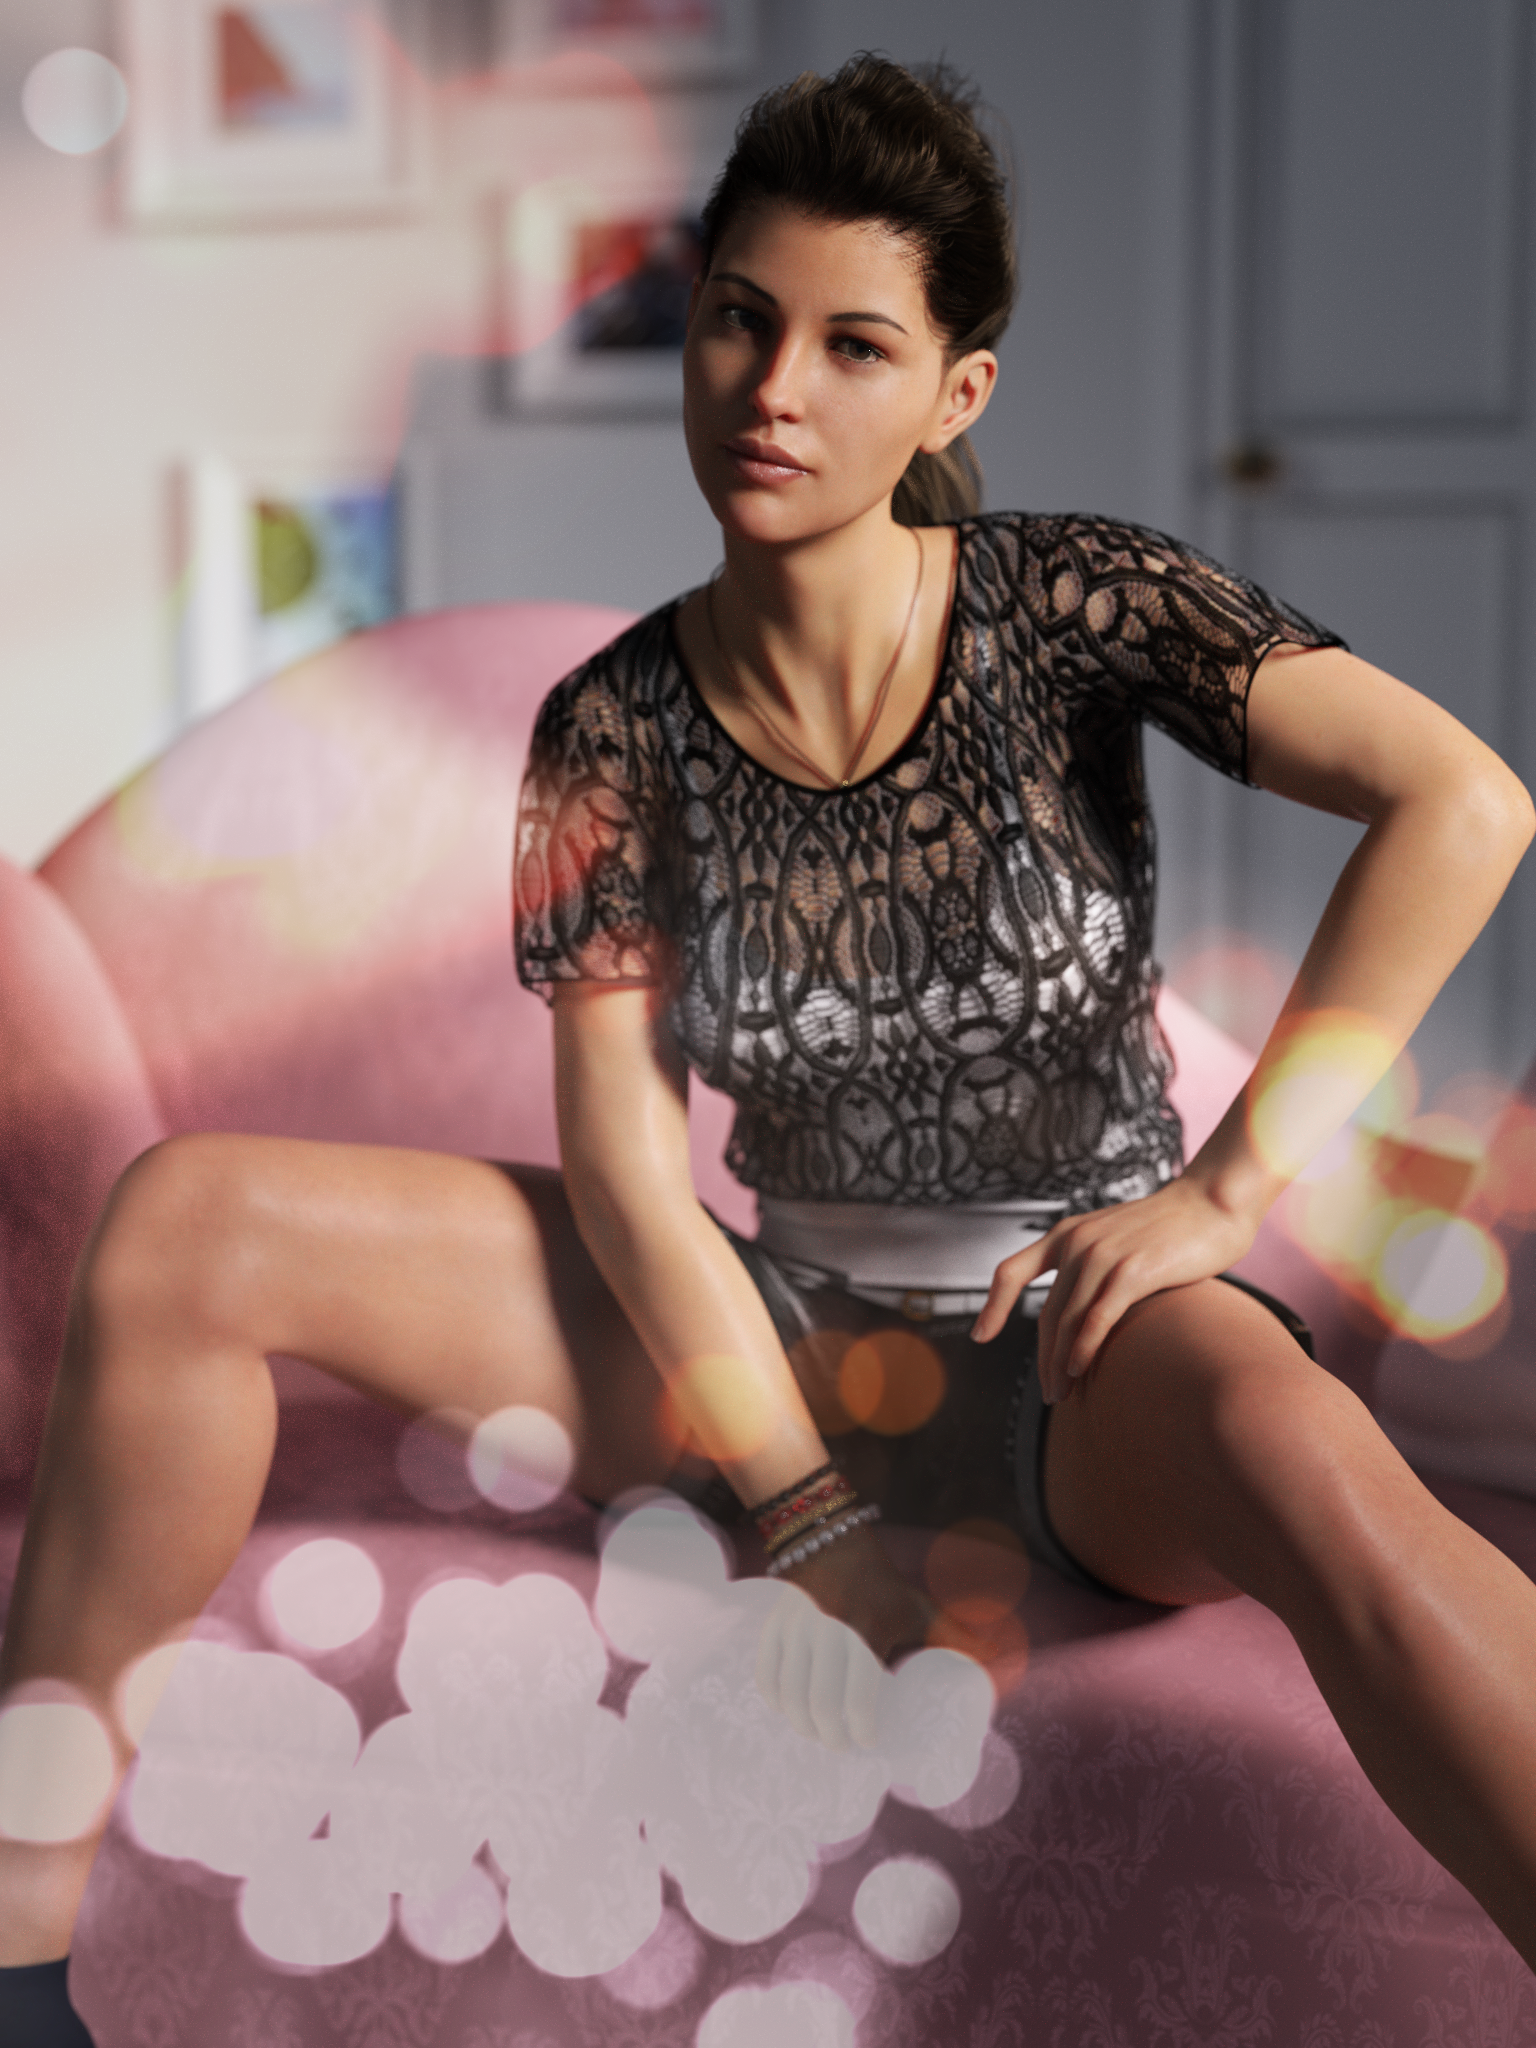
Photoshop has an interesting set of filters that let us turn ordinary images into fascinating Bokeh Effects. Those can be useful as a nice alternative for gradient backgrounds due to the elements of randomness they can bring, or for foreground effects akin to those created with plastic cameras.
The above uses a Bokeh Effect as additional foreground pattern. Let’s see how it’s done.
Open something very ordinary in Photoshop. Anything will do, even a screenshot. Don’t worry about focus or contrast. Use your latest selfie or a picture of your latest dinner. Or perhaps a cat picture. You get the idea.
If you have an existing picture and would like the Bokeh effect to become a background of your current foreground, choose File – Place Embedded, then scale your image to cover the whole canvas (don’t worry about the aspect ratio, we won’t recognise the Bokeh image in a moment). Also, make sure your Bokeh image layer is on top of your foreground layer.
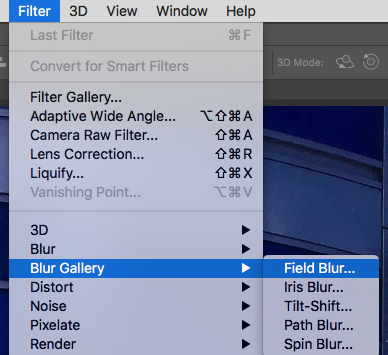
Now choose Filter – Blur Gallery – Field Blur. Most filters in the Blur Gallery can be used for Bokeh effects.
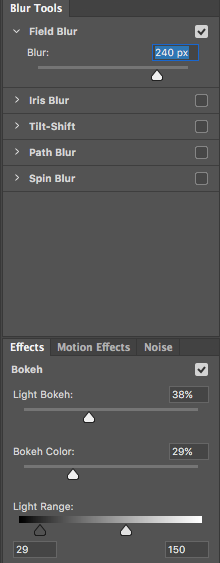
Now blur your picture and play with the Light Bokeh and Dark Bokeh sliders until you reach a most white image with interesting colourful blotches. Play particular attention to the Light Range slider.
Repeat the process with another image if needed to create different colours. You can even use the same image and choose different settings. The sky’s the limit! I’ve made something like this (derived from half a portrait render):
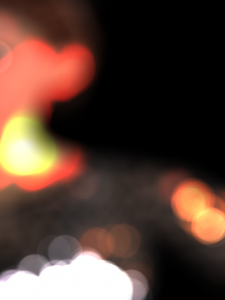
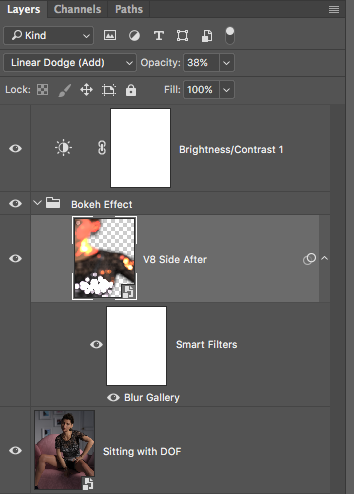
To mix these effects together with the main (foreground) image, choose the Bokeh layer and set the Blending Mode from to Normal to Screen, Lighten, Linear Dodge or Colour Dodge, then adjust the opacity until you reach the desired effect.
This is what my layers look like:
Mixed together with a render of Victoria, the final result looks like the first image in this post.