Voxels have become a popular way to show off pixelated 3D shapes. For years we’ve been trying to make things look smooth and natural, but with retro being a thing right now, voxels can do the same for your pristine 3D objects that Lomo filters can to pristine photographs: make them look a little weird and funky. Take my friend the toon crab for example, he looks like he’s been assembled from Lego blocks.
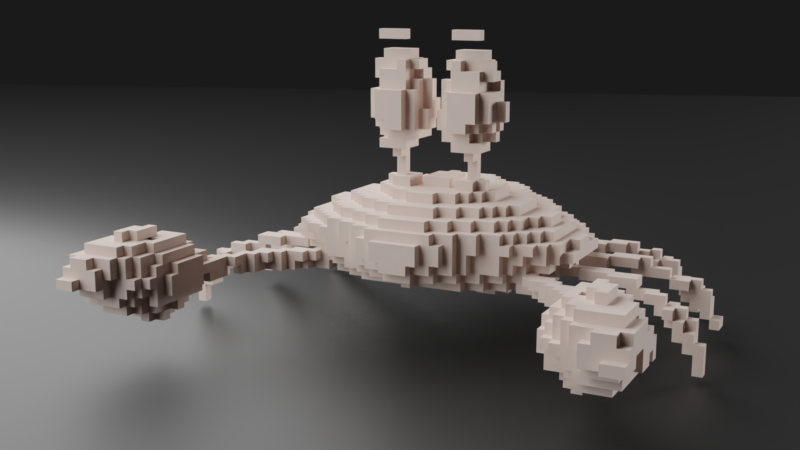
Thanks to Brian for discovering this little gem, and sharing how to use it. He’s currently working on an animation with human figures using this effect, I’ll add a link here when it’s finished. Let’s see how to create this look in Blender.
Adding the Voxel Effect in Blender
The secret sauce is to add a Remesh Modifier. To do that, select your object, navigate to the little wrench icon in the Properties Shelf and select Remesh.

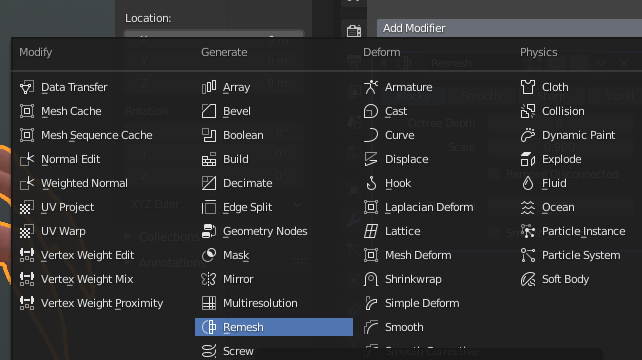
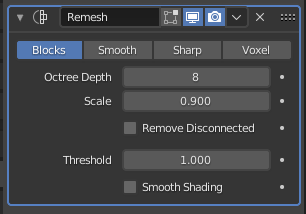
Now switch the modifier over to Blocks and adjust the settings to taste. The Octree Depth will determine how heavily pixelated the effect is, or in other words how large the blocks are. Disable Remove Disconnected to leave things intact that would otherwise be removed from the shape (like the crab’s eyebrows).
Here are various iterations of my crab friend, with lower Octree Depth values at the top and higher ones at the bottom.
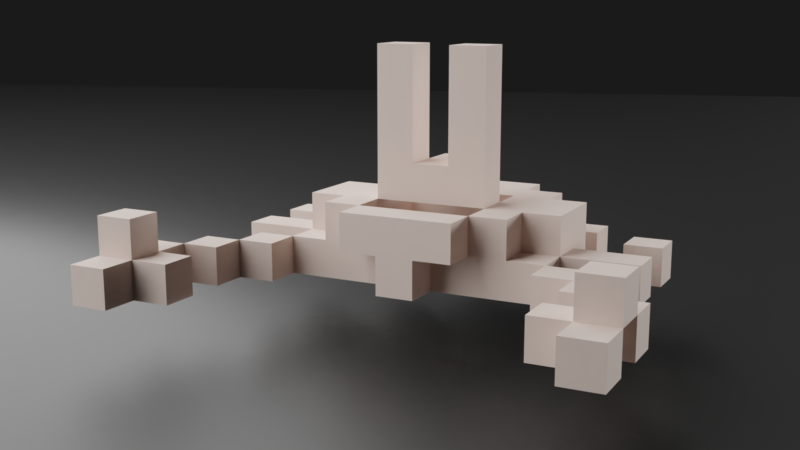
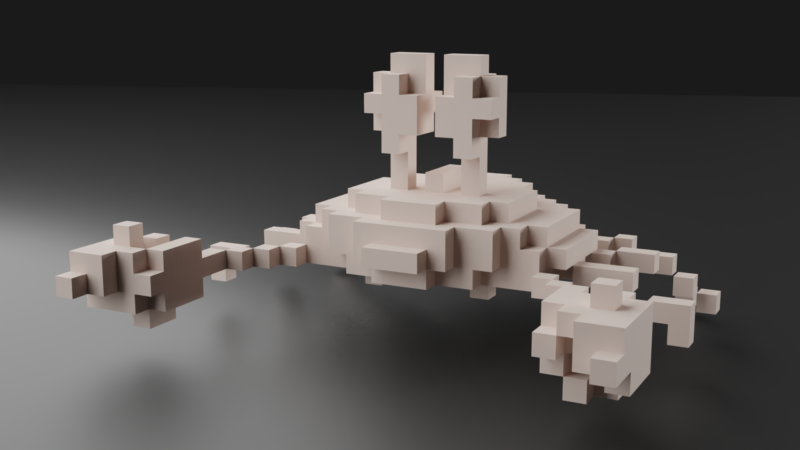


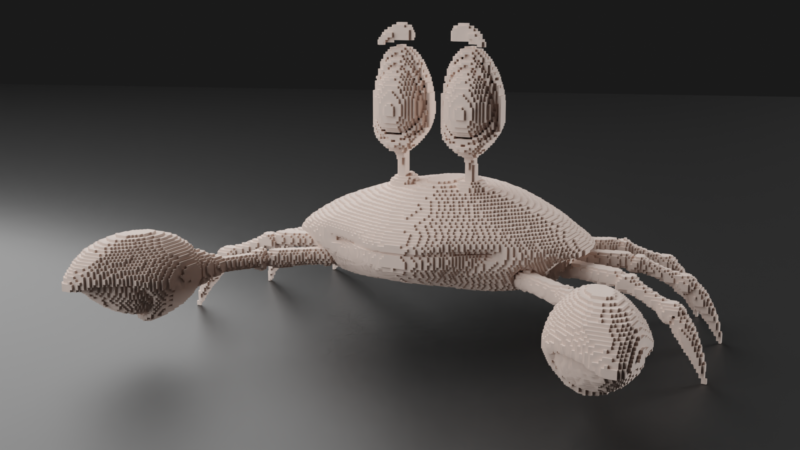
Although neat, it’s not really what the modifier was designed for. As the name suggests, the geometry is changed and as such, all your UV maps will be lost in the process. I’m sure there’s a workaround for this, but I have no idea what it might be. ZBrush could turn textures into Pixols and leave colour data intact, so maps could be baked after a remesh operation. I’m not sure Blender has such an option. If I found out, I’ll certainly let y’all know.