I keep forgetting how to use Emojis in Photoshop. It’s not all that intuitive, so while it’s fresh in my head, let me make a note of it here. This works for both Emojis as well as special characters.
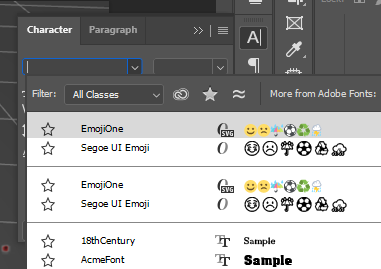
The key thing to remember is that an Emoji is just a regular character typed with a particular font. Depending on your operating system, you’ll have one on Windows (EmojiOne) and another one on the Mac (Apple Color Emoji, in addition to EmojiOne). To create one, use the regular Text Tool (T) and click anywhere in the document. From the Character Menu, select the desired emoji font.

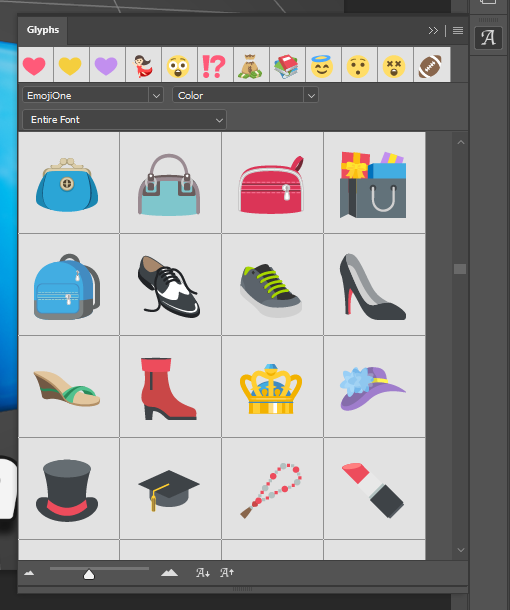
This will automatically switch to something called the Glyphs Menu, from where you can pick an emoji of your choice. There are some filtering options at the top and some thumbnail size options at the bottom. Feel free to resize the window to see more or less rows of the font.

This menu will work with any font by the way, so if you ever need to insert one of the scary German Umlaut characters, a French accent or cross out the O to name your favourite Icelandic character, switch the font at the top.
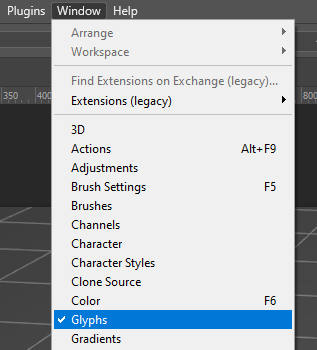
And just on the off chance that the Glyphs Menu doesn’t come up automatically, or if it vanishes from your Toolbar (yes Photoshop… why does this happen sometimes?), head over to Window – Glyphs and enable it from there.
