Sometimes we may need access to occluded parts in Substance Painter. The easiest way to deal with such hidden parts is by making them accessible before importing the model, such as opening the lid of a chest or the mouth of a figure, or even “exploding” an object to make all its surfaces accessible. While this won’t affect the textures of a model, it’s not always possible to do this or too cumbersome.
Thankfully there’s a Geometry Mask that lets us hide certain parts of an object we’ve imported. It’s accessible through the Mask Icon on any layer towards the right. Click on it to display a Mask Type: UV Tiles or Mesh Names.
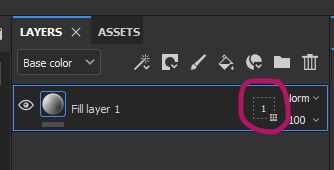
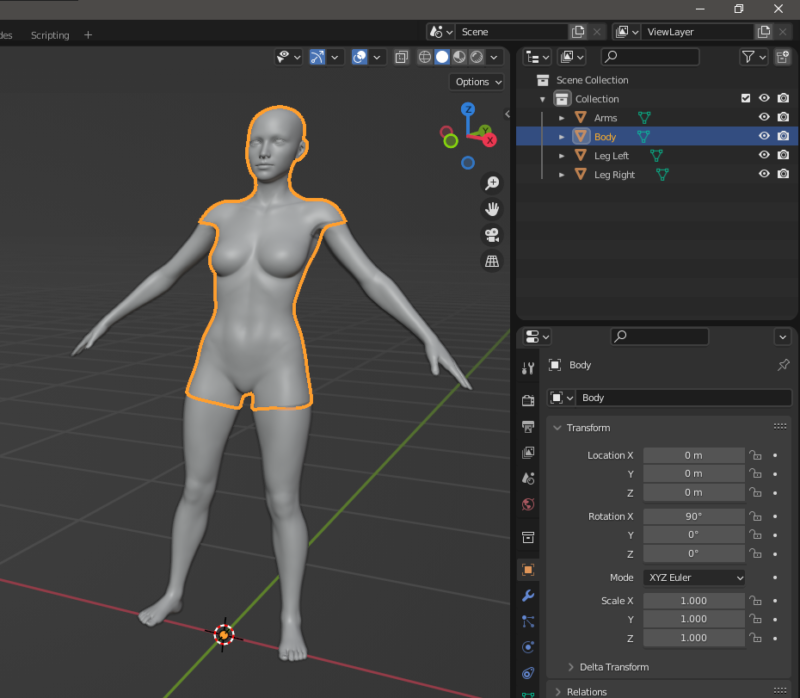
UV Tiles will restrict what this layer can do to a UDIM Tile. Mesh Names are parts of a mesh that’s split into multiple pieces on import. Think of a character that’s split by arms, legs and body for example. Select either mode, then hover over each tile/name to show a highlight on the mesh.
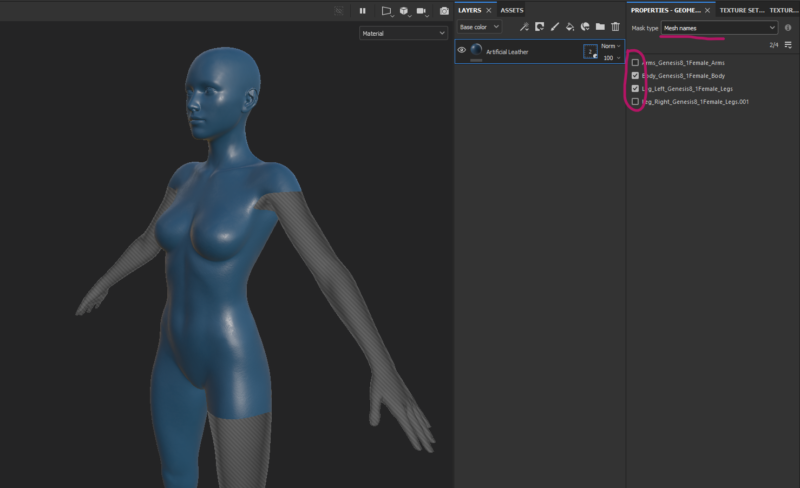
In my example, I’m going to select the body and the left leg, and disable the other two parts of my mesh. The unselected parts can be hidden when I select the Layer Material again (little ball icon towards the left).
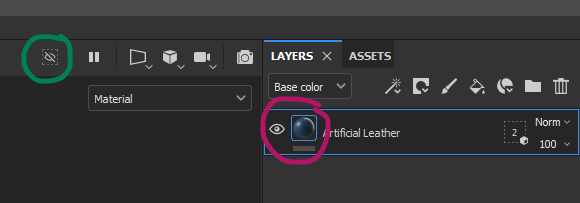
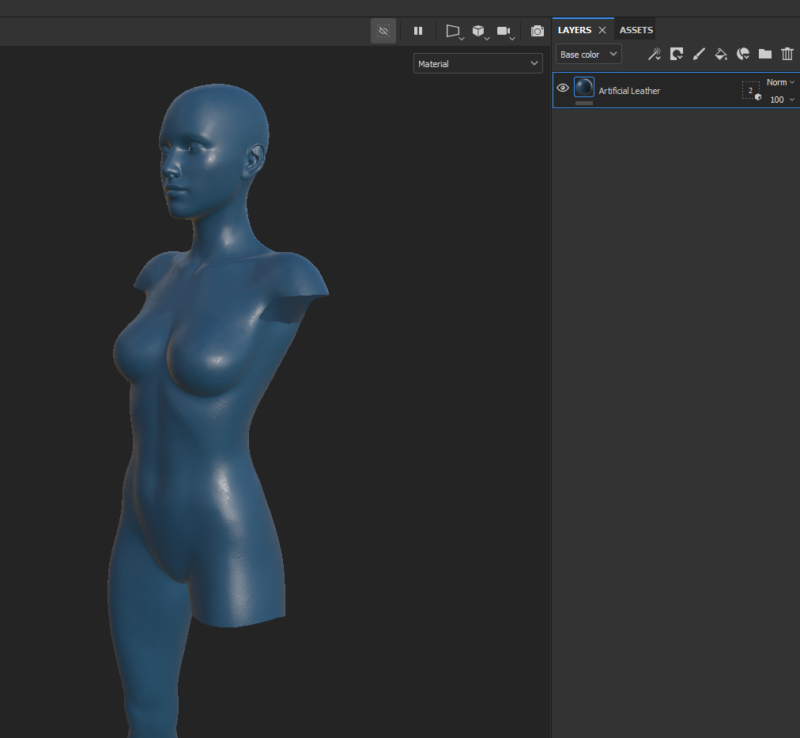
Now select the little “crossed out eye” icon at the top and the unselected Mesh Names or UDIM Tiles will disappear from view. They’re now accessible for painting and for projections. Neat!
How do we split a mesh, Cap’m?
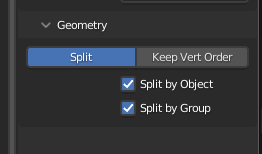
Blender can do this upon import of an OBJ file. Any Vertex/Face/Polygroups that are setup on the object can be turned into their separate object when we select the Split by Group option (under File – Import – Wavefront OBJ).
you are rock