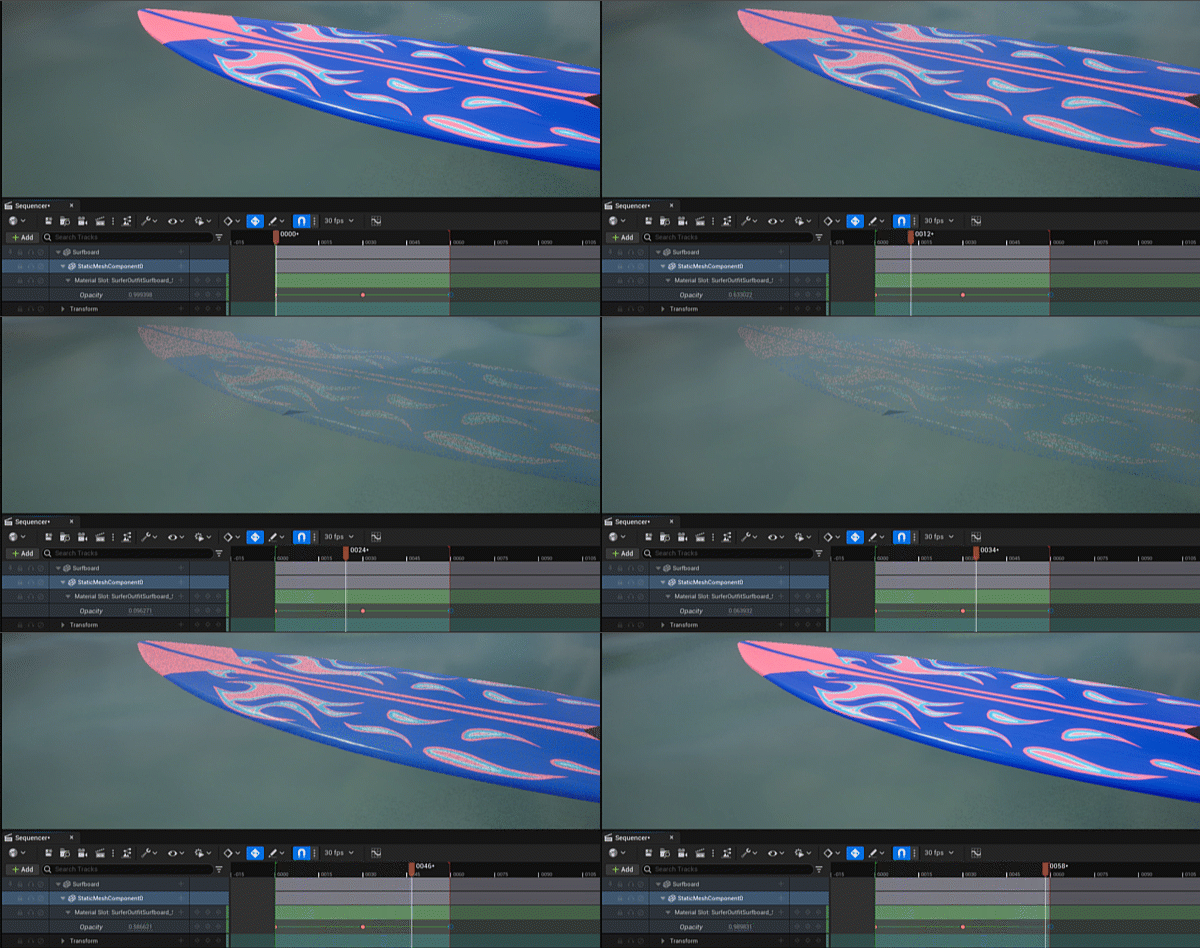
Sometimes we need objects to fade in and out in our animations, but sadly not every material lets us do this. Those that are designed with any kind of opacity in mind will already have a map plugged into the respective channel, and it’s easy to designate a scalar parameter with a multiply node and adjust that. But not every object is made with opacity in mind, which means we can’t adjust its transparency by default.
Thankfully there is something that can make it appear as if an object is disappearing via that ugly dither effect nobody likes. Granted it’s not perfect, but sometimes that’s as good as it gets. Here’s how we make it perfect happen (totally non-perfectly).
Let’s take this example of a basic material. It doesn’t have inputs for opacity or opacity mask. That’s because default materials are set to be opaque.
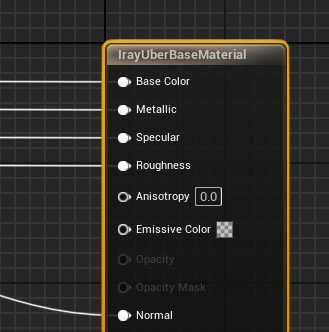
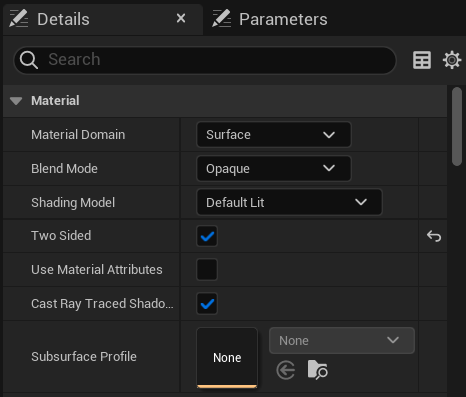
To change this, select the material node and take a look at the details panel. Under Blend Mode, it’ll say Opaque. Let’s change this to Masked and we’ll see that Opacity Mask option come up in our material.
If you plug a map or float value into that slot now, 1 is completely opaque, and 0 is transparent. However, when you animate that parameter the visibility of the object will just pop and not fade. Try it out and you’ll see what I mean.
Instead, let’s use a node called Dither Temporal AA. If we plug our float parameter into that, and the resulting output into the Opacity Mask, we can animate a pseudo transparency dither value.
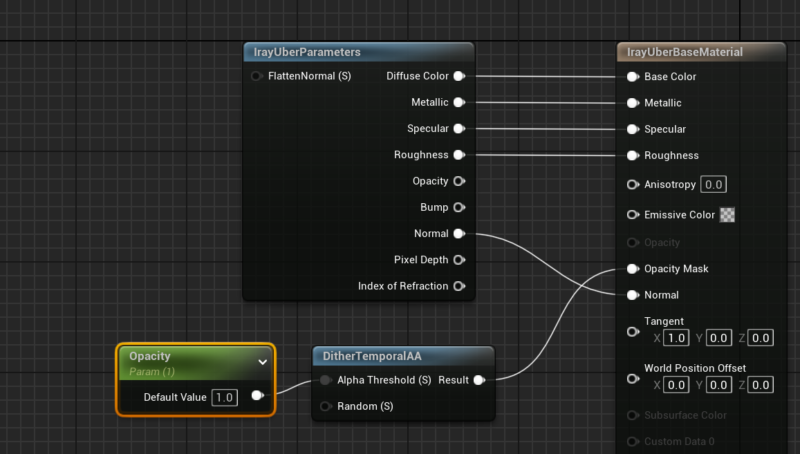
Granted this isn’t going to look fantastic, but if you look closely we find this effect in many video games that need to dissolve complex objects at the end of their life to get them off the screen.
Animating this thing
To animate this property in Sequencer, add your object and track the Static or Skeletal Mesh Component inside it. In there, track the material slot (not the material switcher), and in there you’ll find your opacity value (usually alphabetically sorted in a long list of other parameters).
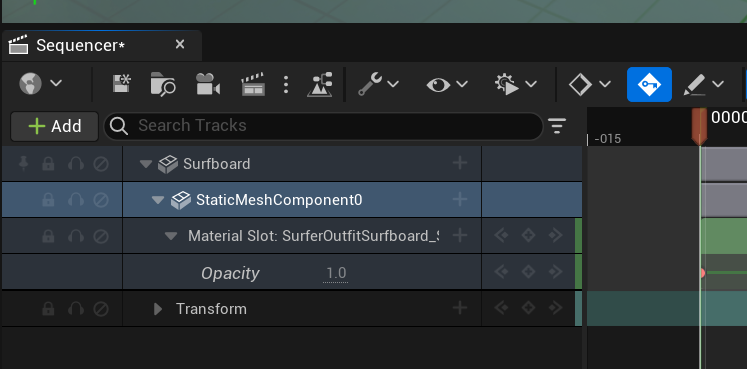
Enjoy!