Sometimes we may need to get rid of objects that clutter up our Blender scene. When it’s geometry that’s very easy to do: click on the object in the viewport or the outliner, the press X or delete and said object is gone. But what about unused textures, materials and material slots? Not so obvious indeed. Let me show you how to do it.
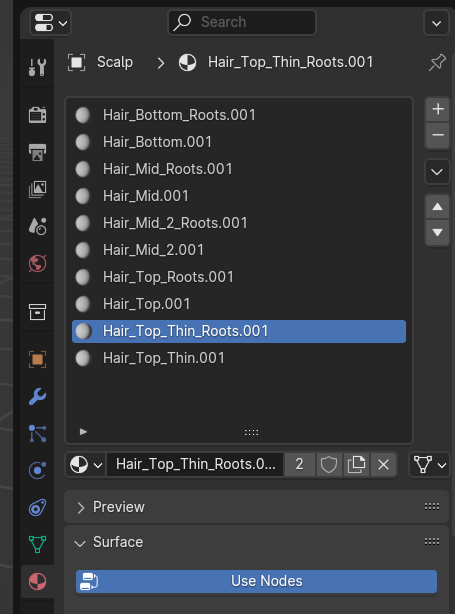
Here’s an example of an object with one too many material zones. One material can have multiple slots too, and there may be textures hiding in here that I really don’t need in my scene.
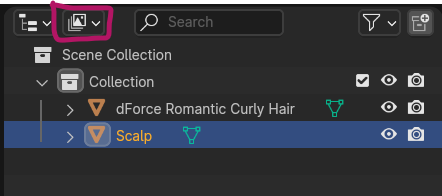
Have a look at Blender’s regular Outliner and take a look at the oft forgotten icon between the type of panel and the search field. It can switch Outliner into various modes, letting us look at things other than the default View Layer (that’s the one showing us objects and collections in our scene).
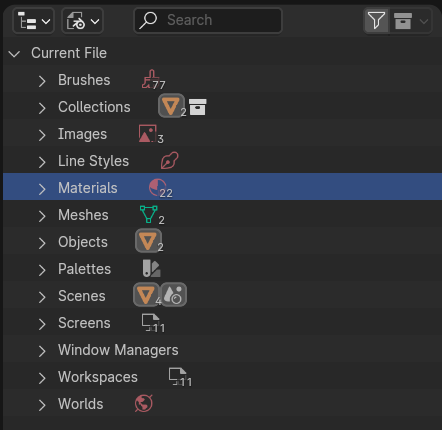
Click on that icon and switch it to Blender File. This will show us a mini file browser type layout, showing a hierarchy of every object in our blend file. Those contain anything from materials, image files, paint textures, collections and even workspace setups. Quite the powerful little tool the outliner!
In my example I can expand the Materials section and see all those pesky materials cluttering up my file. Select one or multiple, then right-click and choose delete (sorry, no keyboard shortcut available as far as I can see).
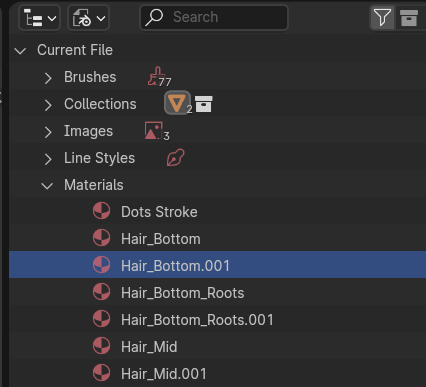
You can do the same in any of the other sections, like images or even objects (selecting/deleting them here will have the same effect as doing it from the viewport).
That’s it! I hope you’ve learnt something new today.