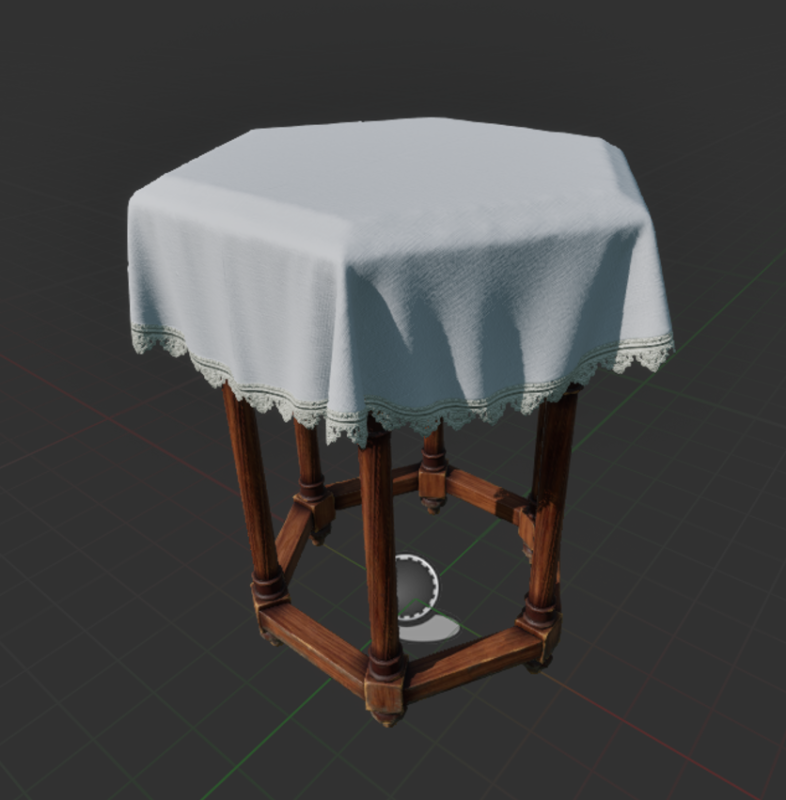
Last week I wanted to add a table cloth to a table and add a lace trim, so that it would match an existing item of furniture in our scene. I went through several iterations until I came up with a good workflow, and thought I’d share it with you. This took much longer on my first attempt than it should have, which lead to a different approach I’ll explain here too. Perhaps my mistakes can save you from the 3D time sink 🙂
Draping in Marvelous Designer
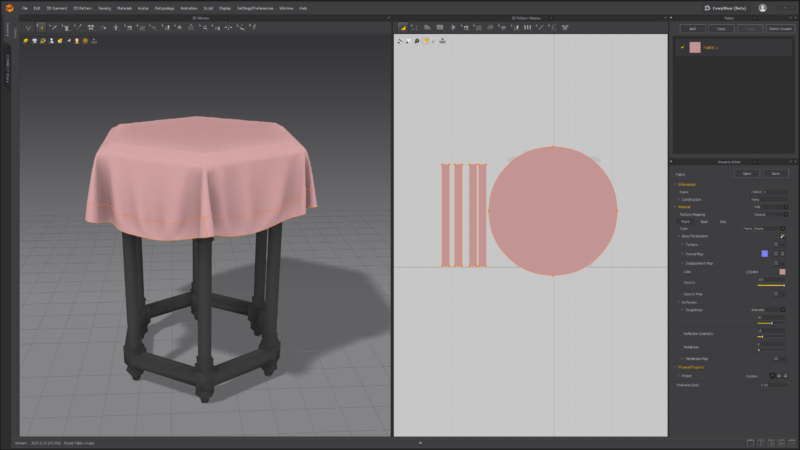
I already had the hexagonal table, so I imported it into MD as avatar and measured its diameter. From there I deduced that a 75cm circle would work well as round table cloth. I used the ellipse tool to create one, then used the orthographic views to position it fairly centre.

My first idea for the lace trim was to create an internal line around the cloth, then cut it off and somehow add lace to it. That didn’t turn out well because this would become a long round strip that would also be rounded on the UVs, foreshadowing trouble to add a straight strip to it. I then decided to measure the circumference of the circle and add 4 straight strip segments to the cloth, which would make UV mapping so much easier (besides, it’s how a hem would end up on a cloth in real life).
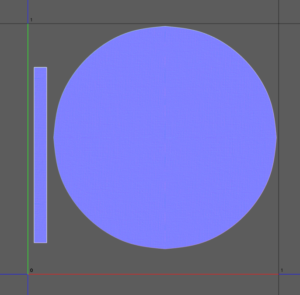
My original texturing attempt was to use a UV layout similar to what we see in the 2D pattern window on the right. Turns out that’s four times the amount of work for the lace, so I ended up stacking all the side strips on top of one another like so:

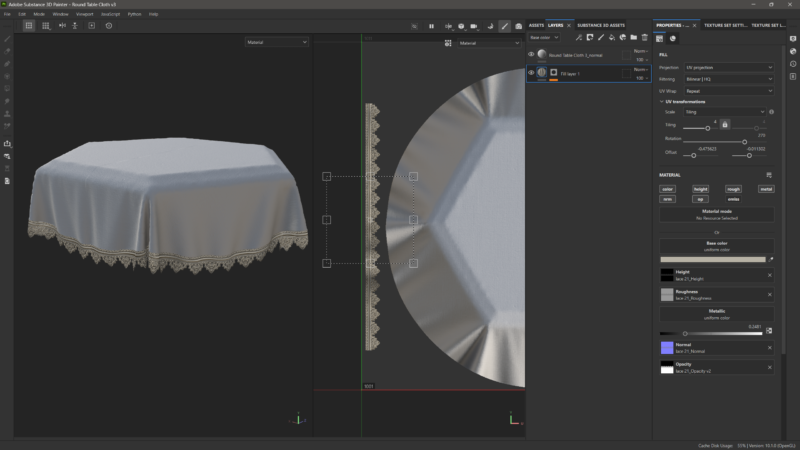
This means I only have to drag out one strip of lace in Substance Painter and position it so that the end bits line up. It is important that all strips are rotated correctly, otherwise some lace will face the wrong way (thankfully we can use the little blue dot indicator in MD to check which direction faces which way).
I’ve also added a normal map here in MD with the correct scaling to have a subtle effect of fine cotton. I’ve exported all this as OBJ and brought it into Substance Painter.
Making Lace in Substance Painter

After baking my maps, I created a fill later and imported a lace strip I bought from Artstation. There are so many packs to choose from, some come as SBSAR materials as well as individual PBR maps. I used the latter to drag the maps into their respective channels, then adjusted the tiling to match the size of my object and positioned it on top of the stacked side strip in the 2D window. The lace layer had a black mask attached, removing the centre cloth so that the opacity channel wouldn’t interfere with it.
The last thing I needed was the exported normal map from MD that ended up as my top layer in the normal channel.
In the end if was much easier to think about the UV layout rather than rush ahead into Substance Painter and try to salvage something with more work than it was worth. It’s a good lesson to keep in mind: you’re the master of your own UVs, and then it comes to texturing, clever UV planning can avoid a lot of headaches and alleviate time cost down the line.