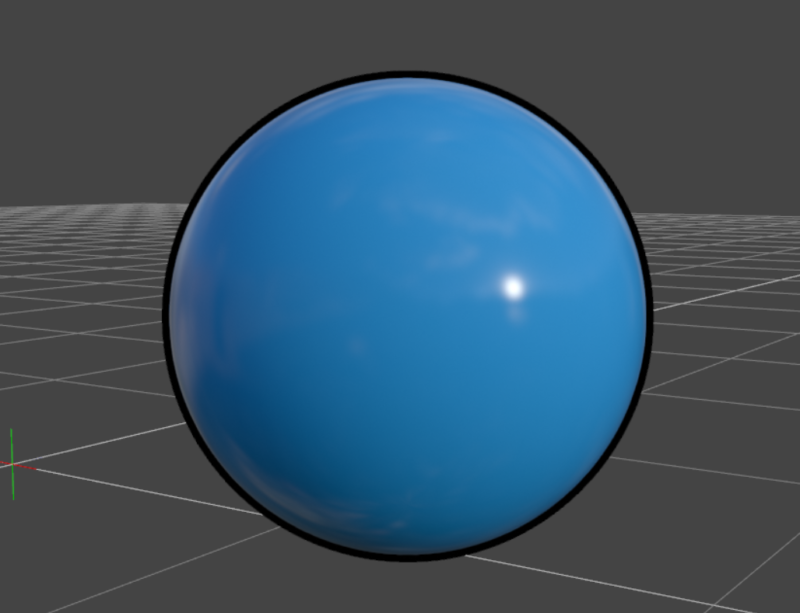
FilaToon is a new shader that’s been introduced in Daz Studio 4.23. The actual render engine to make this possible (Filament) has not changed and was actually introduced sometime in 2019, but it never did anything other than auto-translate Iray shaders under the hood for faster scene previews in the viewport. With FilaToon, the developers implemented dedicated Filament bricks and gave us a shader that can provide an instant toon style look.
The setup consists of two parts: a base shader for the object, and a geoshell to create the outline. You need Daz Studio 4.23 or higher, and update your default resources to use FilaToon. Note that Filament is only available on Windows, so if you’re a Mac user, none of this is going to work.
While many products are now appearing on the store that come setup with this shader, it is possible to convert existing objects you already have in your library, or to create your own and apply this shader/outline combo. This shader is available for free and is not related to the Daz Premier subscription, even though appeared around the same time.
Here’s how to setup FilaToon:
- select a material zone of an object in your scene (either with the Surface Selection Tool, or use the Surfaces tab)
- switch to FIiament Viewport Shading
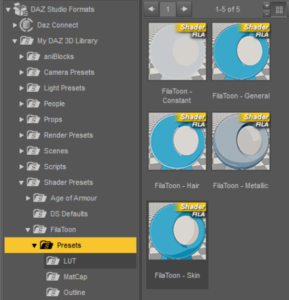
- in the Content Library, head over to Shader Presets – FilaToon – Presets and apply one that’s right for your object (general, skin, hair, etc)
- on the surfaces tab, pick a colour for your object (under Base Color)
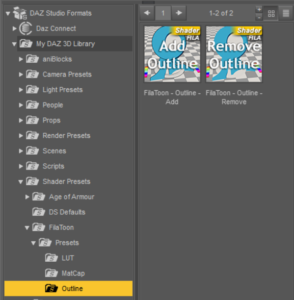
- now navigate to Outline and run the Add script, which generates a geoshell
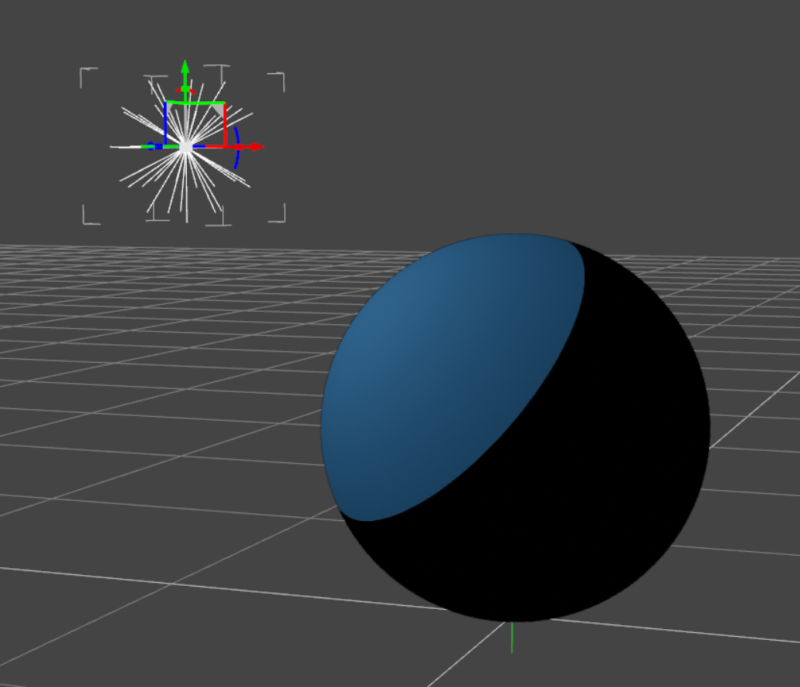
That’s it! You’ll likely see a completely back object now. This is because FilaToon needs at least one light source for anything to become visible in the scene (HDRIs don’t count). Light objects could be your camera’s headlamp, a point light, or a distant light. Create either of those and move it around to see the effect. Here I’ve used a point light and moved it slightly away from my sphere object.
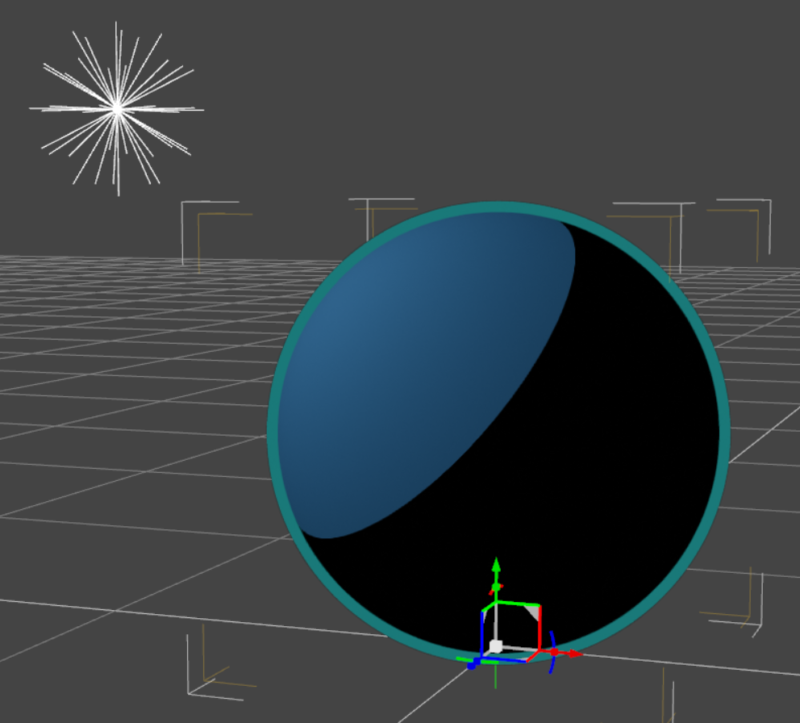
To adjust the width of your outline, select the geoshell, switch to the Parameters Tab and adjust the Mesh Offset. Higher values mean wider outlines. Note that this is a fixed value and it doesn’t change with your camera. This means that wider shots will require thicker outlines to become visible, while closer shots will benefit from lower values (a bit like with bump map values).
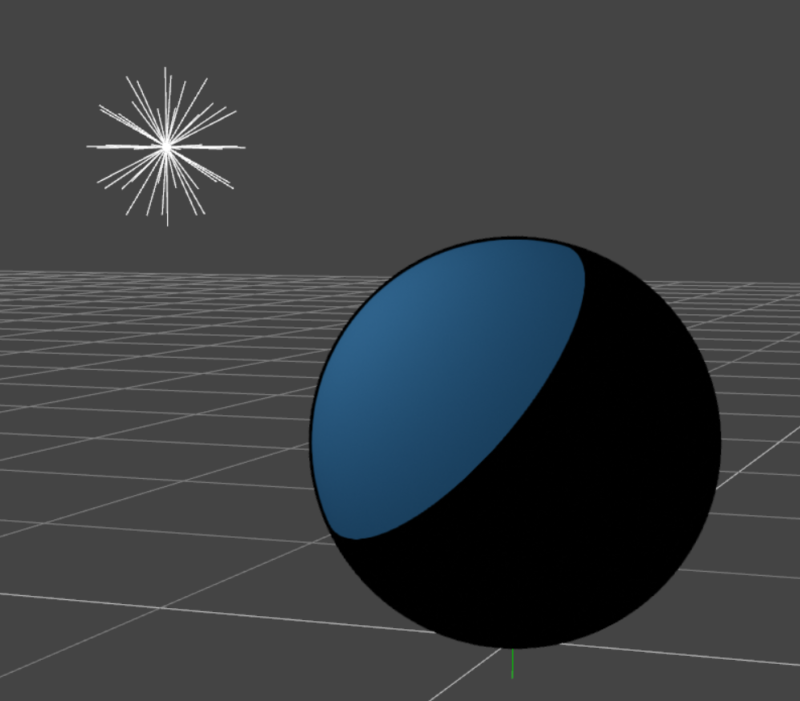
The outline is black by default, but the colour can be set on the surfaces tab with the Base Color setting.
FilaToon Environment
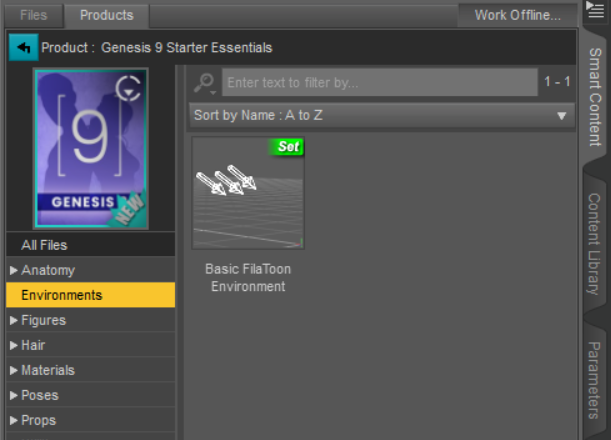
If you want to get started quickly, the Genesis 9 Starter Essentials come with a pre-made Basic FilaToon Environment Scene Subset. This will bring in a distant light, a Filament Draw options node, Tonemapper and Environment nodes. It’s a good starting point and a place to investigate settings.
How can we render Filament/FilaToon scenes, Cap’m?
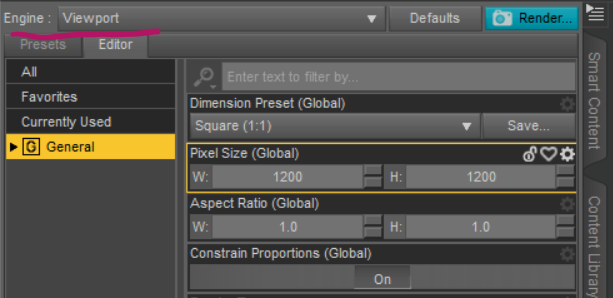
Under Render Settings, at the very top of the list, you’ll find an Engine drop down menu. This is usually set to NVIDIA Iray, but there are several other options to choose from (like 3Delight). To render anything in Filament, we basically render whatever we see in the viewport. So as long as your viewport shading is set to Filament (lightbulb icon), you can change your render engine to Viewport, set the render dimensions and destination, then hit Render as usual.
That’s it! Now you know the basics of how to use FilaToon in Filament. Have fun, poke around the settings and see if you like this new render style.
Hi Jörk,
Interesting and exciting … by any chance … do you know … will there ever be a version working on Apple Mac?!
It’s a tricky one… I know they’ve been working on something that’s colloquially known as “Daz Studio 5”, although it’ll probably be called something different. It’s a new version of the same software built on top of a new version of Qt (the framework that makes the windows appear essentially, so that it looks the same on Windows and Mac). With that new version I’m sure Filament will be supported on Mac, but it’s unclear when it will be released. It’s a huge amount of work for the small team to make sure all functionality is retained, but I know they’re working on it.
So it remains exciting. It’s a shame that the implementation for Apple Mac is not yet working so smoothly.
Many thanks for your reply.