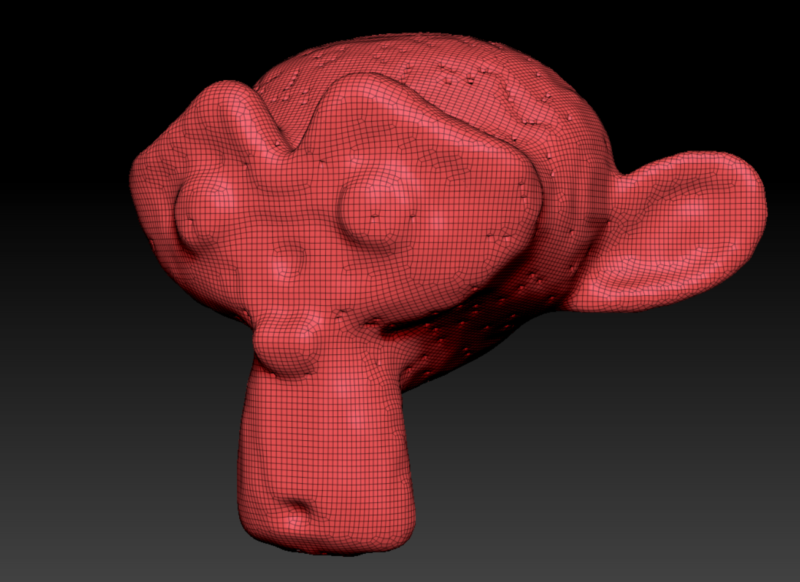
I’ve recently worked out how to properly use the ZRemesher in ZBrush. It ccan create handsome topology from somewhat messy meshes. I had previously assumed it’s a one-click magic button, but learnt the hard way that it actually distorts meshes to the point of not being able to recognise them afterwards. Turns out ZRemeshing is only part of the process, and projecting detail/shape is quite another. So here’s how to actually do it:
- duplicate your mesh and rename it
- ZRemesh it
- project all detail back from the original
- repeat if necessary with further iterations
Let’s take a look at this step by step. I’m using ZBrush 2022.8 for this, and the Suzanne monkey from Blender with a couple of subdivision iterations and triangulation.
Import your mesh into ZBrush
I’ll head over to Tool – Import and bring in my monkey mesh. I’ll drag it out and switch to edit mode, pick a white matcap and turn on Line Fill so I can see the topology. I’m also turning on perspective because every other sane application works that way. We’ll see something like this.
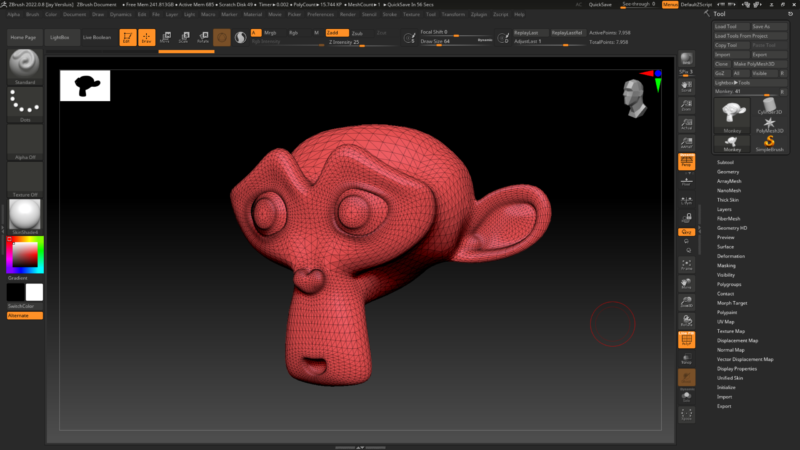
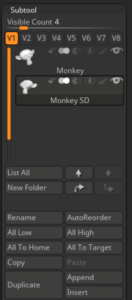
Under Subtool, let’s duplicate our mesh and rename it to Monkey SD so that we don’t get confused.
Let’s (Z)remesh this thing
Here’s why we want remesh in the first place: If you examine the eyes and nose of our monkey, you’ll see the topology is much denser than say on the top of the head. This isn’t great for texturing and the resulting density variation can lead to uneven texture results. Remeshing this into evenly spaced quads will alleviate the problem and make our textures look much better.
Under Geometry – ZRemesher you’ll find various confusing options. Let’s ignore them all and just use the defaults. We can delve into the intricacies of whatever these bizarre settings may mean later in life (or not). All we have to do really is to hit the big ZRemesher button (under the option that’s also called ZRemesher, because that’s not confusing at all).

It’ll take a few moments to calculate, but in my opinion the ZRemesher is WAY faster and prettier than any other remesher I’ve come across. Here’s what my monkey mesh looks like now. I still have the previous mesh showing, hence the poke through.
Projecting the previous shape back
I suppose due to the speed of the algorithm, the shape of my remeshed version can significantly differ from the original. It’s hard to see from my monkey mesh here, but I’ve had fingers of characters and arms significantly shrink in comparison to the original, and essentially ruin shapes. Bad ZRemesher!
Thankfully ZBrush has a feature that can restore the shape of our remeshed version and line it up with the original. Therefore this step is an essential part of the remeshing workflow in ZBrush. To do that:
- make sure both meshes are visible
- select the one you want to project to (i.e. the remeshed version)
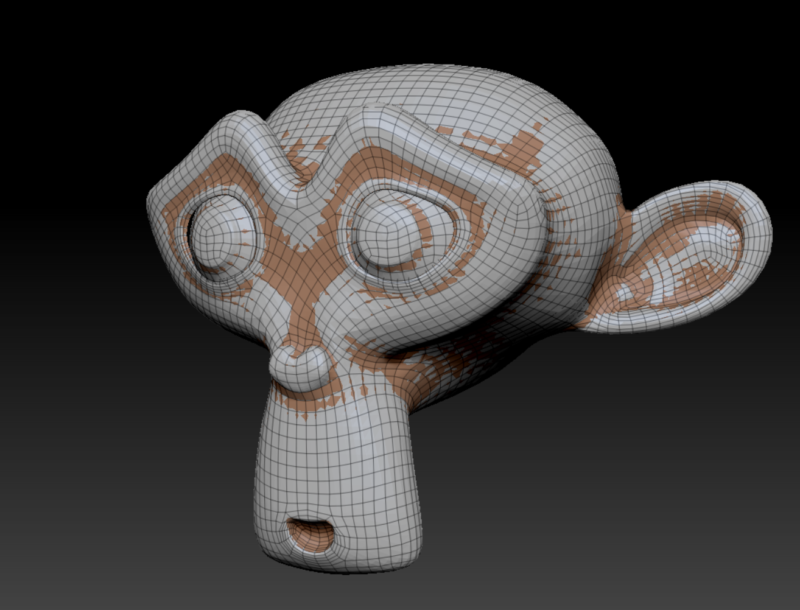
- then under Subtool – Project, click on Project All
Compare this version to the original remesh (above) and you’ll see the projected mesh lines up a little differently compared to the original (notice the top of the head as an example).
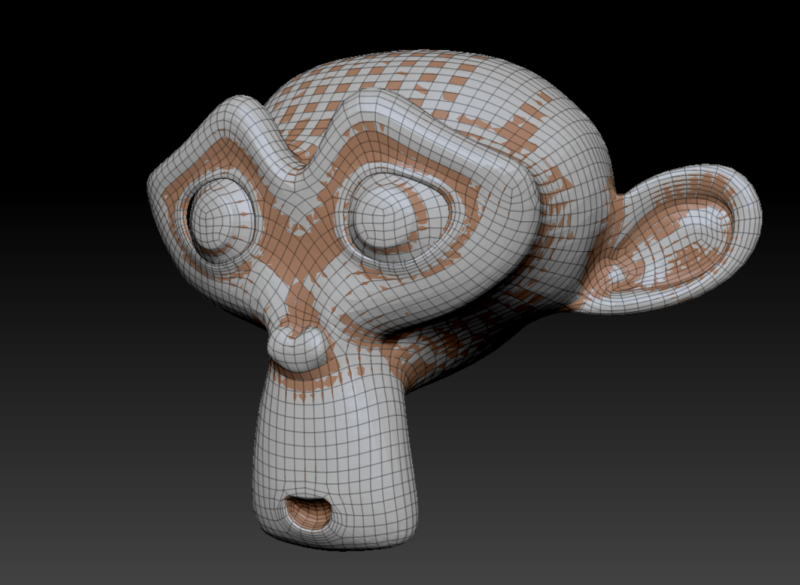
That’s it! Thanks to this great reddit post by CubicalWarefare I can finally use this thing (12 years after buying ZBrush… it’s just never too late to learn existing features). I hope this was helpful.
Why is it called ZRemesher and not just Remesher, Cap’m?
Good question! Turns out “in the olden days”, ZBrush came with a built-in remesher that’s still accessible from the Subtools menu. With a single click, it will duplicate and remesh your subtool. The results aren’t great, so the algorithm has been greatly overhauled and shipped as a plugin called the ZRemesher.
For legacy purposes, the regular remesh function is still included, but to differentiate it from the new plugin, they gave the new one a different name (besides, every cool feature in ZBrush starts with a Z, including the app itself).
Here’s what our original monkey looks like with the old built-in remesher. Not pretty, so let’s use the ZRemesher instead.
