It’s easy to setup rigid body physics in Blender, although far from obvious. I don’t do it often enough to remember by heart, so here are the basics:
Physics Objects
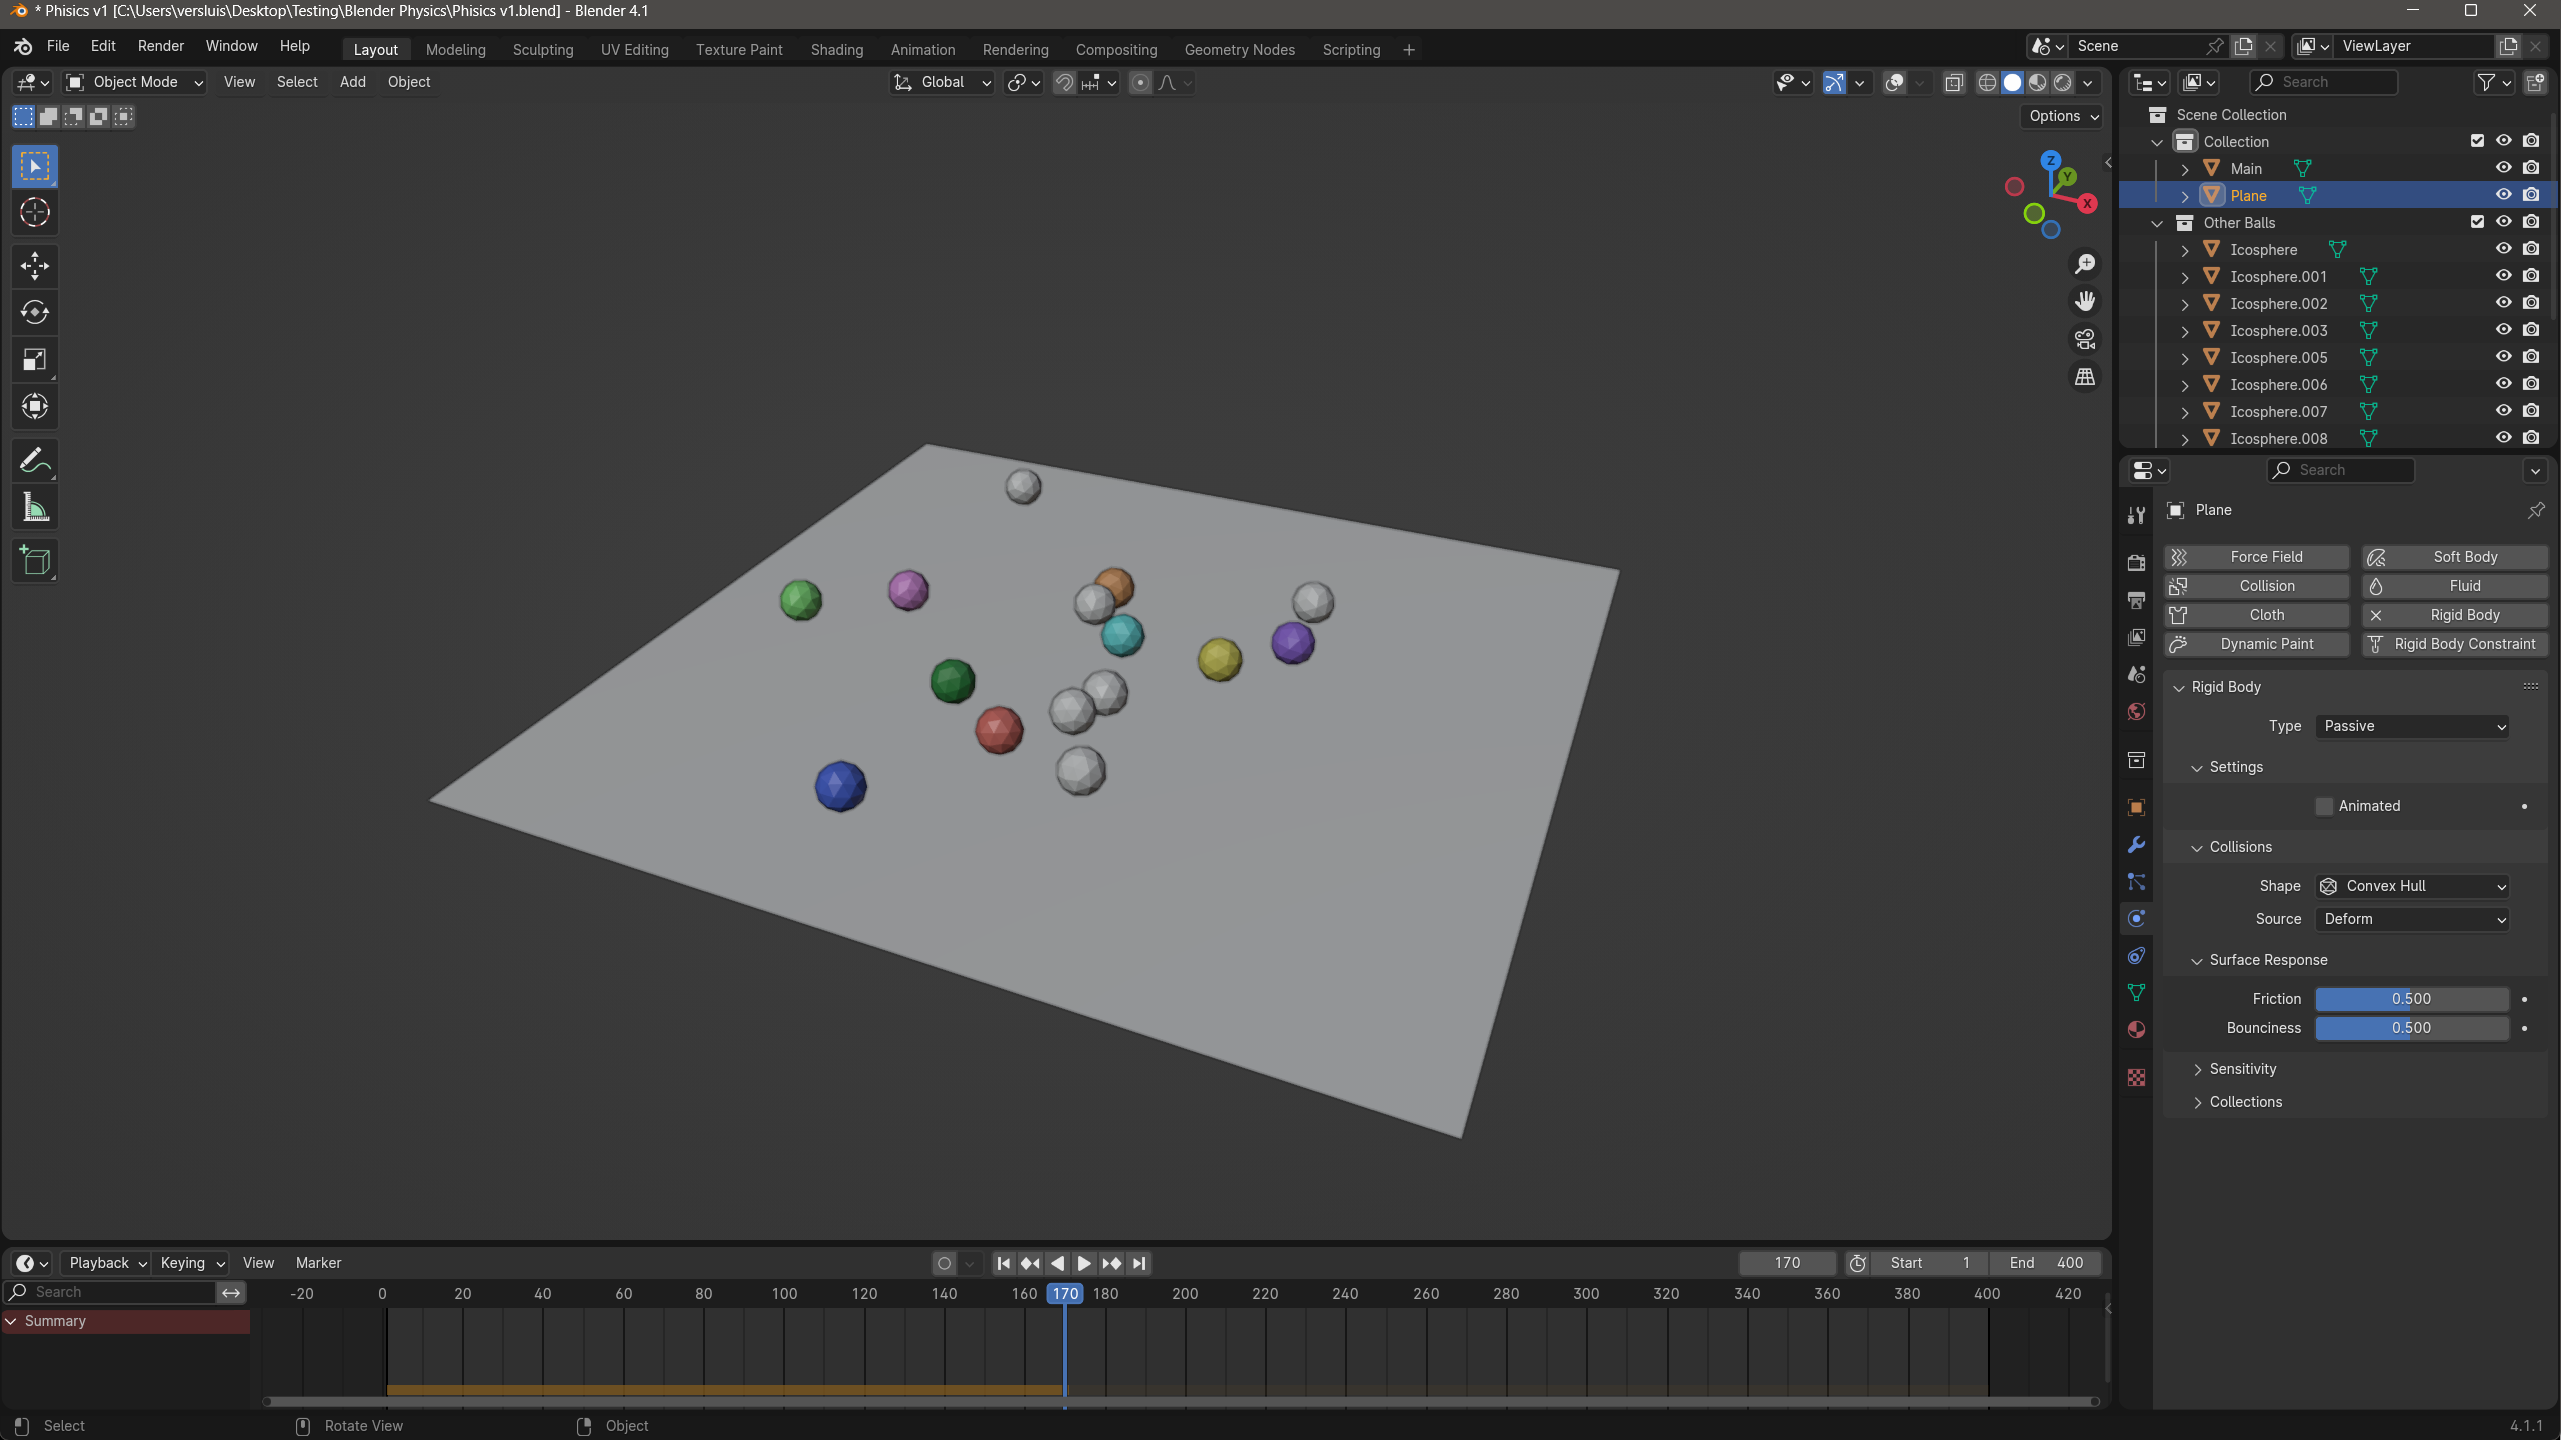
I’ll create a plane and an icosphere for this example, then move the sphere up above the plane by a few meters. Both objects need to participate in the simulation, so we’ll use the Rigid Body option on the Physics tab.
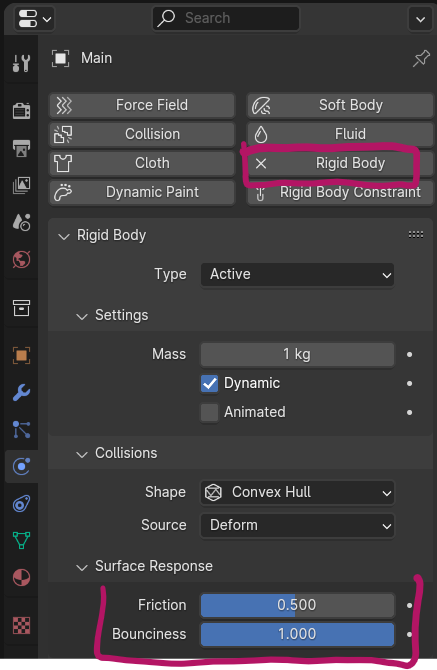
We’ll set the sphere to Active and leave the default values for now. Crank up the bounciness to make the falling object interact when it lands. We’ll need to do the same with the plane, but because we don’t want it to fall down as well, we need to set it to Passive. That way it’ll act as a collider rather than an active animated participant. I’ll set the bounciness on the plane to 0.5, otherwise the sphere won’t actually bounce.
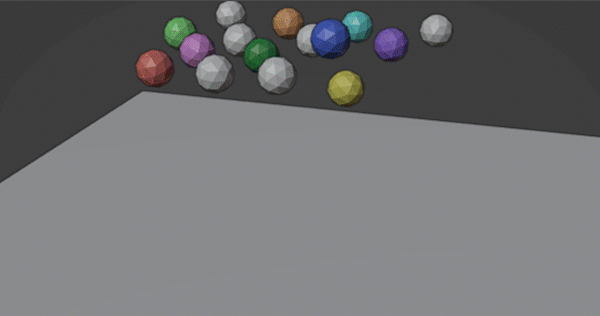
When we play our timeline, the physics will be calculated live every time and recorded over the previous simulation.
Physics World Settings
If we change the timeline duration, we might notice that subsequent simulations still stop at frame 250 (the default setting). Therefore there must be other global options to fiddle with. We can indeed find those on the World Settings tab.
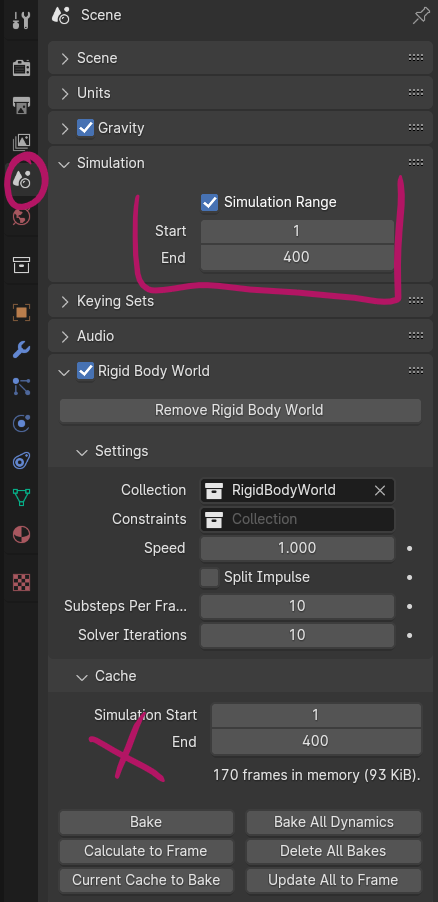
Take note of the Simulation Range, which needs to be adjusted to the same duration as our timeline. Also note the Cache settings at the bottom that also need to be adjusted. When we hit “bake”, our physics will be calculated and applied to the timeline. We can then delete and re-bake for adjustments.
Pasting Physics Values
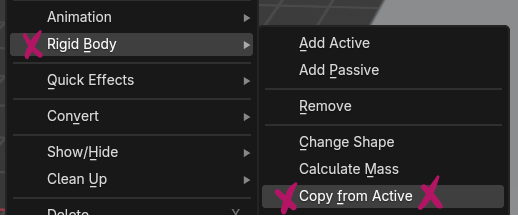
If you have multiple objects in your scene and one of them is setup just right, you may feel the need to paste those physics values onto multiple other objects. Of course that’s possible, but a tad too hidden for mortals to remember. Blender devs take great pleasure in hiding such options. Here’s how to do it:
Select all objects you want to paste to, then also select the object you want to copy from so that it shows as light orange. All other selected objects should now be just a tad fraction darker orange (again, made to confuse us). Now head over to Object – Rigid Body – Copy from Active. That’ll do the trick.
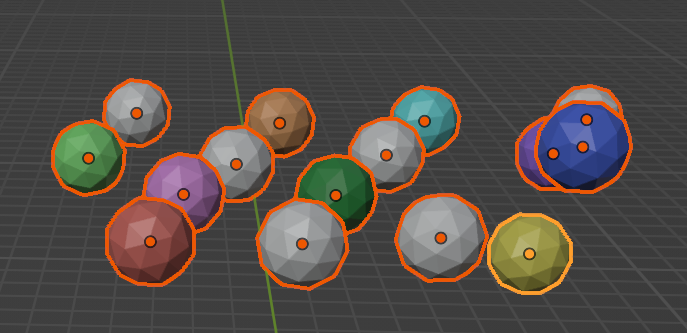
And that’s the basics! I’ll leave you with a visual Blender puzzle: spot the active object in this selection. The devs take great pride in making this visually as un-appealing as possible, and they succeed with every release (solution: it’s the yellow ball on the bottom right).