 I was playing XIII again the other day. The US GameCube version this time. I remember enjoying XIII on the original Xbox back in the day, as well as on PC.
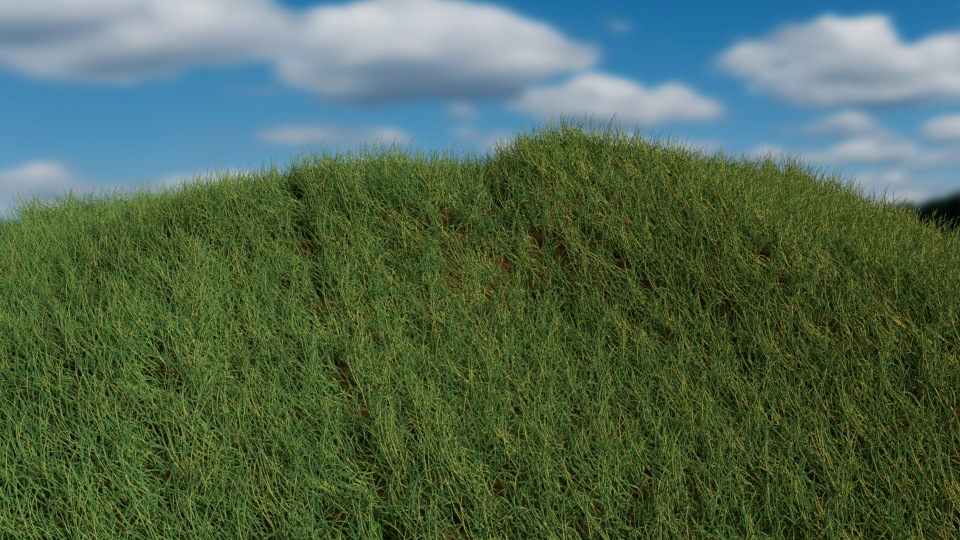
Even today, there’s nothing quite like playing these old style shooters with blurry textures and blocky unsmoothed 3D objects.
That aside, I had a tough time making the Grappling Hook work, mainly because the controls on the GameCube version must be the most terrible in the history of console gaming. Sadly my copy did not come with an instruction booklet, but at $4.99 with free shipping I’m not complaining. I found no instructions on the internet either, I’m probably a lost cause and too late for the XIII party anyway.
For future generations, and my future self, here’s how the XIII GameCube control work (from what I could figure out).
 Yesterday, while I was receiving my 13th chemotherapy shot at the hospital infusion suite, I’ve spontaneously joined


 Manga Studio (or Clip Studio Paint as it’s now called) has a very versatile brush engine. We can customise our own brushes too, so that we can “paint” with our own images – just like the ones above, all of which come with the app.
 Manga Studio has a really nice feature that I have been looking for in Photoshop for some time: a Selection Brush.
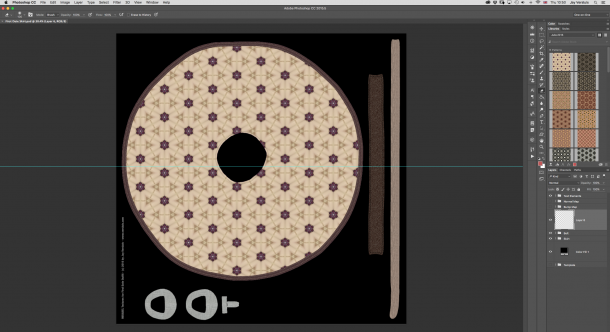
 I was doodling away in Photoshop, one hand on the keyboard and the other using my Wacom pen, when out of a sudden this crazy cyan blue line appeared right across my canvas. Super annoying!