After futzing CentOS 7 on my old Samsung Q330 laptop, I thought it would be fun to see if the old hardware from 2010 would be capable of running Blender. After all, the team have recently added CentOS as a new pre-built package to the list of downloadable options, and for me that was the perfect opportunity to try it out.
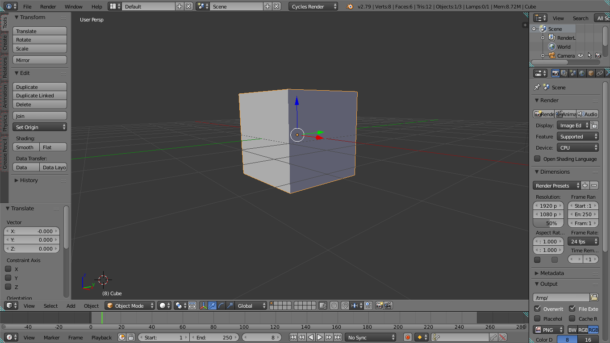
Turns out my Q330 only runs OpenGL Version 2.1, which means it can’t run Blender 2.8+. However it’s still capable of running 2.79, and it made me smile to see it full screen.
Of course trying to move anything on the screen proved to be difficult, because I had never done that before with a standard trackpad. My Mac has one, and it behaves beautifully with gestures out of the box, but I guess Windows and Linux users don’t have that luxury, even if a trackpad is present.
How do we navigate 3D space in Blender then, if there’s no mouse nearby? Well I’ve just found out, and I’d love to share it with you. I’ve only been able to test this in Blender 2.79, but I’m assuming