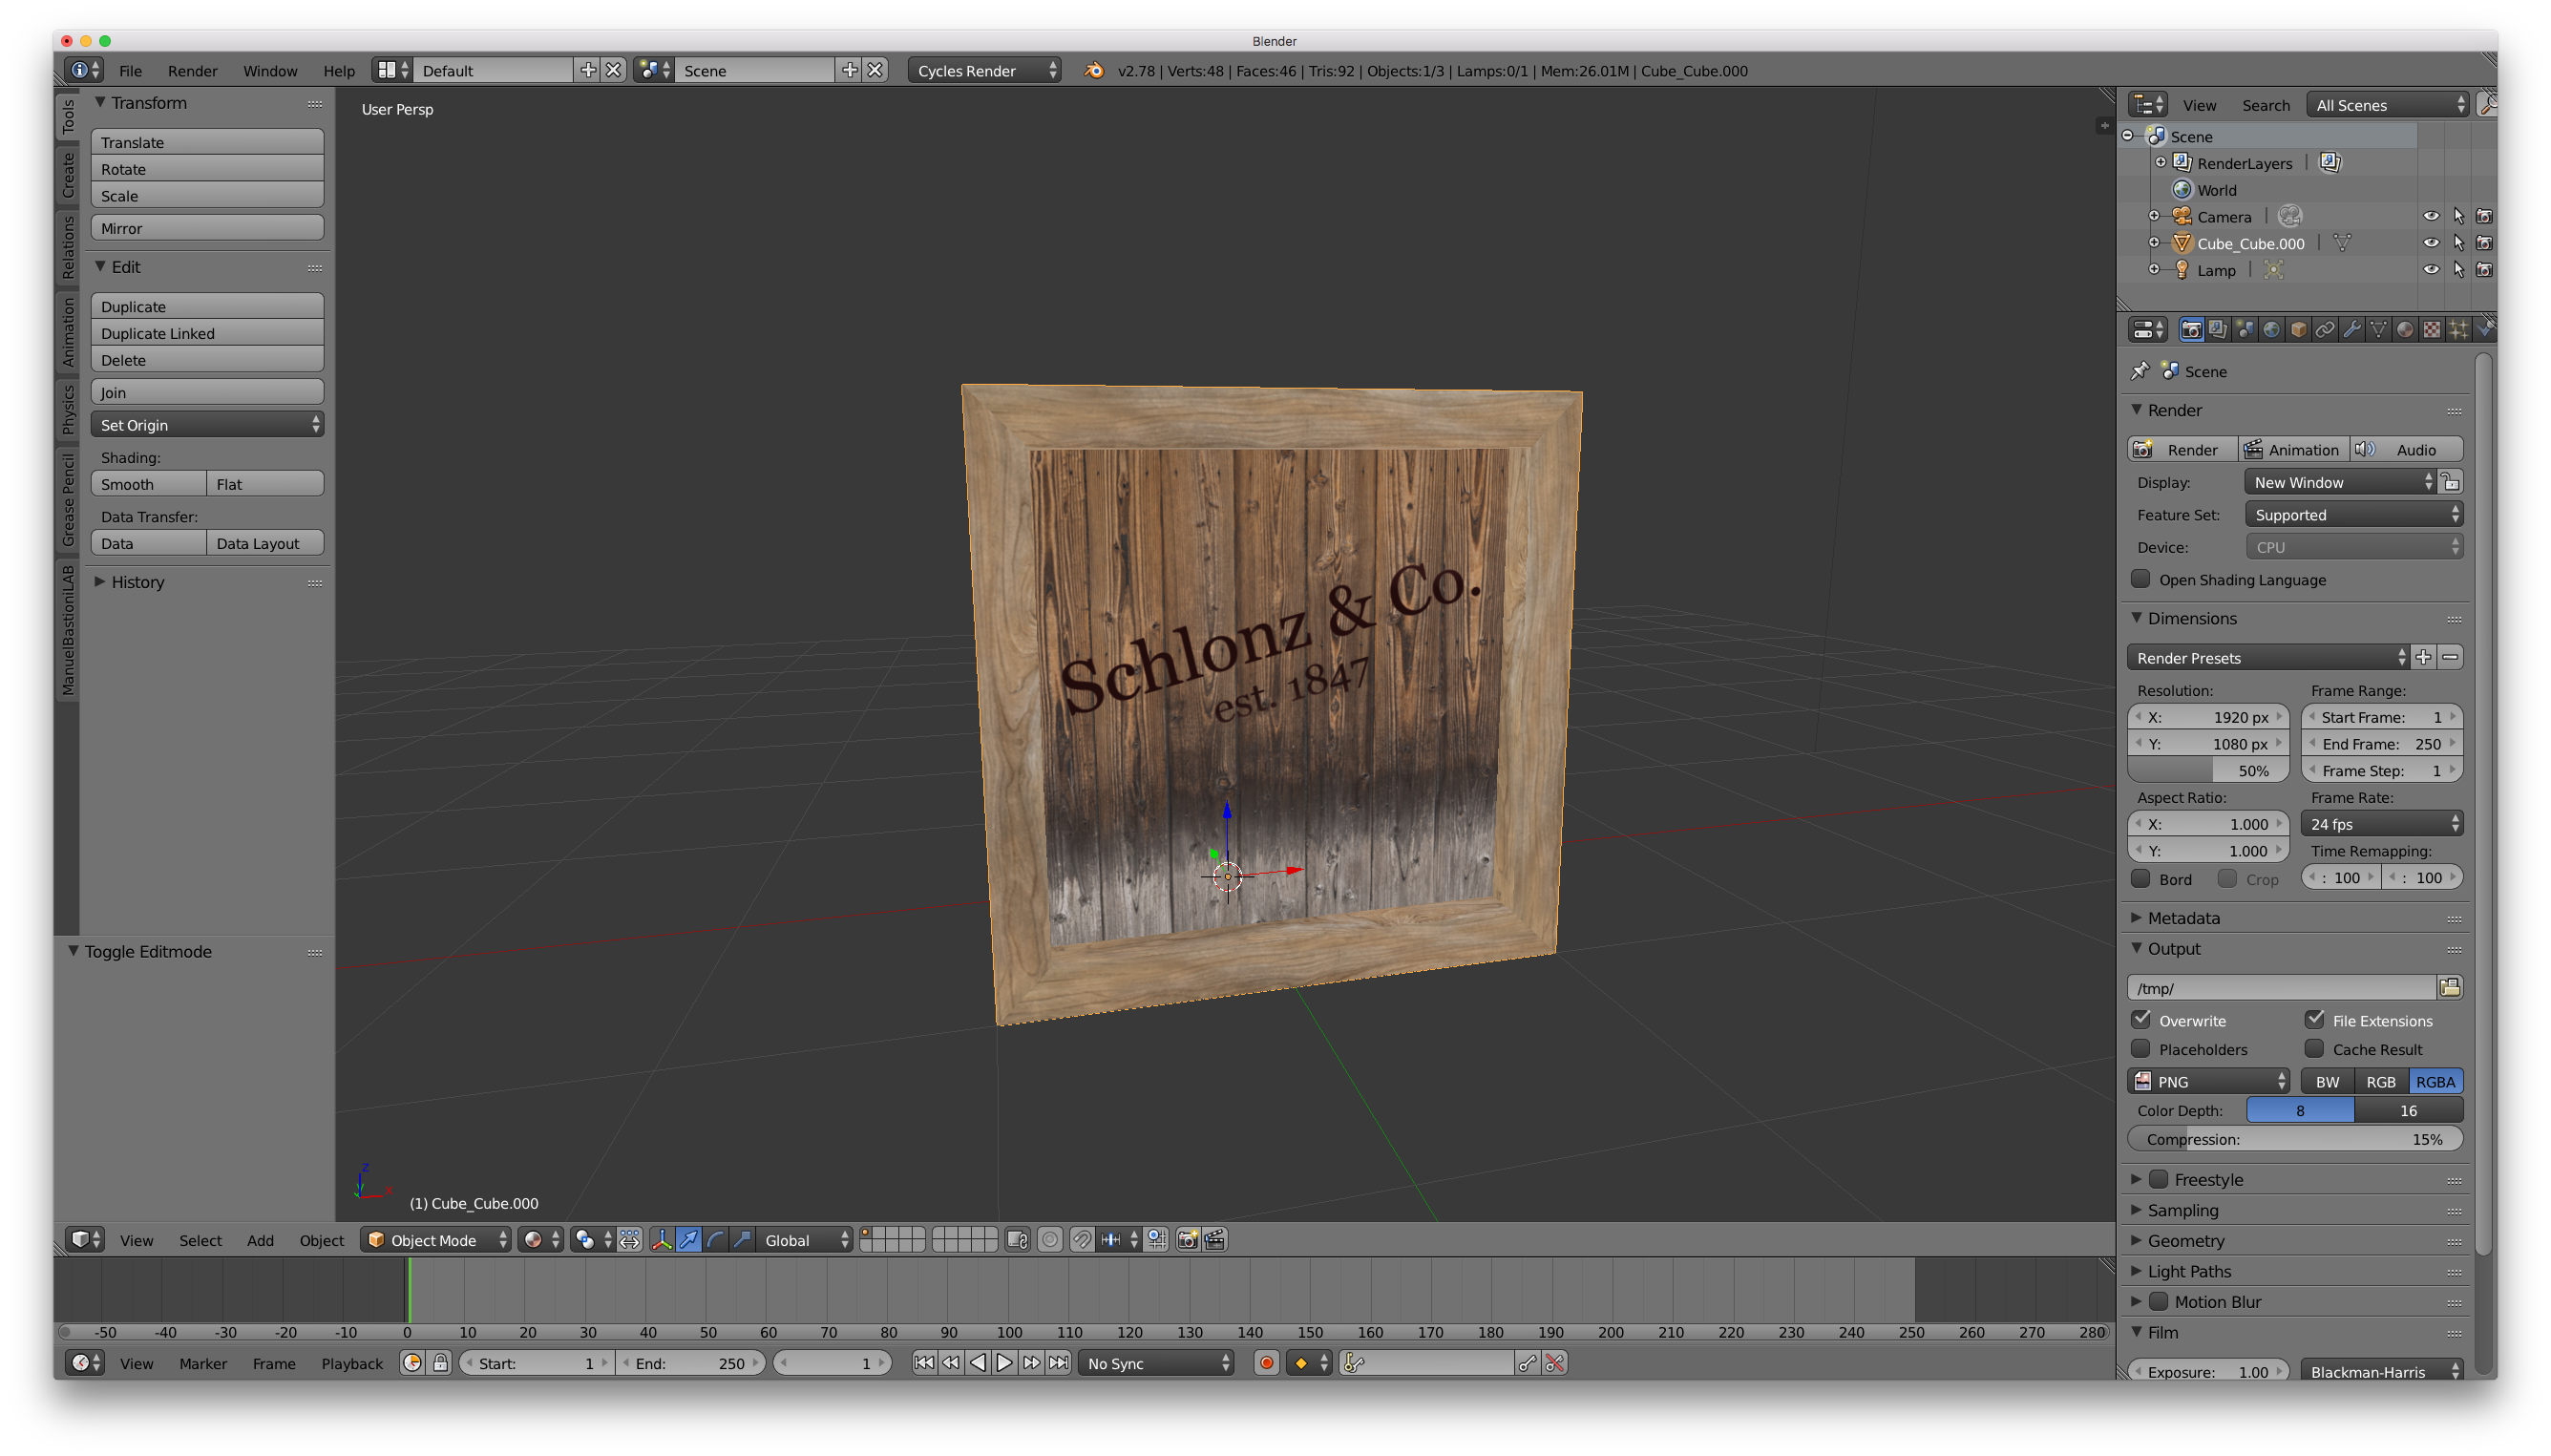
I was trying to import a texture into ZBrush from an object I had created and UV mapped in Blender. The above shows an example of such an object, looking all nice and dandy in Blender.
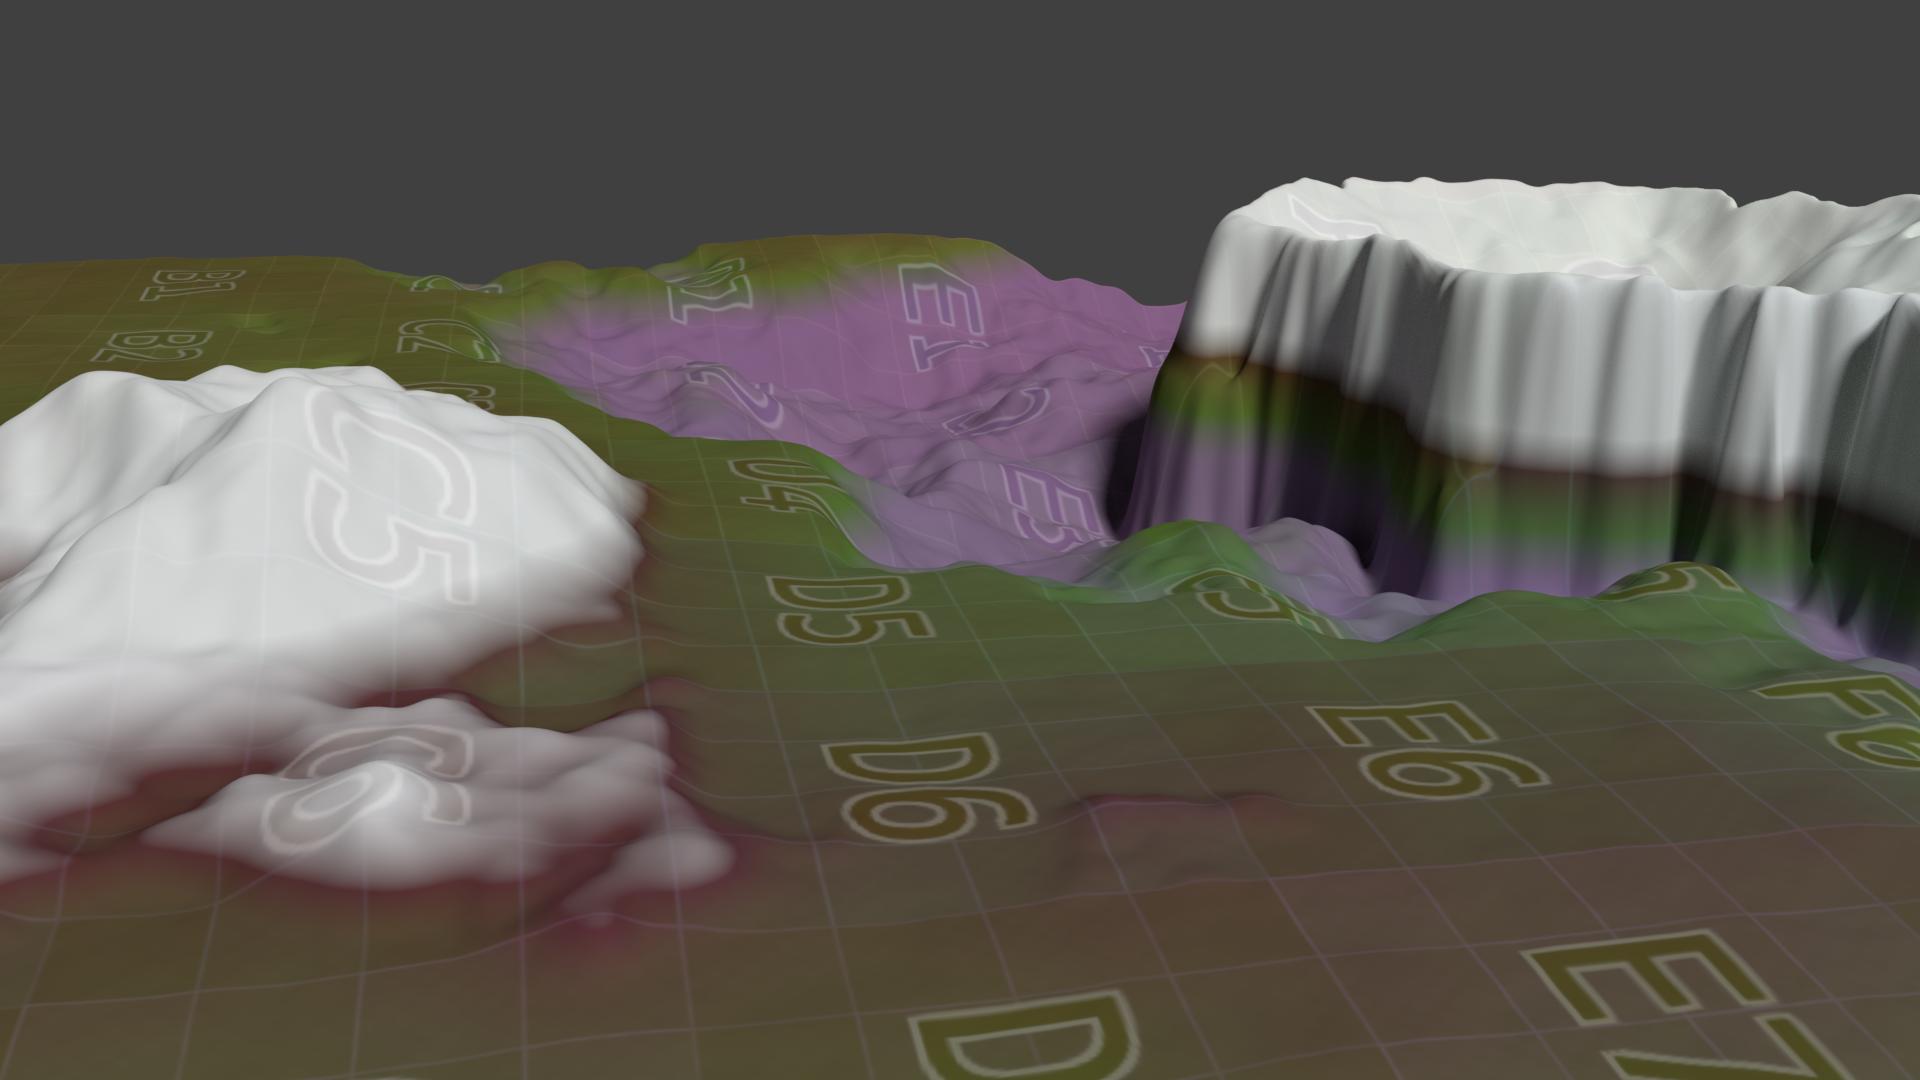
However, when I imported it into ZBrush (after figuring out how to do that), I was shocked to see how ZBrush displayed my texture. Take a look:
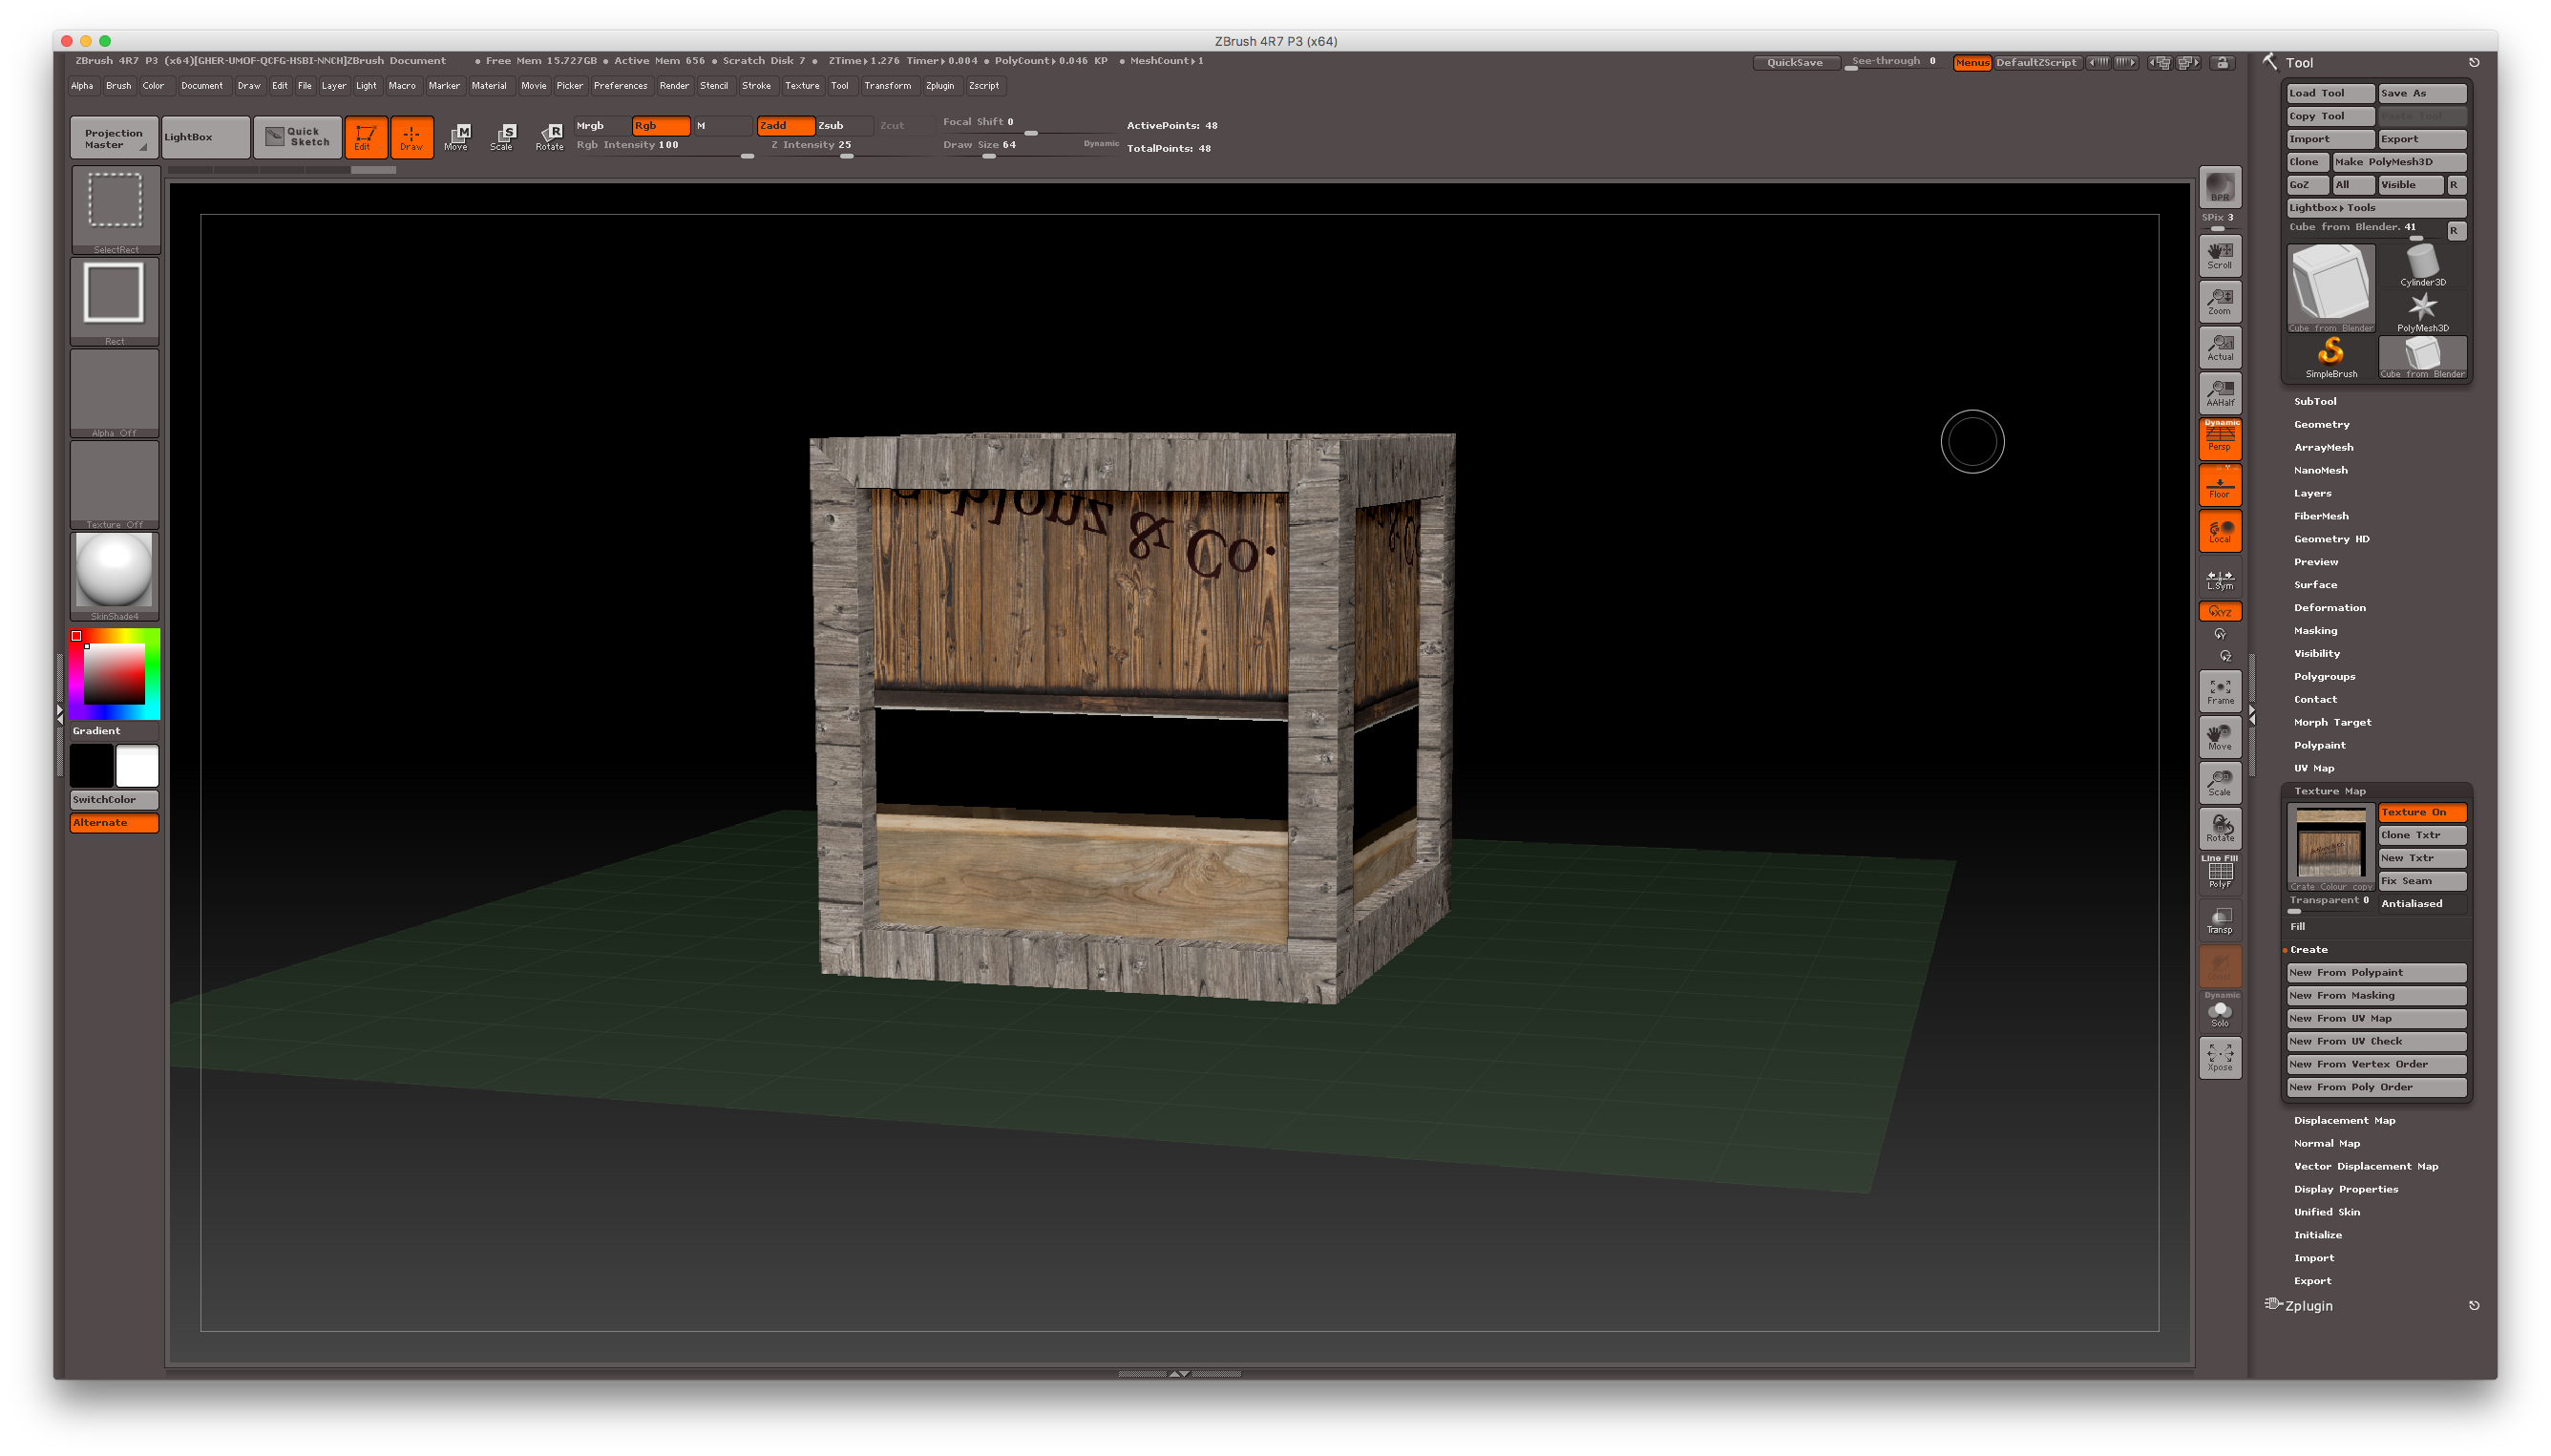
That’s neither funny nor necessary. I’ve tested the same principle in DAZ Studio, Carrara and Poser and they all played ball, displaying the texture without a hitch. Only Hexagon wanted the texture flipped vertically, but – just like Carrara – offered handy tick boxes as to which direction an imported texture needed to be mirrored.
Zbrush also has such an option, but it’s not next to where you select the texture.
In this article I’ll show you how to import and apply a texture in ZBrush, to an object that has been created and UV mapped in another application. Let’s do this step by step:
Read more