3D Archives

My notes on 3D apps I use: ZBrush, Hexagon, DAZ Studio, Poser, Carrara and many others.

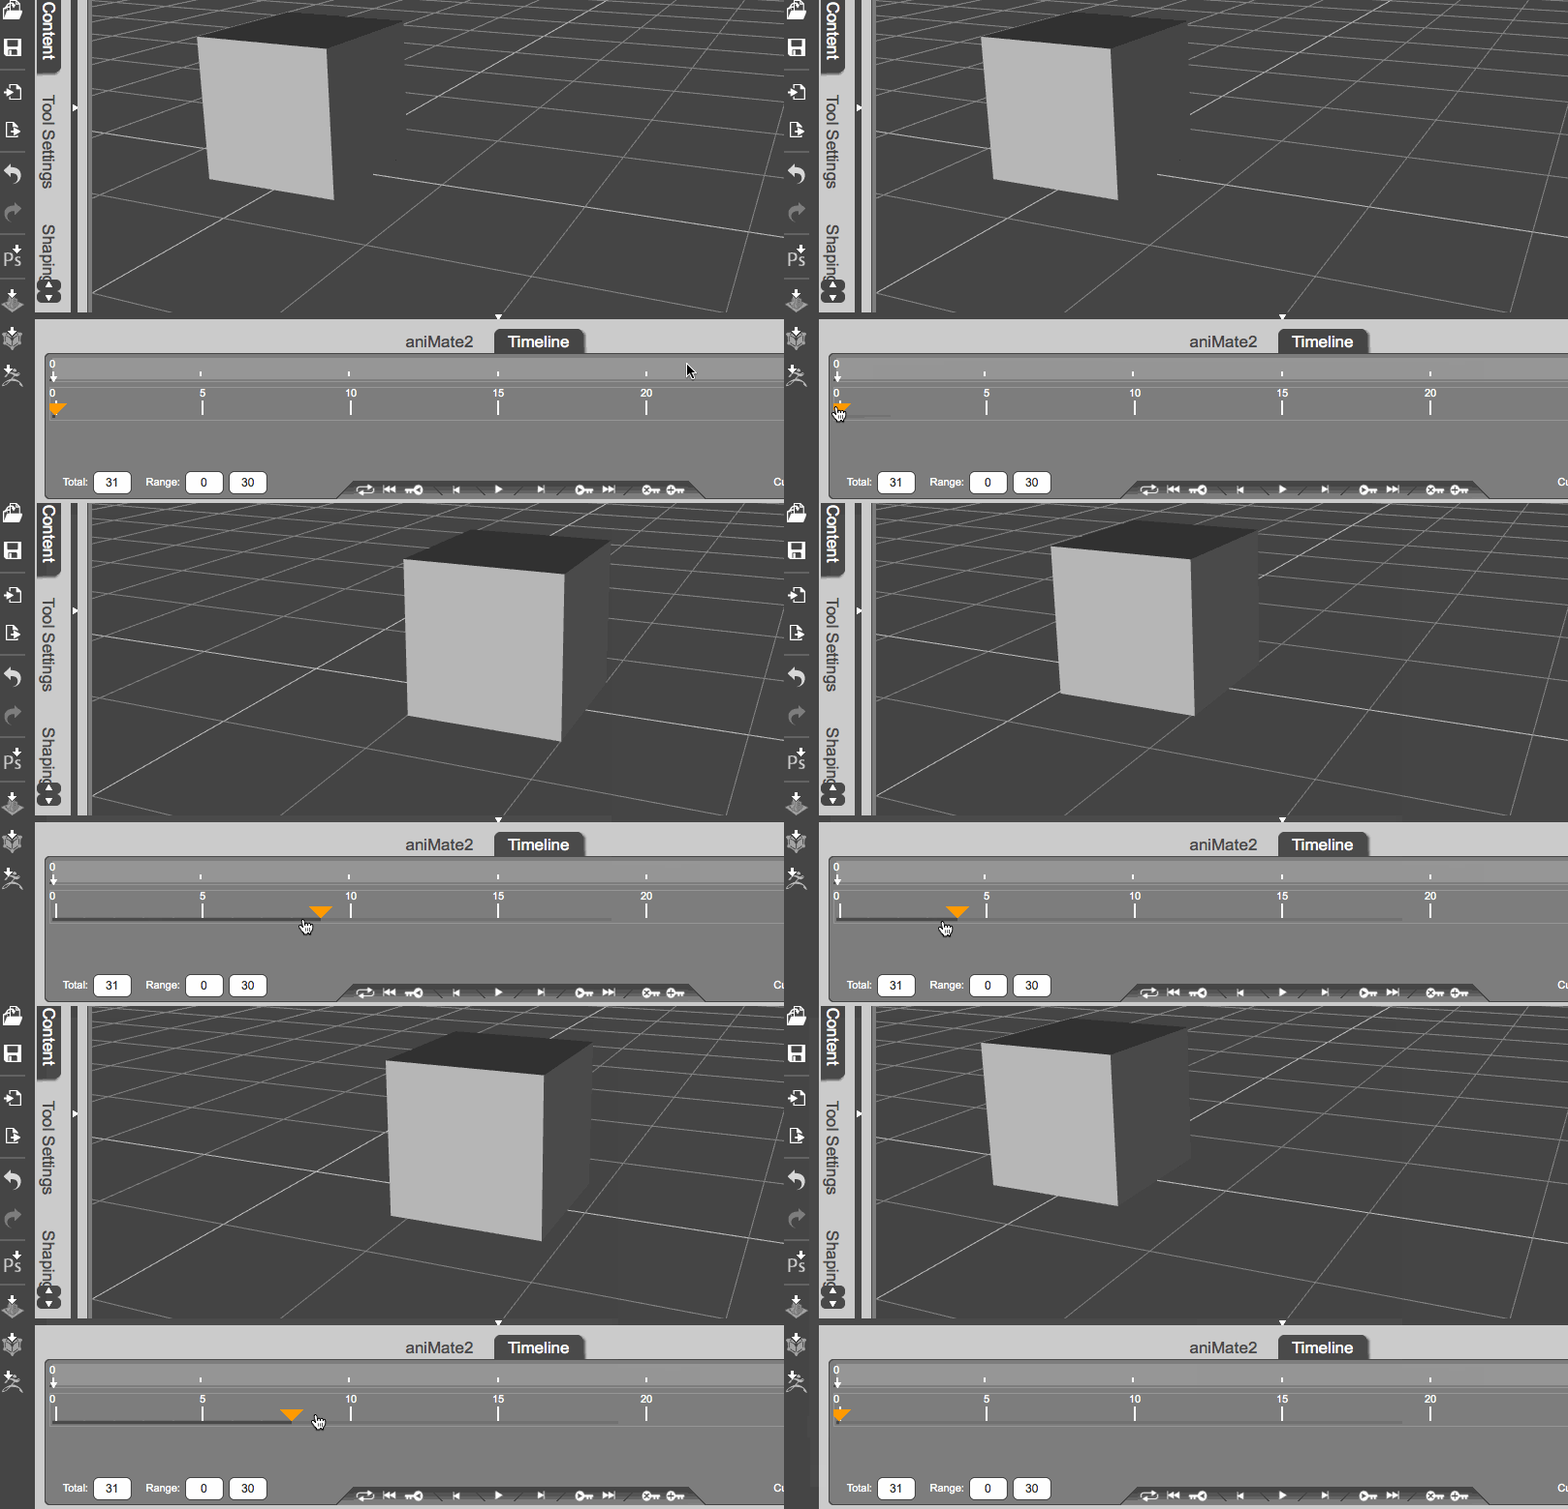
How to move the pivot point of an object in DAZ Studio

The pivot point is the location at which the universal manipulator gizmo is shown on a 3D object. From this point you can usually move the object, or rotate it around this very point. Blender calls this the “origin point”, while Carrara calls it the “hot point”. I’m not sure if DAZ Studio refers to it as anything in particular.

The location of the pivot point is of strategic importance, and it may not always be where you want it to be. New primitives and figures usually have it at the centre bottom, which works well for positioning the whole figure.

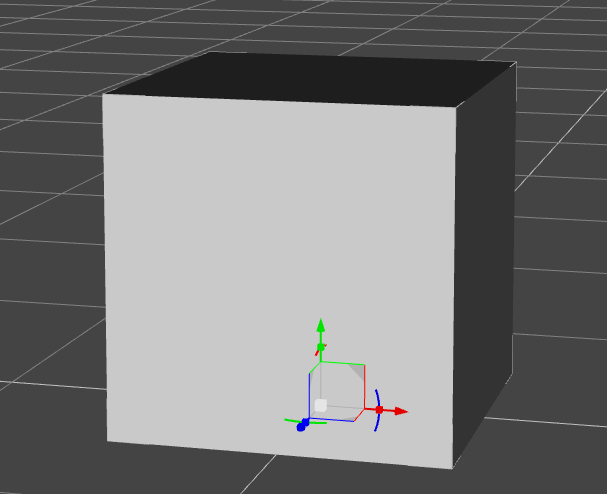
It can however be undesirable when you’re trying to rotate an object (like the cube below) around its centre. We’d need the pivot point to be at a different position to pull this off.

Screen Shot 2015-05-21 at 16.19.50

But how do we change its location in DAZ Studio? Let’s find out.

Read more

Murano Textures for Seana Dress – now available at Renderosity


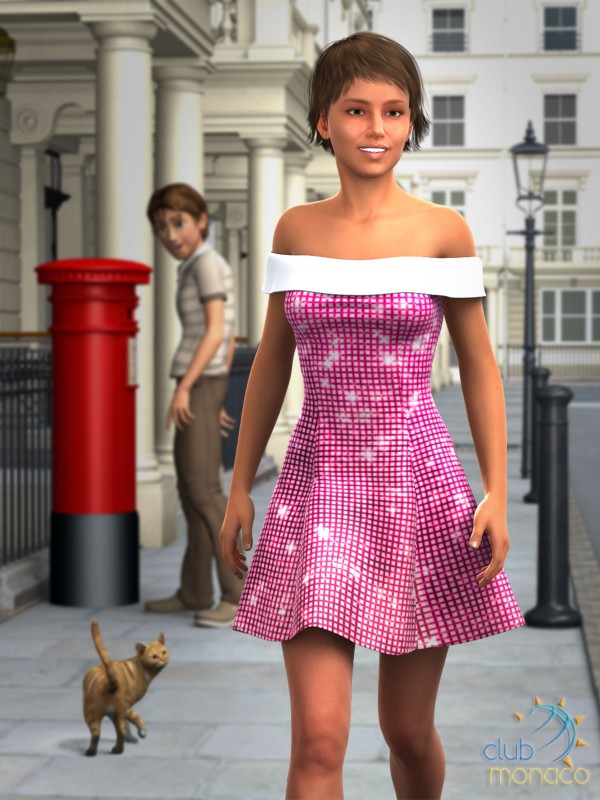
Murano-Main-Promo

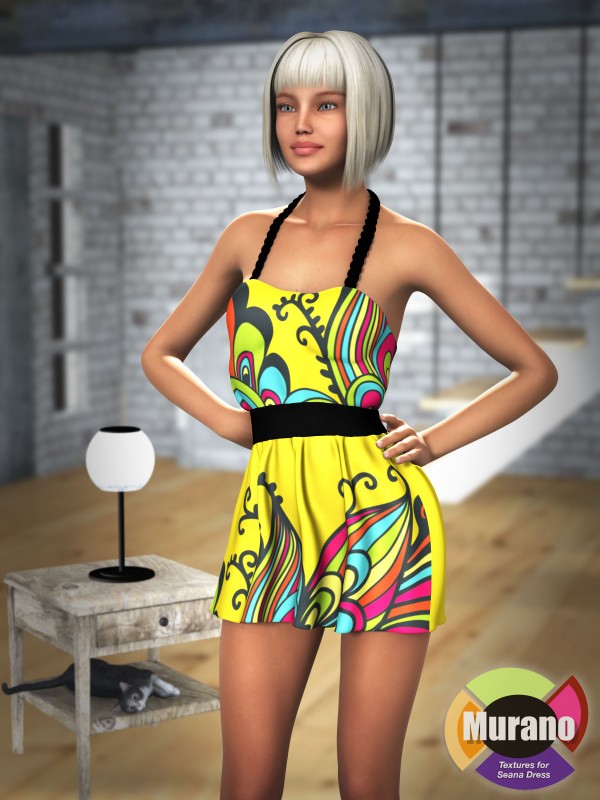
Inspired by our Bayside Bikini Textures, Julia has been busy last week and made some textures for the beautiful Seana Dress by Nikisatez. It is with great pleasure that I give you our second ever Rednerosity product: Murano Textures for Seana Dress!

The dress fits all Genesis 2 Female characters, such as Victoria 6, Stephanie 6, Aiko 6 and all the other Generation 6 figures. Take’em out for a stroll this summer with a pretty dress and 8 new additional textures from us 🙂

Read more

How to lock objects in Carrara

It happens to me time and time again: I want to select an object in a busy scene, move it from a far away view, and it turns out I’m actually moving something else – perhaps the ground plane, or vital objects in the background. Wouldn’t it be nice to lock objects that you never …

Read more

Filed under: Categories 3D Tagged as: Tags

How to reset surface materials in DAZ Studio

When texturing an existing model, I find it helpful to start from scratch and apply a simple basic material to an object. The same is true if I’ve been modifying something so much that I forgot where things went awry, and a “reset surfaces” button would be handy. The good news is that there is …

Read more

How to reload image textures in DAZ Studio

When you edit textures outside of DAZ Studio and save them, they won’t show up on your models until you reload them. In DAZ Studio, the command to do this can be found on the Surfaces Tab. Find the context menu at the top right corner of the tab (three lines and a triangle). Select it …

Read more

How to subdivide an object in Hexagon

Hexagon doesn’t really have a subdivide function that quadruples the number of faces of an object (like ZBrush for example). But there is a trick we can use to add this functionality. Take Hexagon’s cube primitive here. All we can do is to specify one without subdivisions. If we need more, we’re stuck. There is …

Read more

Filed under: Categories 3D Tagged as: Tags

How to reload image textures in Poser

When you edit textures outside of Poser and save them, they won’t show up on your models until you reload them. In Poser, the command to do this can be found under the Render Menu – Reload Textures. I don’t think there’s a keyboard shortcut for this. Poser has the option to display Photoshop PSD files …

Read more

Filed under: Categories 3D Tagged as: Tags

How to populate the Custom Tools Palette in Hexagon

On the very right hand side of the Hexagon’s toolbar is the Custom section. It sits there unnoticed and unpopulated by default. We can turn it into a handy modelling companion by populating it with a few select tools that our overworked brains can never remember where to find. To add your own tools, simply …

Read more

Filed under: Categories 3D Tagged as: Tags

How to use sunlight and moonlight in Carrara

Carrara can provide realistic sunlight and moonlight as ambient light sources. To use either of them we need to set the scene’s atmosphere for those to come to life. Here’s how to do that. From a default scene that comes with a distant light, select the scene itself, and under the Atmosphere properties, choose either Sky or …

Read more

Filed under: Categories 3D Tagged as: Tags

Slicing and Dicing: Tessellation Tools in Hexagon

Tessellation is a rather abstract term in the 3D world. All it means is to “add more edges” to a polygon. There always seems to be a complex technical term for things, and a more human one (like “polygon” and “face”). Tessellation can be used to subdivide an object in controlled places. Say you had a …

Read more

Filed under: Categories 3D Tagged as: Tags

How to apply Materials across all parts of an object in Poser

The Material Room in Poser can be a tad intimidating. It actually looks more complicated than it is: knowing what does what is key to success here. Today I’ve setup some new materials for a dress which had several material zones. Applying my maps to the first zone, it would be very tedious to apply …

Read more

Filed under: Categories 3D Tagged as: Tags

How to apply textures in Blender (Cycles)

Adding textures in Blender depends on which render engine is used. In this article I’ll discuss how to do this for Cycles. I’ll explain how to do this with Blender Render in this article.

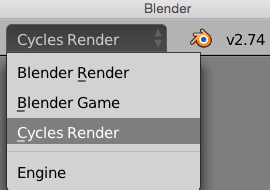
First we need to make sure that Cycles is our render engine. Select it at the top of the app. This will change how materials work, so if you’ve got anything interesting setup with Blender Render, you’ll have to rework it all.

Screen Shot 2015-05-10 at 18.12.24

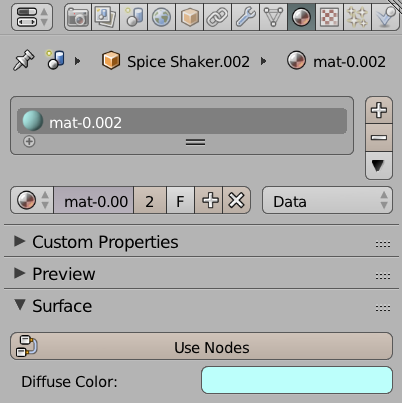
Now select the object you’d like to assign a texture to and find the Materials Tab in the properties palette (it’s the little orange round checkerboard icon). By default the material only has a diffuse colour assigned.

Screen Shot 2015-05-10 at 18.16.28

Under Surface, select Use Nodes. This will require us to work with the Node Editor in another viewport. I understand that there’s a different way to setup materials and textures in Cycles, but I find the Node Editor much easier to grasp. 

Read more

Getting started with UV-Unwrapping in Blender

Unwrapping UVs is tough – no matter in which application (apart from ZBrush perhaps, where everything else is really difficult). Here’s how to get started with UV Unwrapping in Blender.

Load an object and make sure you’re in Edit Mode. This is only allowed with a single object selected. Disable any subsurface or smoothing that’s applied on the object so that we have less vertices to work with.

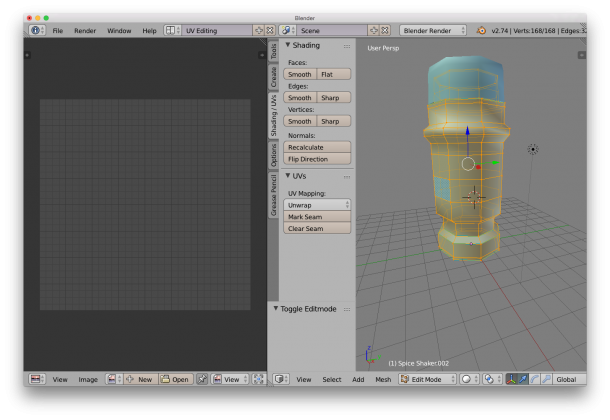
Next switch to the UV Editing workspace (UV View on the left, 3D view on the right). It looks something like this:

Screen Shot 2015-05-10 at 17.13.19On the right hand side, make sure the Shading/UV tab is showing – it contains some vital tools for this endeavour. Choose edge selection and start marking seams for your unwrap. It’s easy to ALT-RIGHT-CLICK to select edge loops, or use the Select Menu for more funky options. 
Read more

How to use the 2D Symmetry Tool in Hexagon

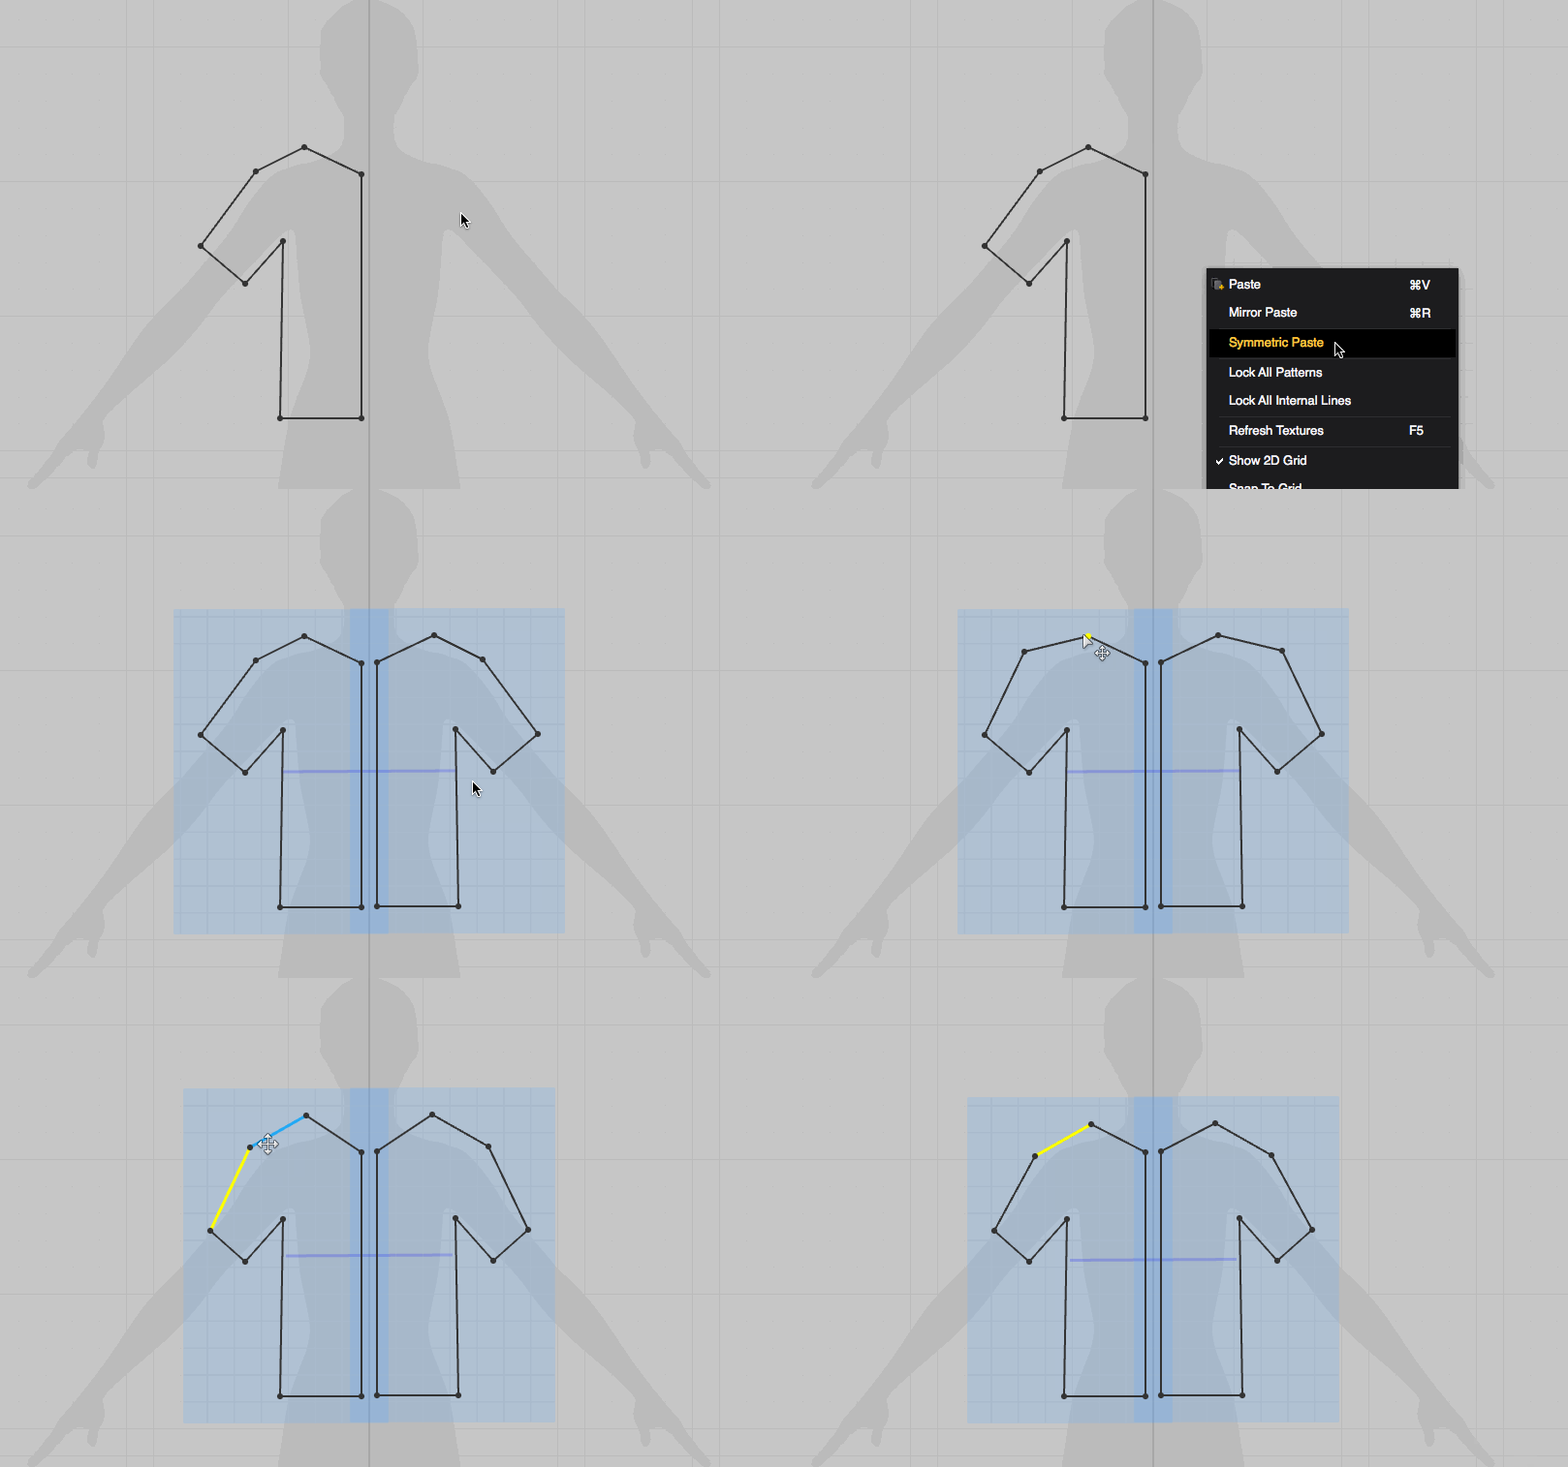
Hexagon has a 2D Symmetry Tool that allows us to mirror curves and other 2D shapes. It works a treat, it’s just not very intuitive to use. Try it out: select the curve or 2D object you’d like to mirror and select the tool. It’s under Lines, the icon with two quarter circles and a line in the middle. You’ll …

Read more

Filed under: Categories 3D Tagged as: Tags

Getting started with Bullet Physics in Poser

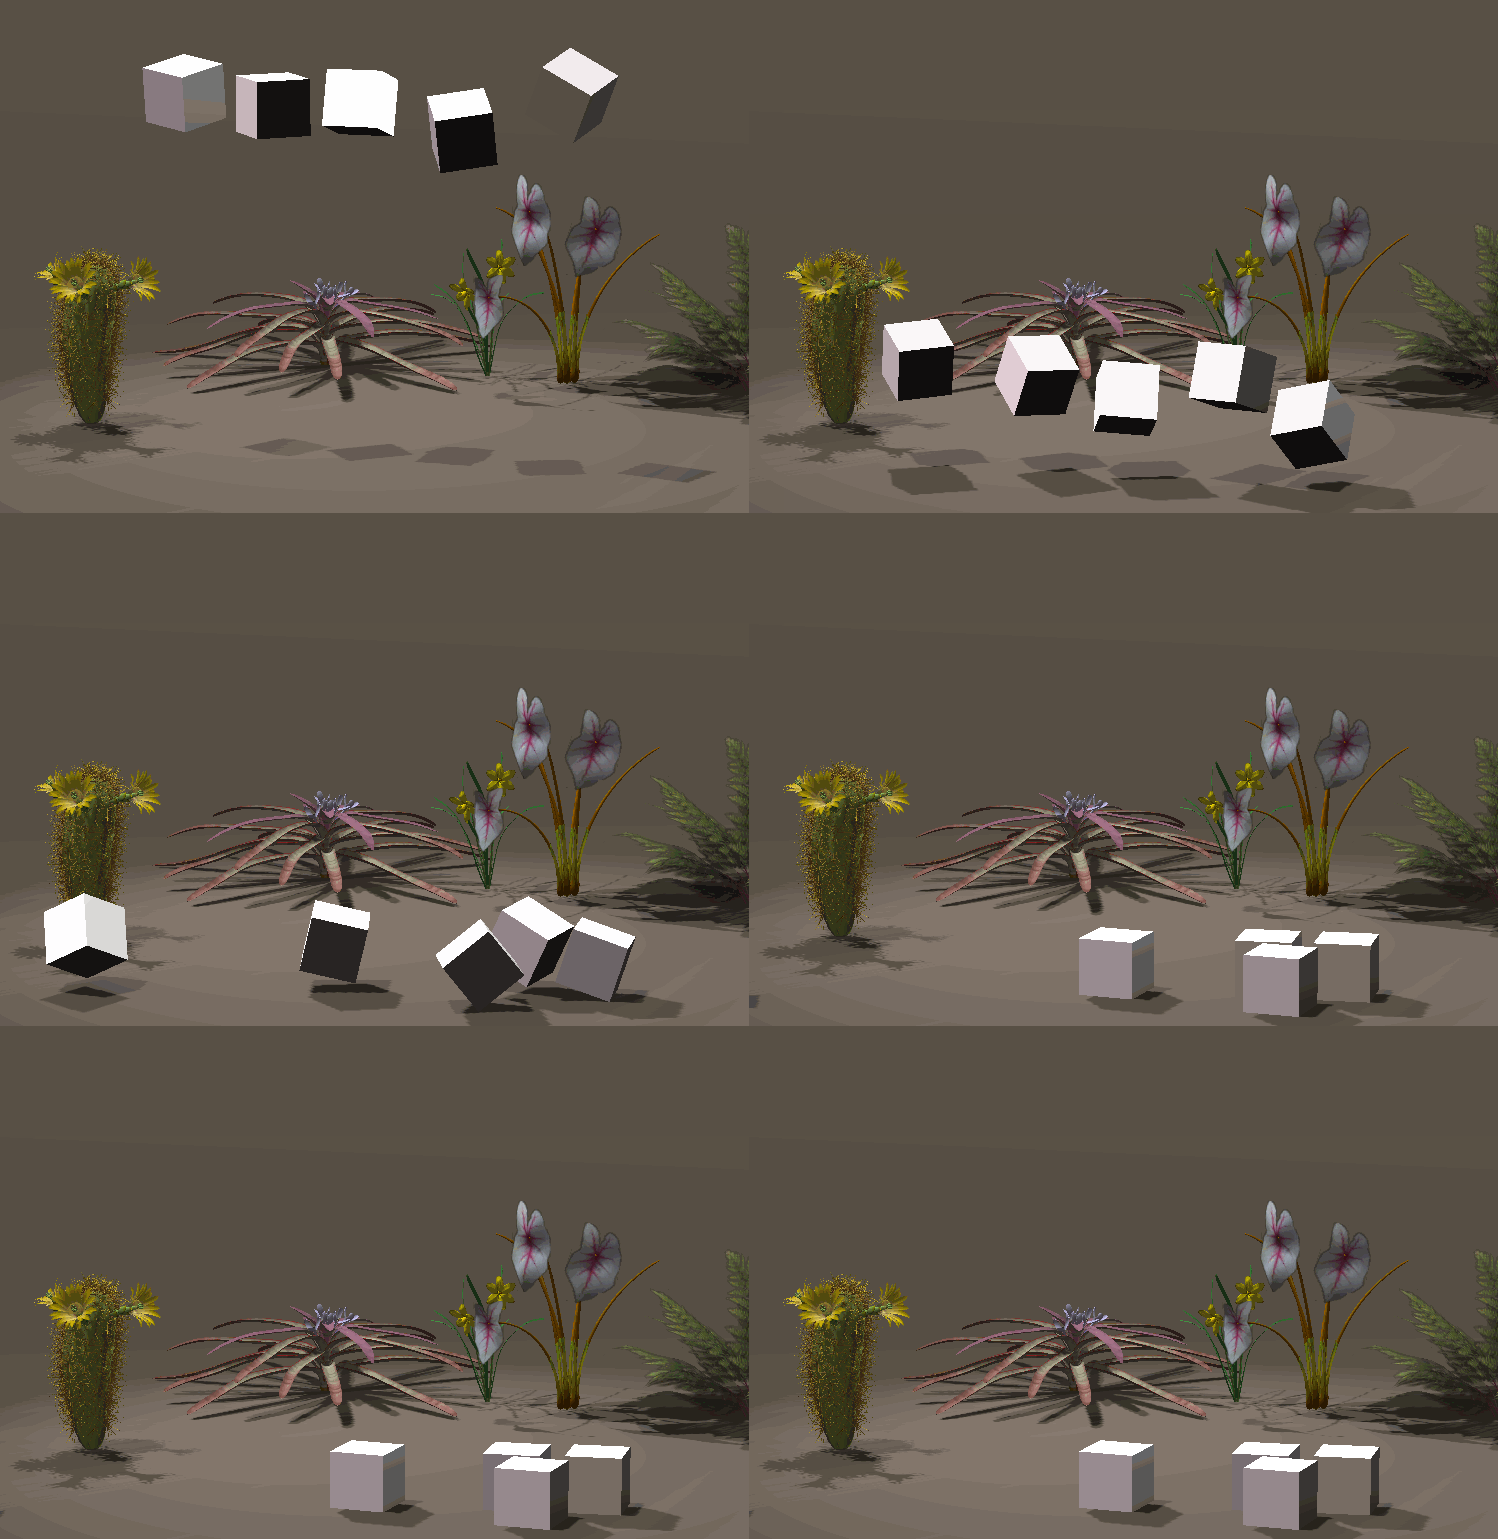
RigidBody2

Bullet is an open-source physics engine which was integrated with the release of Poser 10 and Poser Pro 2014. It allows us to use soft and rigid body dynamics in our scenes.

Rigid bodies are solid objects that do not deform when they collide with other objects. Think of bowling pins that are hit by a ball. Soft bodies on the other hand deform upon impact, like cloth or rubber.

I had always assumed that Bullet Physics has something to do with projectiles being fired from guns, perhaps for use in game engines. Turns out that it’s just the name of the engine itself, which is also part of many other 3D applications like Blender.

Here’s a quick overview on how to use this thing in Poser.

Read more

How to create primitives in Poser

Primitives are simple 3D objects such as cubes, spheres, planes and cylinders. Most 3D applications can create them – but Poser cannot. Therefore, trying to hunt for a menu such as Object – Create Primitive will be in vain. Hence, you cannot create a primitive in Poser. At least not that I know of. There …

Read more

Filed under: Categories 3D Tagged as: Tags

How to import 3D objects into Manga Studio 5

There is a (completely undocumented) way of importing 3D objects into Manga Studio 5 scenes. While you won’t find this described in the handbook, or even anywhere on the menu, it does work – if you know how. This works with both the EX version and the non-EX version of Manga Studio 5. It’s as …

Read more

How to remove old renders in Poser

Poser likes to keep old renders around in what it calls the Render Cache. It allows you to pull up a previous render and compare it to another one. In the Render Tab, at the bottom of the screen, you’ll find a black and a white triangle icon that let you select previous renders. But …

Read more

Filed under: Categories 3D Tagged as: Tags

How to join or connect objects in Hexagon

The Bridge Tool allows us to join two parts of an object together, either by selecting polygons or vertices. Simply select the parts of each object to be joined, then hit the Bridge Tool under Vertex Modelling. You can also select the Bridge Tool, then select both faces or points in question and hit validate. Predictable …

Read more

Filed under: Categories 3D Tagged as: Tags

How to use the Edge Tools in Hexagon

We can do rather amazing things using the Edge Tools in Hexagon (under Vertex Modelling). The options are slightly confusing though: The first option is a combination of the 2nd, 3rd, 4th and 5th option. You can create a new edge, extract inwards, outwards, filet around or move existing edges of your object. Here’s how to use it: select …

Read more

Filed under: Categories 3D Tagged as: Tags

Bayside Textures for Victoria 6 String Bikini – now available at Renderosity

Main-Bayside-Promo

I’m very pleased to say that a texture pack I’ve made for the V6 String Bikini is now available on Renderosity.com! It’s called Bayside Textures, adding 12 beautiful new materials for both DAZ Studio and Poser users (the latter thanks to the DSON Importer).

This is my first ever Renderosity product – and hopefully not the last 😉

Most of the patterns were created in Manga Studio back in 2013, and it took me two years to turn this into a product. As my wife says, better late than never.

Read more

How to change Node Selection Highlighting in DAZ Studio

When you hover over any object in your DAZ Studio scene, surfaces highlight orange by default. This is a nice feature, but it can get annoying when all you see is bright orange and you can’t see any other objects anymore.   DAZ Studio 4.7 and earlier In DAZ Studio 4.7 and prior, this behaviour …

Read more

How to change the background colour in DAZ Studio 4.7

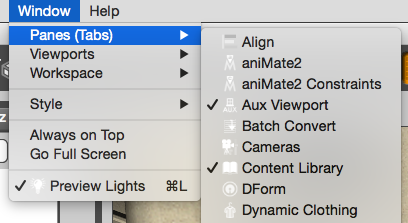
Contrary to what the documentation wants you to believe, and unlike DAZ Studio 4.6, the background colour can no longer be changed from the Viewport Properties menu at the top right. In DAZ Studio 4.7 and 4.8 the option has moved to Window – Style – Customize Colors. There’s a whole lot we can amend here, …

Read more

How to setup shortcuts to load figures in DAZ Studio

Even with Smart Content it can be tough to find a single figure from your library. If you find yourself loading a particular character a lot, you’ll be pleased to hear that there’s an easy to way to setup shortcuts on the menu bar for such things. In this article I’ll show you how to …

Read more

How to apply a Shader in DAZ Studio

Shaders are an important component in many 3D applications, but I never knew that DAZ Studio understood that concept too. I was under the impression that the relatively simple Surfaces Tab would be how to tweak what an object looks like. Turns out, DAZ Studio has Shaders! And here’s how to apply them. Pay attention …

Read more

Getting started with UberEnvironment in DAZ Studio

UberEnvironment is a shader based light, available exclusively in DAZ Studio. It brings image based lighting to DAZ Studio when using the 3Delight render engine. It has been around for a while, but it has been a bit of a mystery to me for the last 6 years. I think I’ve finally grasped some of its basics – time to write them down before I forget.

Unlike traditional lights in DAZ Studio, UberEnvirnoment creates a sphere in the scene onto which a HDR image is projected. The sphere itself then emits light, creating some very realistic looking ambient light. UberEnvironment can be used on its own or in combination with other lights for nicely balanced results.

Historically, the UberEnvirnoment product had to be purchased through DAZ by a vendor named omnifreaker. It has since been updated to UberEnvironment2 and is now included for free in DAZ Studio 4.x (as part of the “Default Light and Shaders” – make sure this installed).

The product itself is difficult to find in the Smart Content tab because it appears mixed in with some other scary items. It’s much easier to access it via the Content Library tab: navigate to

  • DAZ Studio Formats – My DAZ 3D Library
  • Light Presets (not Lights!)
  • omnifreaker – UberEnvironment2

You’ll find the following icons:

Screen Shot 2015-04-28 at 16.00.47

Read more

How to disable Image Grids in Carrara

You know those grids in Carrara that often get in the way? Those that only appear in the viewport and not in the final render. The ones that show you the outlines of your objects in yellow: Sometimes you can’t see your scene with too much clutter. And I keep forgetting that there’s a super …

Read more

Filed under: Categories 3D Tagged as: Tags

How to reload image textures in Blender

We often have to tweak images in an external application while they’re already applied to a 3D object. To see our changes in action, it is necessary to reload the textures in Blender. Few applications detect such changes automatically (which is sad – because it’s not exactly rocket science to implement this). To do this, change …

Read more