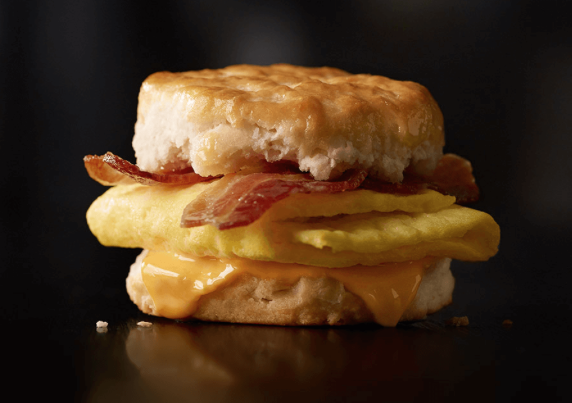
Here in the US, sometime in 2016, McDonald’s surprised everyone by adding “All Day Breakfast” items to the menu. Now we can order egg burgers around the clock, 24/7, every day of the week, at any time we please.
Previously we were always restricted to very awkward breakfast times that seemed to change arbitrarily: some stores started breakfast at 4am, others at 5:30am, and the offering ends either at 10:30am or 11am. Or something. And of course during breakfast hours, you can only order breakfast items – nothing else.
As I understand it, this was a technical limitation of the kitchen, in which equipment had to be re-purposed to either be an egg fryer or a burger fryer. Or something along those lines. It was not technically possible for McDonald’s to serve both breakfast and burgers at the same time, so it was one or the other.
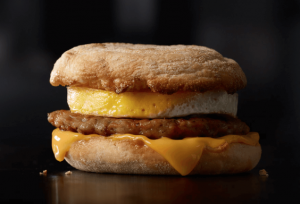 Since 2016 and the big “All Day Breakfast” move however, things are different. I don’t know how they do it, but now you can order almost the entire breakfast menu during lunchtime, in the evening or in the darkest night. Add that Egg McMuffin to the Quarter Pounder, or have your Big Mac with a Sausage McGriddle. You can even wrap your Chicken McNuggets in Hotcakes and dip it all in syrup if you like. Excellent!
This is great news for all of us who have McDonald’s breakfast on their minds, but arrive at the store at 11:02am, where in the past our hopes and dreams would be shattered to get those soggy Hash Browns with an Egg Burger and orange juice. Not anymore: come in for breakfast anytime, to any McDonalds.
So the breakfast lovers are all taken care of. How about the burger lovers though?
Read more
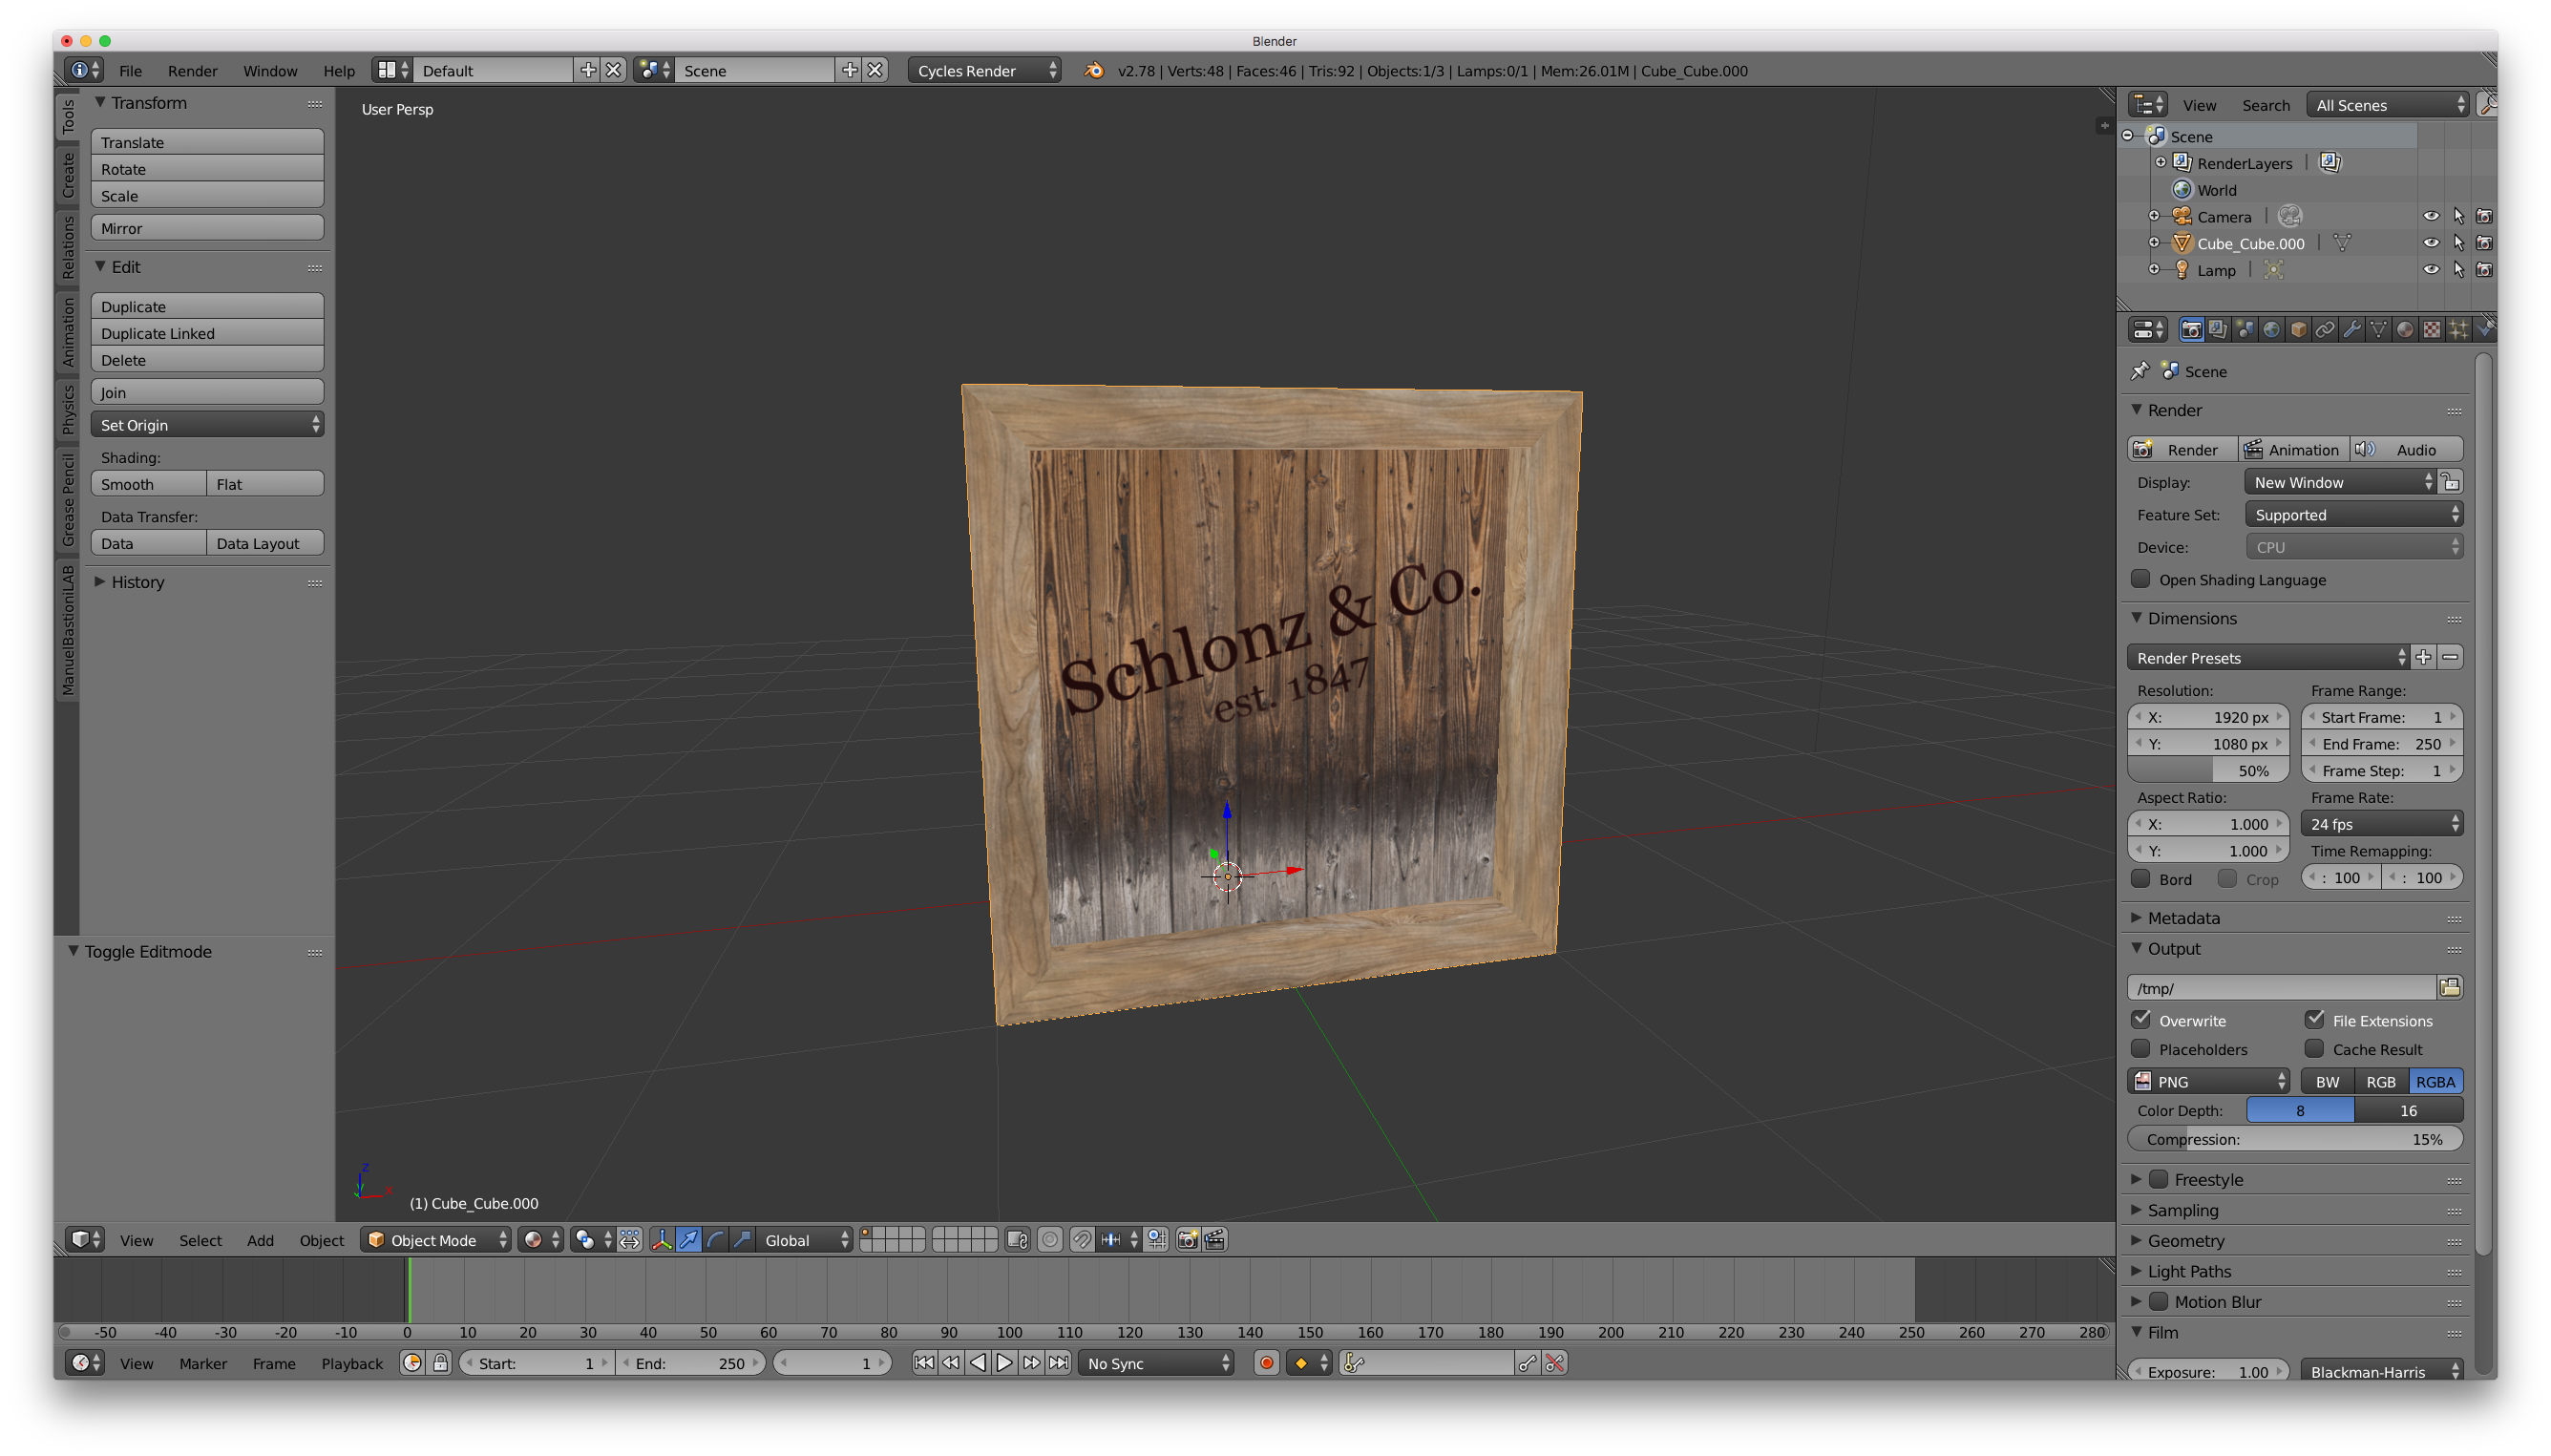
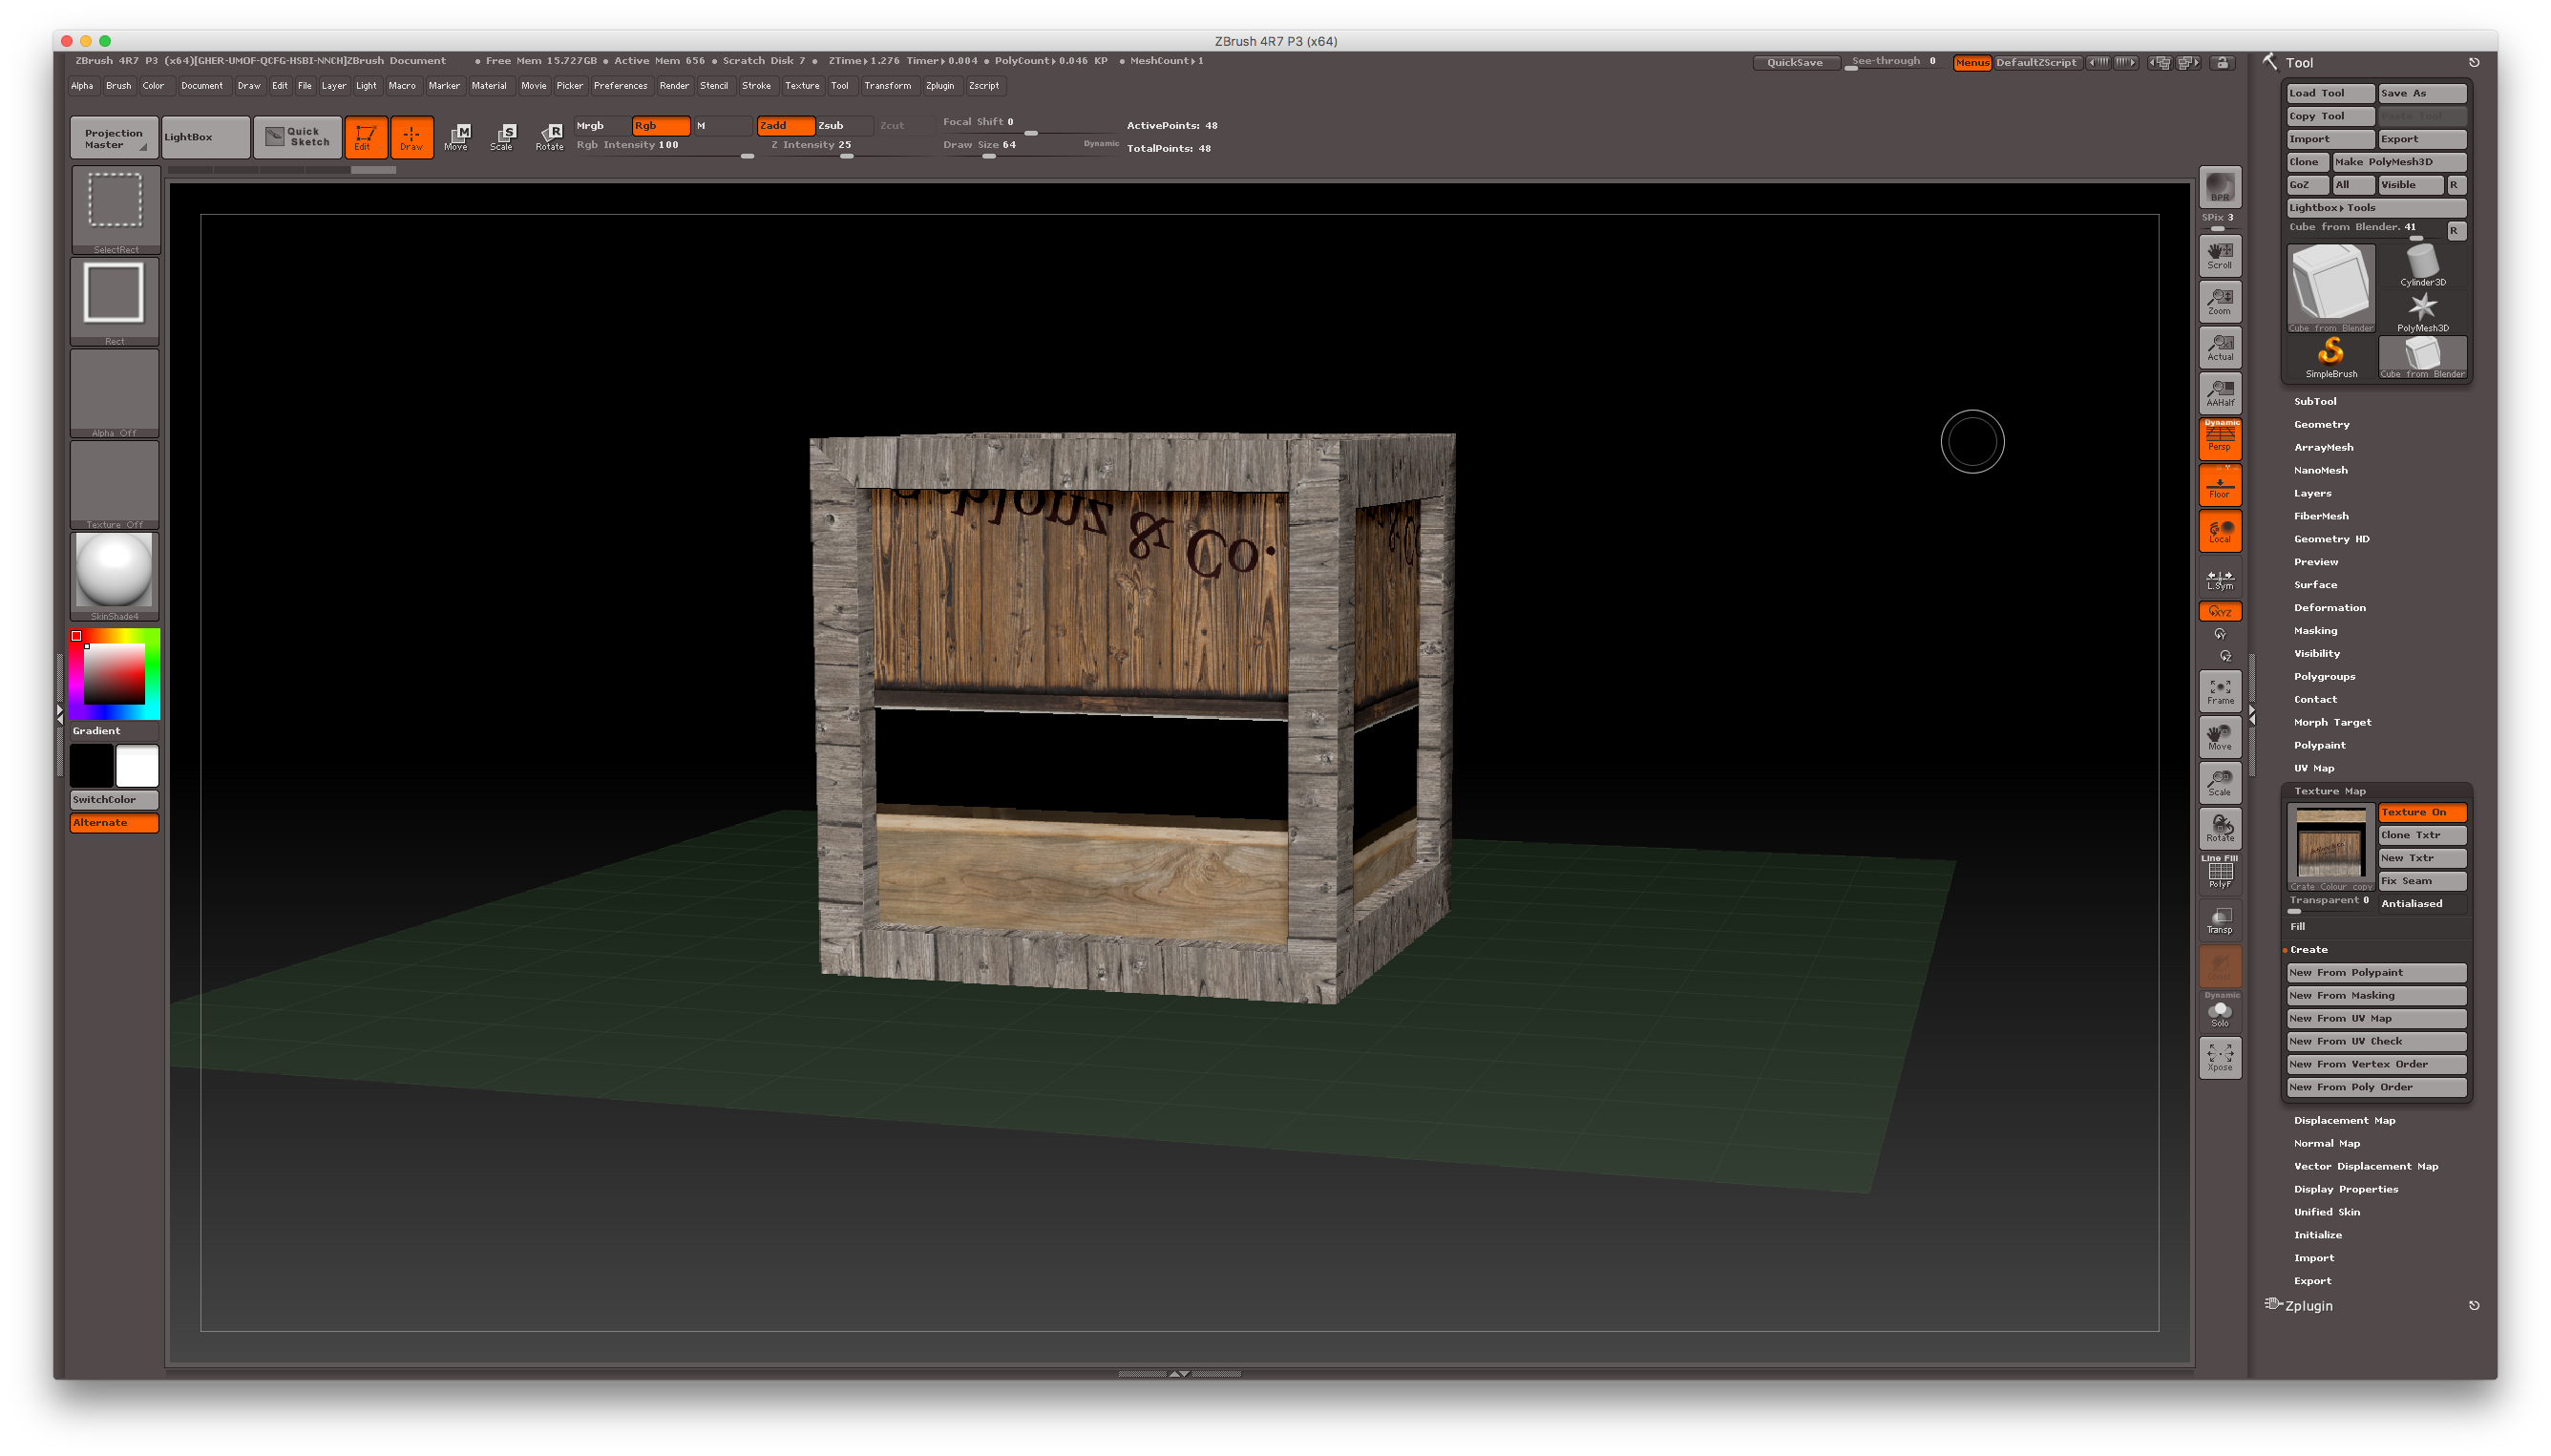
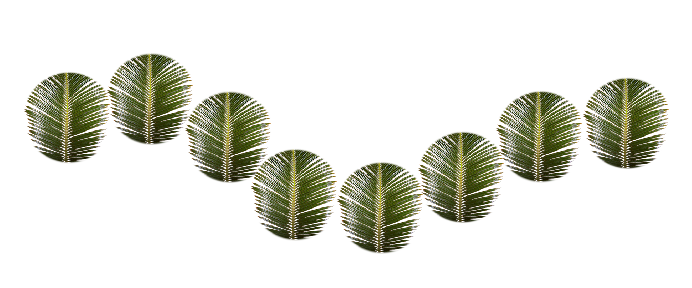 Sometimes we want to reproduce an image using a brush stroke. It’s a handy way to replicate a 2D object along a path for example. Using the standard brush for this though, we’ll find that we can only reproduce a single colour image. But what if we want to reproduce all colours in our image?