Latest Articles

The navigation at the bottom lets you see older posts

How to create a translucent shader in Blender (Cycles)

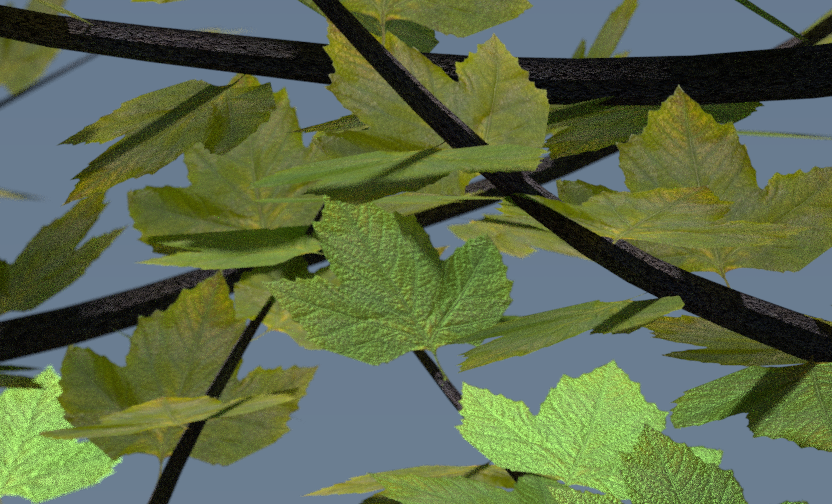
By default all our 3D objects are opaque, meaning light does not pass through them. Like a brick wall. But many objects in reality let some amount of light through, like a piece of paper or a glass of lemonade. This partial transparency is called translucency. In the picture above, light passes through the leaf, …

Read more

Why I joined The Blender Cloud

Blender LogoYesterday, while I was receiving my 13th chemotherapy shot at the hospital infusion suite, I’ve spontaneously joined The Blender Cloud.
Full of pride I mentioned this on Twitter, and Ton Roosendaal asked me to sum up what got me on board in one tweet. That’s not an easy feat, considering what the Blender Cloud has to offer, and the more I thought about it, the more reasons sprang to mind.

Here’s why I did it (in slightly more than 160 characters).

Read more

How to create a transparency shader in Blender (Cycles)

screen-shot-2016-11-21-at-14-03-09

Texture files can have a transparency value, and as such we’d like to use it on occasion with 3D objects. The above image is created using flat square leaves, onto which an image of a leaf is projected. Outside the leaf, the area on the PNG file is transparent.

Here’s how to create a Cycles Shader in Blender that will show only the leaf and not the surrounding area of the texture.

Read more

How to render an image sequence as video in Photoshop

Up until now I had always used Premiere Pro to assemble image sequences of a rendered animation.

I’m still using Premiere Pro CS 5.5 and I’m not currently subscribing to the whole Creative Cloud package. As such, my version of Premiere is stuck somewhere in the past, when 4K was barely an idea, and 1080p was the highest result you would ever need.

The trouble is, I was working on an animation whose resolution was larger than 1920×1080. While Premiere Pro CS 5.5 can handle this and higher resolutions for editing, there doesn’t seem a way to export it at anything above 1920×1080.

My editing needs were moderate at best: assemble 250 frames, repeat those several times, and add a fade to black either end. Which application would be capable of doing this swiftly and efficiently, I wondered?

Photoshop CC can do it! Would you believe it? Here’s how.

Read more

How to make a texture repeat in Blender (Cycles)

Sometimes we need a seamless texture to repeat on an object without the help of Photoshop. That’s possible in Blender’s Node Editor, albeit not exactly intuitive. We need to add both a Texture Coordinate node, as well as a Mapping node to our shader to make this happen. Here’s how to do it: setup your texture …

Read more

How to grow grass on a landscape in Blender

I have previously grown some grass on a terrain in Carrara, and thought I’d try the same in Blender. I didn’t know much about how to do this, but the approach is very similar in Blender.

Like with my Carrara approach, I’ve modelled a few grass stalks from a cylinder first. Those are then replicated over a larger terrain. Neither a replicator nor a terrain generator exists in Blender, so here’s how I did it.

Read more

How to flip or rotate a texture in Blender

When you’re UV unwrapping in Blender, it can sometimes happen that a texture doesn’t show the way you had intended it to. Instead it may appear rotated or mirrored (flipped). Take the above example of a simple frame with a picture in the middle. When I originally added the texture file after unwrapping, the crab …

Read more

How to rename Parameter Dials in DAZ Studio

screen-shot-2016-11-17-at-18-22-57

Parameter Dials are everywhere in DAZ Studio. But sometimes they’re not in the right place, or they’re not called what we’d like them to be called. For example, if you bring in a Morph Target via Morph Loader, DAZ Studio will create a folder by that same name.

It’s easy to change most Parameter Dials. Here’s how to do it.

Read more

How to add margins between UV islands in Blender

When UV islands are packed too tightly together, there’s little to no room between them. That’s great because it makes use of every available pixel on the UV Map, however when it comes to texturing in Photoshop, selecting separate islands is very difficult. Blender has a nice feature that lets us add a margin in …

Read more

How to turn a mesh into a path in Blender

Not all 2D shapes are created equal in Blender: create a circle via Add – Mesh – Circle and it will be fundamentally different to creating one with Add – Curve – Circle. Even though, they look exactly the same in the viewport. The trouble begins when you want to do path related things on 2D …

Read more

MIRABEL Textures – now available at Renderosity

mirabel-main

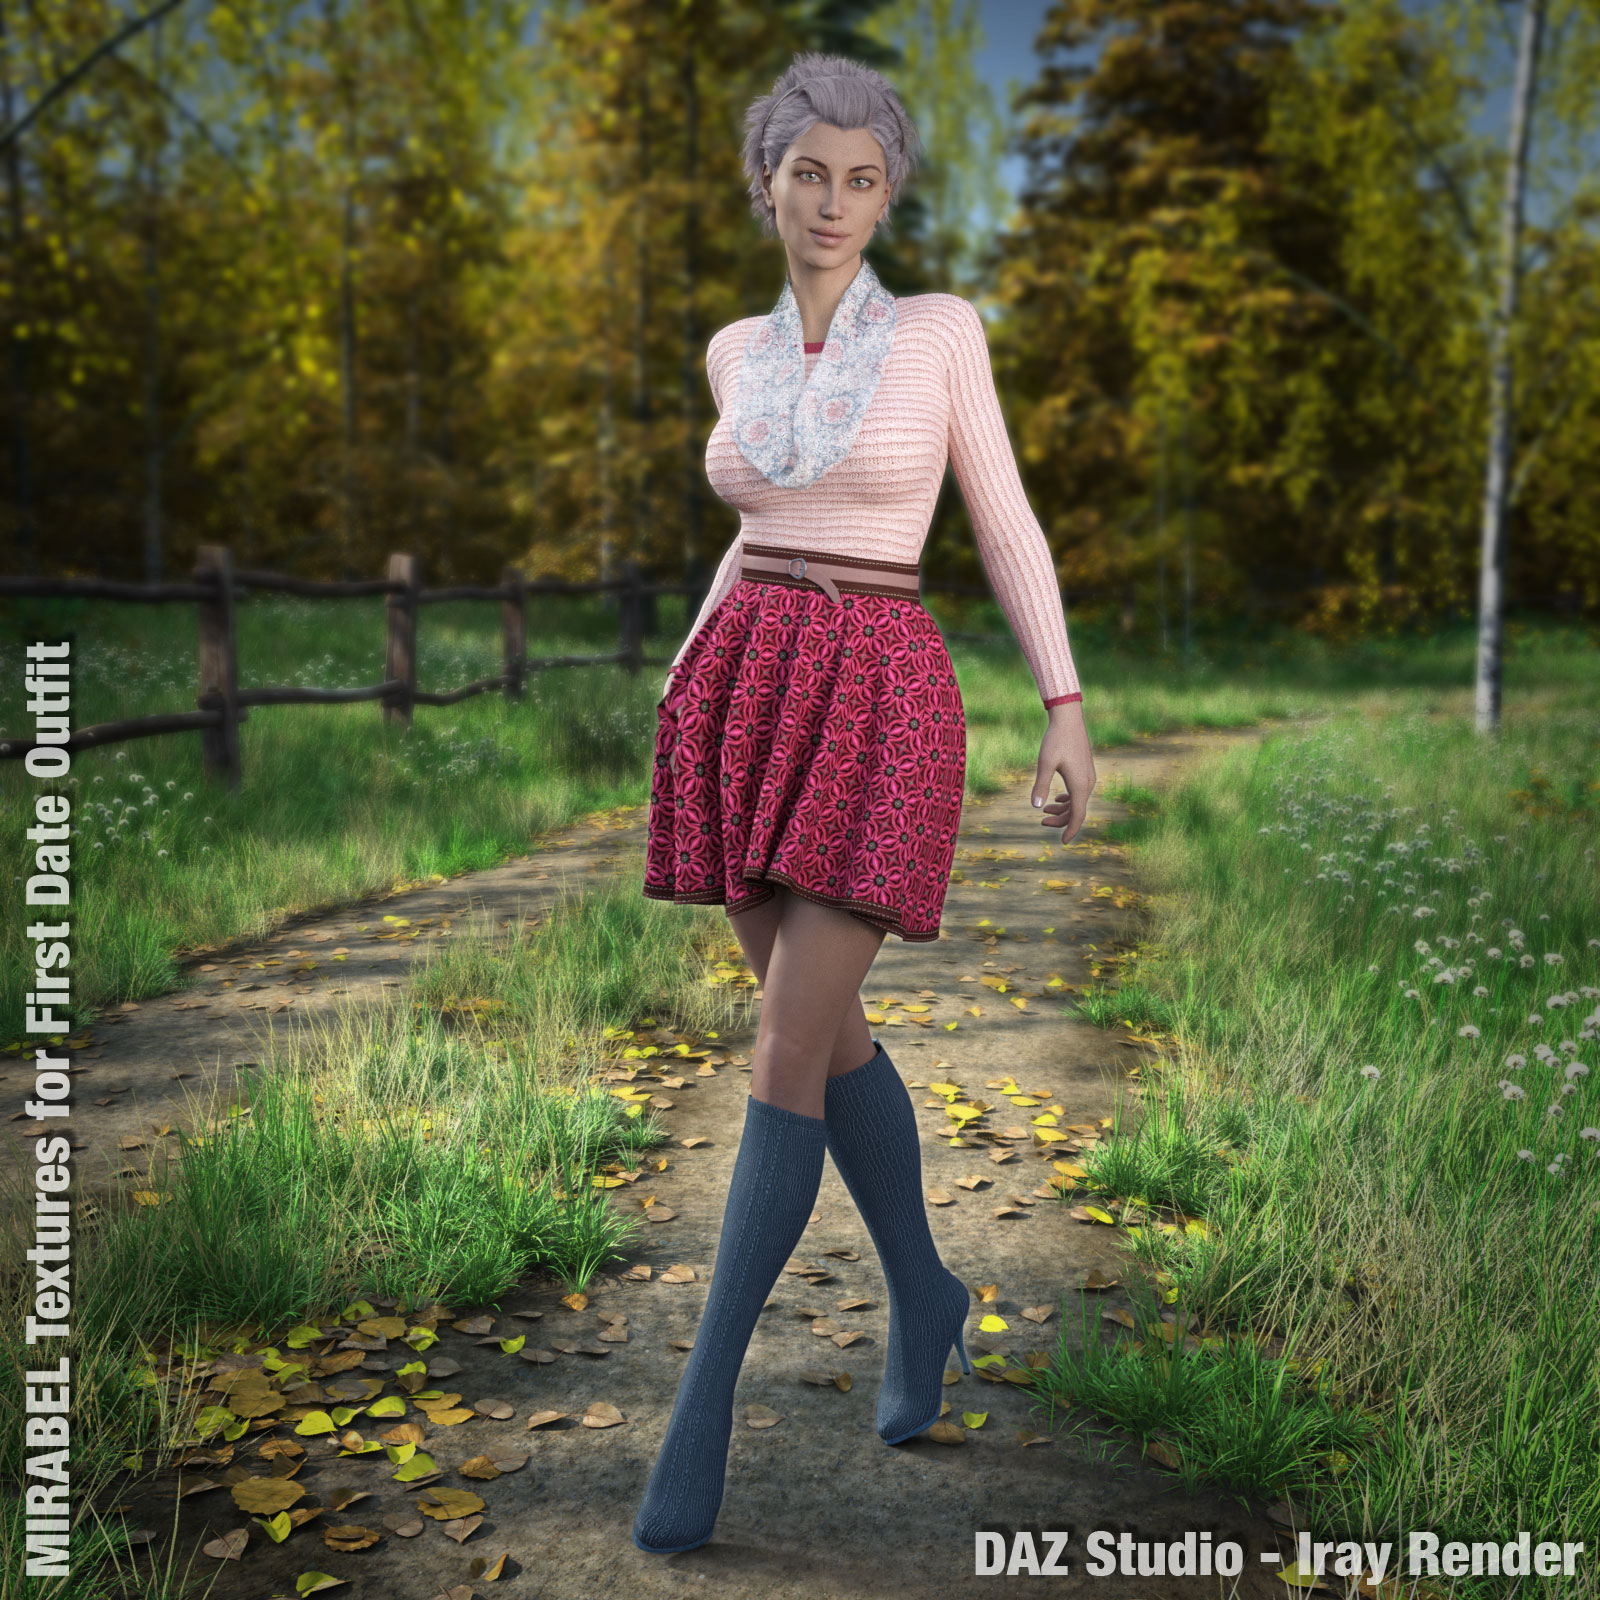
It is with great pleasure that I give you my latest texturing endeavour: MIRABEL Textures for Sunny’s First Date outfit, perfect for an autumn stroll.

MIRABEL contains a total of 48 texture presets for DAZ Studio, 24 for Iray and 24 for 3Delight. I’ve created high-resolution texture maps for the top, skirt, scarf and boots, 6 outfits in total – but the combinations are endless.

Read more

How to split and detach viewports in Blender

By default Blender has one window with multiple interface sections: the main viewport, the properties panel, the outliner, and so forth. We can easily create more of those sections by clicking on the little triangle in the top left corner of a window and drag left or down. Likewise, we can collapse those windows by …

Read more

Rendering with Depth of Field in DAZ Studio

In this episode I’ll explain how to render a camera with depth of field in DAZ Studio 4.9. The assets I’m using are available from DAZ 3D, they’re called BC Movie Stands “The Office” by The Ant Farm.  For Branson. https://www.versluis.com/wp-content/uploads/2018/08/Rendering-with-Depth-of-Field-in-DAZ-Studio.mp3Podcast: Download (Duration: 30:30 — 27.9MB)

How to upgrade Blender while retaining your settings

In this episode I’ll show you how to upgrade to a new version of Blender and copy your settings from a previous version. Blender is a bit “special” in that it does not automatically overwrite an existing version, instead it installs the new version alongside the old version. The idea is that if the new …

Read more

How to copy and paste materials in Blender

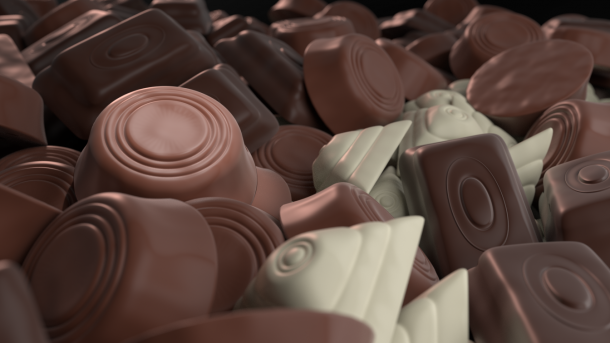
chocolates-gpu-render-37mins

Sometimes you want to use the same material on another object and only make a small change to it. Rather than this change affecting all linked objects, we need a new material with all the settings of the old material.

For example, in the above image I’ve used three chocolate shaders. They were all the same, except for the colour of the chocolate. I started with milk chocolate, then changed the colour for the dark and white chocolates.

There is an easy way to do this in Blender, albeit not entirely obvious at first sight. Let me show you how to copy and paste materials in this article.

Read more

How to render the current viewport in Blender 2.79

In other 3D applications, it is common to “look through” a camera to position and manipulate it with the usual viewport controls, and then render the result. In Blender things are a little different (of course). We can manipulate the viewport, but we cannot render it. We can see it rendered as a preview, by …

Read more

How to use Normal Maps in Blender (Cycles)

When we setup a standard material for Blender’s Cycles render engine, it’ll start with just a single diffuse node like this: To add a Normal Map to this setup, we’ll need to add two things: a new Texture Map node (Add – Texture – Image Texture) a new Bump Map node (Add – Vector – Normal …

Read more

How to use Bump Maps in Blender (Cycles)

When we setup a standard material for Blender’s Cycles render engine, it’ll start with just a single diffuse node like this: Feel free to change the diffuse colour or add a texture map to it’s colour input. To add a Bump Map to this setup, we’ll need to add two things: a new Texture Map …

Read more

How to create a brush from an image in Manga Studio

screen-shot-2016-10-09-at-15-00-57Manga Studio (or Clip Studio Paint as it’s now called) has a very versatile brush engine. We can customise our own brushes too, so that we can “paint” with our own images – just like the ones above, all of which come with the app.

The process is less than intuitive, but once you’ve done it a couple of times it grows on you. I tend to forget how these things work pretty much instantly, so here are some notes on how to create a brush from a seamless tiled image in Manga Studio.

Read more

How to expand selections in Hexagon

I’ve just learnt of a new way to expand selections in Hexagon: select some faces (or edges), then position your cursor away from the object, then hold down CMD (Mac) or CTRL (PC) and drag in any direction. The selection will grow into the direction that you drag. It doesn’t always reliably work, because some weird …

Read more

Filed under: Categories 3D Tagged as: Tags

How to use First Person Navigation in Blender

In large scenes it can be handy to navigate as if we’re playing a 3D computer game. And that’s possible in Blender: Hit SHIFT+F to enter First Person Navigation mode, then use your mouse to look around in 3D space. Now use the following keys to move around your scene: Left Cursor (or A) – move left …

Read more

LILIKOI Textures – now available at Renderosity

Here’s another texture set I’ve made for the wonderful Cathy Outfit by outoftouch. I call them LILIKOI. It means “passion fruit” in Hawaiian. Very fitting I thought! LILIKOI contains a total of 20 texture presets for DAZ Studio, 10 for NVIDIA Iray and 10 for 3Delight. You can mix and match any skirt with any top for a total of 100 …

Read more

How to use the Seletion Brush in Photoshop

screen-shot-2016-10-09-at-14-31-03Manga Studio has a really nice feature that I have been looking for in Photoshop for some time: a Selection Brush.

In addition to the usual lasso, marquee and Magic Wand tools, there is a way to simply paint over a part of your image, which then becomes part of (or reduces) the current selection.

Turns out this feature (and then some) is part of Photoshop too – it’s just not called a Selection Brush. Although from what I understand, there is such a feature in Photoshop Elements (a different product entirely).

In Photoshop, this tool is called the Quick Mask feature. It’s dead simple and extremely versatile. What’s not to like? Here’s how to use it:

  • either, head over to Select – Edit in Quick Mask Mode
  • or simply hit the keyboard shortcut Q to toggle the feature on or off

Read more

How to get rid of that scary blue line in Photoshop

screen-shot-2016-10-06-at-11-08-37I was doodling away in Photoshop, one hand on the keyboard and the other using my Wacom pen, when out of a sudden this crazy cyan blue line appeared right across my canvas. Super annoying!

My Intuos tablet has a mind of its own sometimes, selecting things that I don’t want, and perhaps this was one of those occasions. Or perhaps I had accidentally hit one of the gazillion keyboard shortcuts that does something I didn’t even know Photoshop could do. Who knows.

Either way, I had an ultra annoying line across my document, and there didn’t seem to be a way to get rid of it. Here’s what it looked like:screen-shot-2016-10-06-at-10-50-08


Moving the document also moves the line, so it had to be something that could be turned off. But how?

Read more

EQUINOX Textures – now available at Renderosity

I’ve just released a new texture pack, this time for the very versatile Strapless Mini Dress for Genesis 3 and Victoria 7, by hameleon and santuziy78. EQUINOX contains a total of 40 texture presets for DAZ Studio, 20 for NVIDIA Iray and 20 for 3Delight. I’ve added presets for the whole dress, as well as separate presets for the …

Read more

How to add Material Zones to an object in Blender

screen-shot-2016-10-03-at-18-07-59Material Zones are – as the name suggests – different parts of a single object that can each be assigned a shader. This sounds more complicated than it actually is.

In a nutshell, you can tell an object that its top should look different than its bottom at render time – figuratively speaking.

Such zones can be assigned only at the modelling level, so that each surface can be described differently by your rendering app. Here’s how to assign these Material Zones in Blender.

Read more

How to export only selected objects in Blender

By default Blender exports every item in your scene when you choose File – Export. That’s not so good if you only want to save out a small portion of a large scene. But it doesn’t have to be that way: there’s the often overlooked Export Options on the right hand side, on the same …

Read more

SYMPHONY Textures – now available at Renderosity

Here’s a texture set I’ve made for Jolina’s Swimsuit by outoftouch. SYMPHONY Textures is a set of 16 Material Presets for DAZ Studio, 8 for NVIDIA Iray and 8 for 3Delight. All maps are 4000×4000 pixels, ideal for ultra high resolution renders. Installation and Usage Unpack all ZIP files into your Poser/DAZ directory. Load a figure, …

Read more