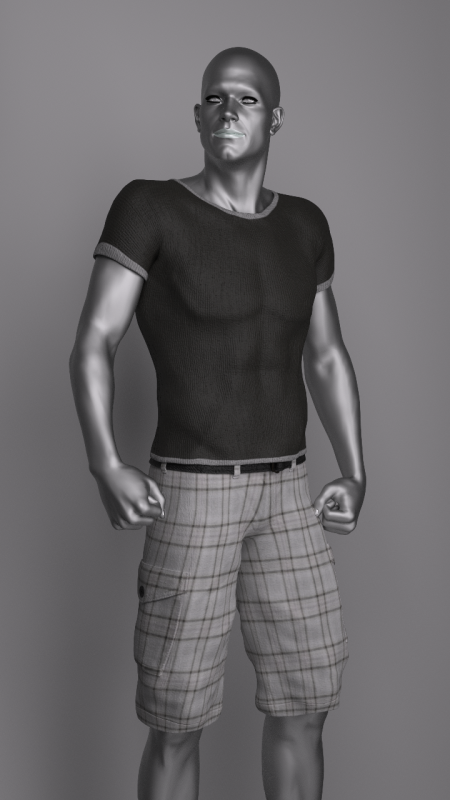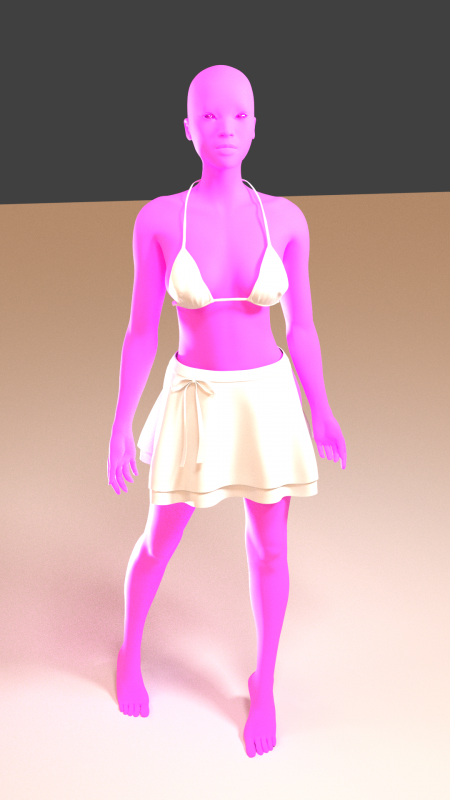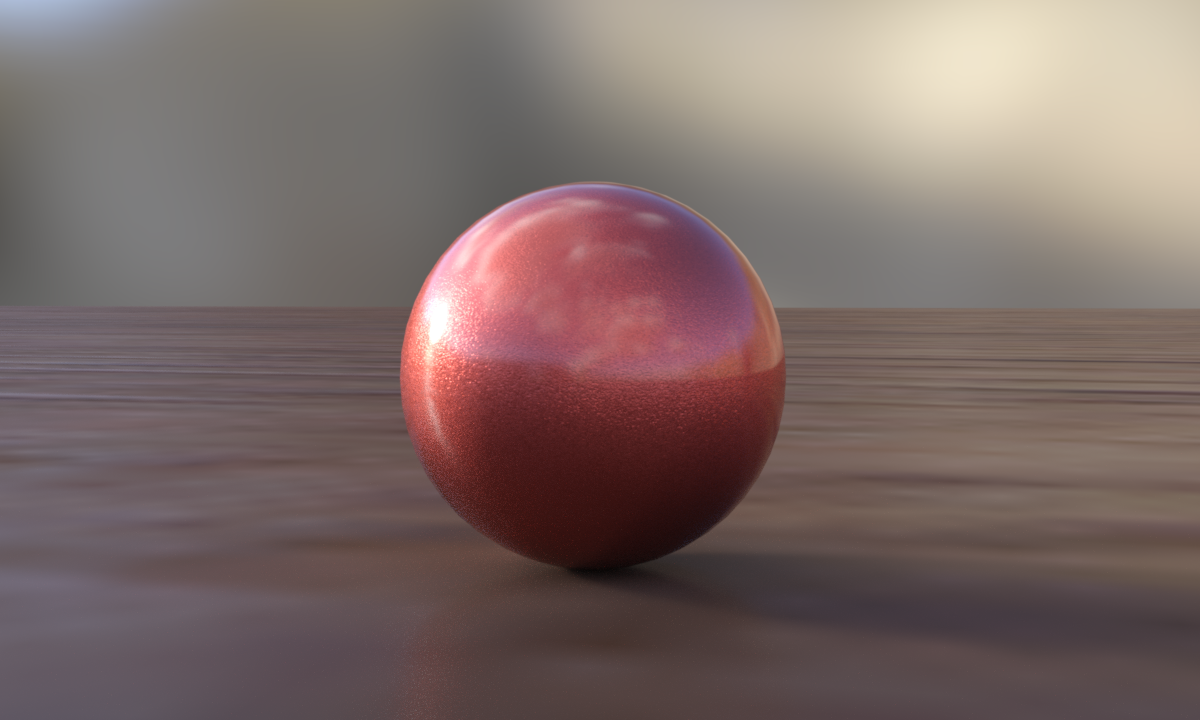
Marvelous Designer can add internal pressure to objects that are sewn together. This is great for anything that contains stuff, like satchel bags or pillows.
Let me demonstrate how to use this feature by making a simple pillow.
Marvelous Designer can add internal pressure to objects that are sewn together. This is great for anything that contains stuff, like satchel bags or pillows.
Let me demonstrate how to use this feature by making a simple pillow.
One way of making clothes in ZBrush is to paint a mask onto an existing model, and then extract that mask as a new sub tool for further sculpting. The possibilities are limitless for any object that needs to fit onto another one.
Here’s how to do it.
Dealing with ZIP files from 3D content marketplaces isn’t easy. I’ve been asked several times how to install such content, and thought this article may come in handy for future generations.
The principle is the same on Mac and Windows, however it’s slightly more tricky on a Mac because it wants to replace the whole folder rather than merge it. We’ll see how to deal with this peculiarity and have our content installed in no time!
Sometimes it’s necessary to have a 2D Texture Template for a 3D model. It makes texturing a lot easier in 2D painting apps.
While some programmes like Marvelous Designer can create the UVs, and quite clearly show them to us, there’s no easy way to export them as a flat file – akin to the one you see on the right here.
Photoshop to the rescue! All versions of Photoshop 3D and Photoshop CC can import OBJ files, and they can not only display the UV Map as an overlay, they can turn it into a new Layer for us as well.
Here’s how to do it.
While other 3D apps usually have an option to bring thickness to an otherwise flat object, ZBrush does not. Hurra.
Here’s an extremely fiddly and imprecise way to add thickness to a flat object (such as a 2D plane) using a Morph Target trick I’ve learnt from BadKing the other day.
First, bring in a flat object into your otherwise empty document. The Plane_3D primitive will suffice nicely for this demonstration. Drag it out, enter Edit mode and turn this thing into a PolyMesh 3D.
Turn the object on its side and hit Move (right next to the default Draw).
If you held down SHIFT while looking at the plane from its side, you’ll notice that you don’t see your object anymore – only the Move Tool. That’s just fine. It’s all part of the “fun” of using ZBrush. Have you used the Move Tool before? It takes a bit of getting used to. But I digress…
Click on the little blue circle on the right and you’ll see the tool change, expanding itself to the right. That’s excellent because we’ll move our invisible plane ever so slightly to the right in just a moment.
So in my screenshot, where the green line is, that’s the side of my plane. Feel free to turn the view around a little so we reveal the plane like so:
I was modelling a chair in ZBrush the other day and wanted to bring it into DAZ Studio for rendering. So I exported my chair as OBJ from ZBrush, imported it into DAZ Studio and was slightly surprised by the result: it looked more edgy, and not as smooth as it appeared in ZBrush.
Why was that, I wondered, and – more importantly – how could I fix that?
The secret sauce is called Subdivision Surfaces (SubD) and it’s easy to add to any object or figure that doesn’t already have it applied. Let me show you how to do this in DAZ Studio 4.8.
Sometimes we need to cut holes into an object. Every other 3D app under the sun would call this a Boolean Operation – except for ZBrush of course, where this problem is solved with a (totally unintuitive) DynaMesh trick.
While the ZBrush manual mentions that this is easily achieved, they’ve missed out the part on how to actually do it.
Let me explain that here before I forget (which is probably tomorrow).
In my previous article I’ve explained how to use Radial Symmetry in SketchBook Pro, and because I can never remember how to use it it Manga Studio (or Clip Studio Paint as it’s now called), I thought I’d explain it here for future reference.
The Radial Symmetry feature has been part of Manga Studio since version 5.0, but it’s slightly complex to get started with it if you’ve never used it before. Radial Symmetry is created with a Ruler Layer, so I’ll explain how to create and use one.
Here’s how to accomplish this rather daunting task:
Autodesk have recently introduced a new feature to SketchBook Pro: Radial Symmetry. While we had this feature for a while in Manga Studio, it’s much easier to use in Sketchbook Pro. Here’s how. Radial Symmetry is available to Pro members only, since version 8.1.0. From the menu bar, select the symmetry icon and click on the …
Several brushes in ZBrush insert 3D meshes into your object rather than sculpting it. Some of the default brushes are named IMM in the brush menu, but you can get dozens of others from sites like BadKing.com.au (check it out – they’re phenomenal). IMM stands for Insert Multi Mesh, and such brushes can be created …
A few months ago I ordered something from… I can’t actually remember from where, but the sender used USPS (United States Postal Service). He provided a tracking number, which usually works great, and you can keep an eye on where in the world your package is. I always find this really interesting, especially when the item travels across the US via all those destinations you didn’t even know existed.
The big day came when the status update read “Out for delivery”, which usually means it’s on my postman’s van, and I can expect the doorbell to ring any moment now.
To my surprise, said event didn’t happen, and in the evening the status had changed to “Delivery status not updated”. No package, no tracking information. What gives?
I did some investigating, and there’s a relatively simple explanation for this. Let me share it with you. First of all, here’s a screen grab of the tracking history:
Twitter have recently announced that they will stop supporting the API endpoint that allows developers to show how many times an article has been tweeted. Services such as Jetpack, Shareaholic or even the old fashioned Twitter Button can no longer display a number next to them. Although announced a while ago, on the 20th of …
Procreate 3 has been released last week. Several new features have been added, and it includes support for iPad Pro and Apple Pencil.
Sadly, as with many app updates (and to my great annoyance), things that were working perfectly fine may occasionally stop working suddenly. And we users have no way to bring back an older version of our favourite apps. Pressure sensitivity for my Pogo Connect is a good example: it was working perfectly fine before the update, but in Procreate 3 (Build 70704bb) there’s an issue.
But fret not, the team are aware of it and they’re working on a fix as we speak.
After extensive testing and community input, I found a workaround that makes the Pogo Connect play nice again with Procreate 3. I’ve posted this solution in the Procreate Forums, but I thought I’d add it here too.
Here’s what worked for me step by step. I’m using an iPad 3 with iOS 9.1, with two Pogo Connects (version 1 and version 2).
Manga Studio has a nice feature that makes colouring areas on another layer a breeze: Reference Layers. The idea is that you draw your line art on one layer, but fill in your colours on another layer. The concept is the same as the Colour Drop feature in Procreate, but Manga Studio has a few …
I’ve been very happy with the performance of Manga Studio 5 on my Surface Pro (1st generation). Today I’ve discovered that there was an upgrade to to Manga Studio 5.0.6 available and installed it. All is working fine on Windows 10!
So I thought, perhaps I’ll try it out on my Mac too. Admittedly it’s been a while since I’ve used it on my desktop, simply because it’s just not as enjoyable to draw on my Wacom Intuos than it is to draw directly on the screen of my Surface Pro. But with a bit of practice I’m sure I’ll soon get back into it. Besides, Manga Studio is an awesome weapon to have on your graphic arsenal.
To my shock and surprise though, I’ve discovered that Manga Studio (before AND after the update to 5.0.6) had a huge brush lag problem out of a sudden! Where did that come from? Last time I checked, my hardware was working perfectly fine with Manga Studio!
By brush lag I mean, “make a stroke on the tablet, and see a line appear 1-2 seconds later on the screen”. Yes, it was that bad. Unusable is the word I’m looking for.
So what changed if it wasn’t my hardware?
I tell you what’s changed: El Capitan has been released, and being the avid geek that I am, I’ve updated my quad core Mac Mini to the latest and greatest OS X. El Capitan has been very good so far… until I’ve tested Manga Studio today! Yikes! I certainly had no such issues when I upgraded my Surface from Windows 8.1 to Windows 10. There had to be a way to get rid of that brush lag on my Mac too – and I think I’ve figured it out.
On some systems it can be hard to read the plethora of menu items that ZBrush presents. It’s hard enough to find the one you need, but it’s even harder to do so without straining your eyes. ZBrush has a lovely solution that can help us, both for modelling and viewing menus: The Magnify Glass …
There is a convenient way to create seamless texture tiles in ZBrush using the oft neglected 2.5D functionality. Like many things in ZBrush, it’s extremely easy – if you know how to do it. The principle is just like the Photoshop Offset filter. Before we start, it’s probably a good idea to resize the current …
In Hexagon you can simply select a face (polygon) and hit the delete key, but things are slightly more complicated in ZBrush. Here’s how to remove one or several faces of your 3D object in ZBrush. First, select the desired polygons. In my example above it’s the flat side of a cylinder, so I’m rotating …
Victoria 7 is here! According to the marketing hype she’s “totally amazing”, but we don’t know much about her yet. Feeling finally better, I thought I’d give the new girl a spin and see how DAZ have improved upon the previous generation of Genesis 2 (which – let’s face it – wasn’t shabby at all).
New figures are fun to play with, and I’m sure over the next two years we’ll find out more about Genesis 3 than we will in the first few days. Here’s what I’ve found so far.
In the above picture we have a render of Michael 6, the standard version on the left and the HD version on the right. Zooming in closer we can see that his abs and knees for example have a lot more detail – as we’d expect from an HD version of a model.
Comparing the two Michaels in our viewport instead of the render however, we can barely make out a difference. Both figures look nearly identical (except for the belly button indentation perhaps).
So why is that, and how can we preview those HD details before we render them?
The secret lies in our viewport’s subdivision levels.
The swanky new slash screen isn’t the only thing that’s changed in Photoshop CC 2015. One of those functions that I use probably THE MOST in Photoshop is File – Save For Web. It’s been around for ages and means that you can quickly create a flattened JPG or PNG of your otherwise well-stacked and complicated …
There’s an extremely handy shortcut that allows us to export single frames from the playhead’s current position in Premiere’s timeline. It’s not available via a menu command, it’s not particularly advertised, and it saves having to go via the File – Media – Export option, potentially downsizing the original footage. Take a look at your …
Take Stephanie’s Peplum Dress and Blossom Shoes for a walk on the town with our brand new Cardozo Textures: 10 brand new outfits for the dress and the shoes, all carefully crafted with love from Miami Beach!
This gives you a total of 40 Material Presets for both DAZ Studio and Poser (via DSON Importer). This is our second release on Hivewire3D, and something tells me it ain’t gonna to be the last 🙂
I’ve rendered the promo shots using Stephanie 6 (it is her dress after all, even though it fits all the Genesis 2 Females) and Stonemason’s fantastic Streets of the Mediterranean.
In the background you’ll find 3D Universe’s Jason and Amy walking up the stairs, the Millennium Cat licking his paws and the Toon Mouse fleeing in panic (and presenting the shoe compilation too). The red bike is courtesy of Carrara.
Summer Time means Bikini Time – unless you live in Miami Beach, where it’s Bikini Time all the time. May I present with pleasure a brand new texture set from Team V:
Breakwater Textures adds 10 new Material Presets for the beautiful Frilly Triangle Bikini by Nikisatez. Take your Genesis 2 ladies out for a dip in the lake or a stroll at the beach and give the Frilly Triangle Bikini a whole new spin (watch out for little green monsters though).
The set is now available from Hivewire3D.
All the above were rendered in DAZ Studio, but separate Poser Material Presets have been carefully crafted from scratch. The backdrop was made in Carrara using HowieFarke’s beautiful Secret Lake scene, and the little green critter is another 3D Universe classic called “Monsters in my Cupboard” (both available from DAZ).
Our models are Victoria 6 (left) and Lilith (right, and in single shots), featuring textures designed by my wife Julia. Right on!
Let’s see how to use those Breakwater Textures.
Did you know that you can change the splash screen / launch image that comes up when you start DAZ Studio? It’s nothing major of course, but just in case you find the default image too distracting you can make DAZ Studio launch with something more plain, as pictured above. Head over to Preferences – …
Are the viewport movements in DAZ Studio getting you down? Does it seemingly take forever to make a small camera adjustment, despite your decent hardware? Check if Hardware Acceleration is enabled – because it isn’t by default. They do this so that most hardware will work with DAZ Studio out of the box, but they don’t …
Something that’s always been bugging me is the “frost effect” that DAZ Studio introduces on renders with depth of field. The above picture is a perfect example of it. Where does it come from, and how can we avoid it? I’ve mentioned two approaches in an earlier article that discusses how to setup depth of …
I have previously described how to render DAZ Studio Scenes without DAZ Studio. This is done by rendering to a RIB File (RenderMan Interface Bytestream), using the standalone 3Delight Studio to create the final render. The procedure frees DAZ Studio up and allows you to work on your next scene without having to wait for the render to finish.
I generally use Xender for PC for my file transfer needs, but I’ve been looking for ways to transfer such RIB files to another computer which does not have the content or even DAZ Studio installed, and I think I’ve found another one!
When used as described in my previous article, DAZ Studio creates a RIB file that references temporary files as well files on the local system. Neither of those can be used on a different computer because they most certainly don’t exist. This means your render will likely be missing a few textures.
There’s a handy command line tool that will collate all those files needed to render the image. The drawback is that – depending on the size of your scene – this may result in a rather large file (1GB or more). However the approach is great if you’d like to render that super long animation for several weeks without blocking your regular office computer.
Here’s how to do it.
If you’ve read my previous article about rendering DAZ Studio files without DAZ Studio, you already know that I’m big fan of batch rendering my images. For this I mainly use the excellent Batch Render Script by Draagonstorm. It allows me to queue up several scenes, and while I do something else, DAZ Studio will load up one after the other and render like a champ.
Windows users have a special treat that can have the same script create a .bat file, allowing the 3Delight standalone renderer to work on a batch of files without using DAZ Studio. Mac users don’t have such luxuries, and will still “block” DAZ Studio until all renders in the batch have finished.
I have good news: for the hackers among us, we can create such a batch queue on the Mac manually, using a simple Shell Script. In this article I’ll show you how to do it. Some Mac/Linux command line experience is necessary to follow along.
To apply a carefully crafted Layer Effect in Photoshop to more than one layer or group, we can save it to the Styles Swatch for easy access later. It’s that little palette I never quite take seriously – mainly because it’s impossible to decipher which effect does what from the tiny preview icons.
Nevertheless, the styles palette is a handy tool to bring back such effects in other documents. Great for things we use on a regular basis. In the above image for example, the Layer Effect is the white border around each small inset image, as well as the drop shadow. Next time I create such a collage I may want to bring the same effect back with a single click. I can do that by using a style.
Here’s how to save a Layer Effect as a Style in Photoshop.