Latest Articles

The navigation at the bottom lets you see older posts

Getting started with UV-Unwrapping in Blender

Unwrapping UVs is tough – no matter in which application (apart from ZBrush perhaps, where everything else is really difficult). Here’s how to get started with UV Unwrapping in Blender.

Load an object and make sure you’re in Edit Mode. This is only allowed with a single object selected. Disable any subsurface or smoothing that’s applied on the object so that we have less vertices to work with.

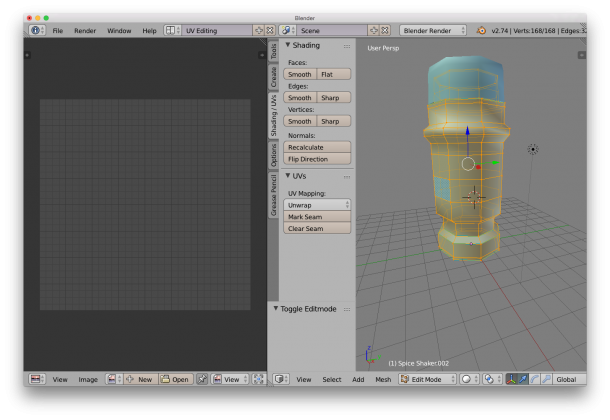
Next switch to the UV Editing workspace (UV View on the left, 3D view on the right). It looks something like this:

Screen Shot 2015-05-10 at 17.13.19On the right hand side, make sure the Shading/UV tab is showing – it contains some vital tools for this endeavour. Choose edge selection and start marking seams for your unwrap. It’s easy to ALT-RIGHT-CLICK to select edge loops, or use the Select Menu for more funky options. 
Read more

How to use the 2D Symmetry Tool in Hexagon

Hexagon has a 2D Symmetry Tool that allows us to mirror curves and other 2D shapes. It works a treat, it’s just not very intuitive to use. Try it out: select the curve or 2D object you’d like to mirror and select the tool. It’s under Lines, the icon with two quarter circles and a line in the middle. You’ll …

Read more

Filed under: Categories 3D Tagged as: Tags

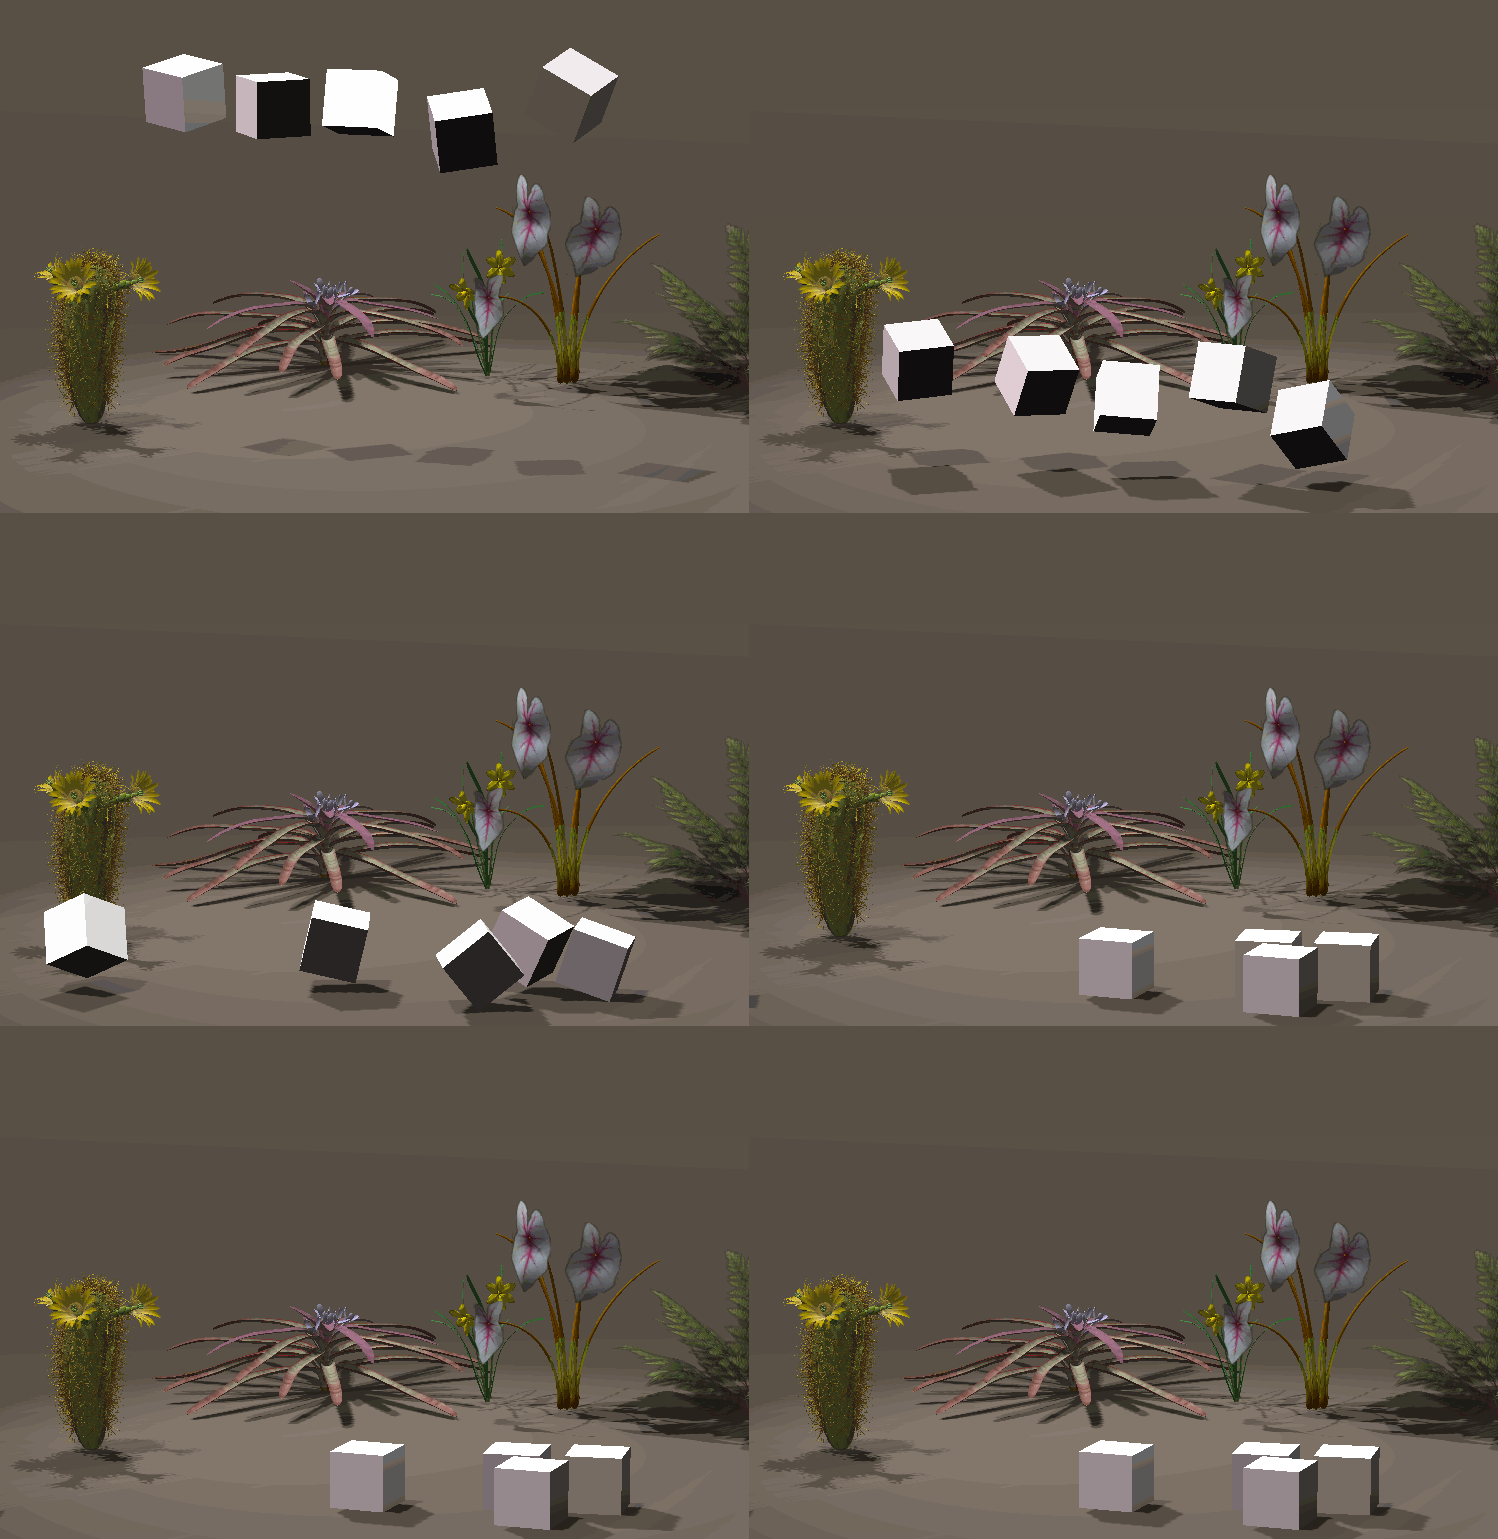
Getting started with Bullet Physics in Poser

RigidBody2

Bullet is an open-source physics engine which was integrated with the release of Poser 10 and Poser Pro 2014. It allows us to use soft and rigid body dynamics in our scenes.

Rigid bodies are solid objects that do not deform when they collide with other objects. Think of bowling pins that are hit by a ball. Soft bodies on the other hand deform upon impact, like cloth or rubber.

I had always assumed that Bullet Physics has something to do with projectiles being fired from guns, perhaps for use in game engines. Turns out that it’s just the name of the engine itself, which is also part of many other 3D applications like Blender.

Here’s a quick overview on how to use this thing in Poser.

Read more

How to create primitives in Poser

Primitives are simple 3D objects such as cubes, spheres, planes and cylinders. Most 3D applications can create them – but Poser cannot. Therefore, trying to hunt for a menu such as Object – Create Primitive will be in vain. Hence, you cannot create a primitive in Poser. At least not that I know of. There …

Read more

Filed under: Categories 3D Tagged as: Tags

How to import 3D objects into Manga Studio 5

There is a (completely undocumented) way of importing 3D objects into Manga Studio 5 scenes. While you won’t find this described in the handbook, or even anywhere on the menu, it does work – if you know how. This works with both the EX version and the non-EX version of Manga Studio 5. It’s as …

Read more

How to remove old renders in Poser

Poser likes to keep old renders around in what it calls the Render Cache. It allows you to pull up a previous render and compare it to another one. In the Render Tab, at the bottom of the screen, you’ll find a black and a white triangle icon that let you select previous renders. But …

Read more

Filed under: Categories 3D Tagged as: Tags

How to join or connect objects in Hexagon

The Bridge Tool allows us to join two parts of an object together, either by selecting polygons or vertices. Simply select the parts of each object to be joined, then hit the Bridge Tool under Vertex Modelling. You can also select the Bridge Tool, then select both faces or points in question and hit validate. Predictable …

Read more

Filed under: Categories 3D Tagged as: Tags

How to use the Edge Tools in Hexagon

We can do rather amazing things using the Edge Tools in Hexagon (under Vertex Modelling). The options are slightly confusing though: The first option is a combination of the 2nd, 3rd, 4th and 5th option. You can create a new edge, extract inwards, outwards, filet around or move existing edges of your object. Here’s how to use it: select …

Read more

Filed under: Categories 3D Tagged as: Tags

Bayside Textures for Victoria 6 String Bikini – now available at Renderosity

Main-Bayside-Promo

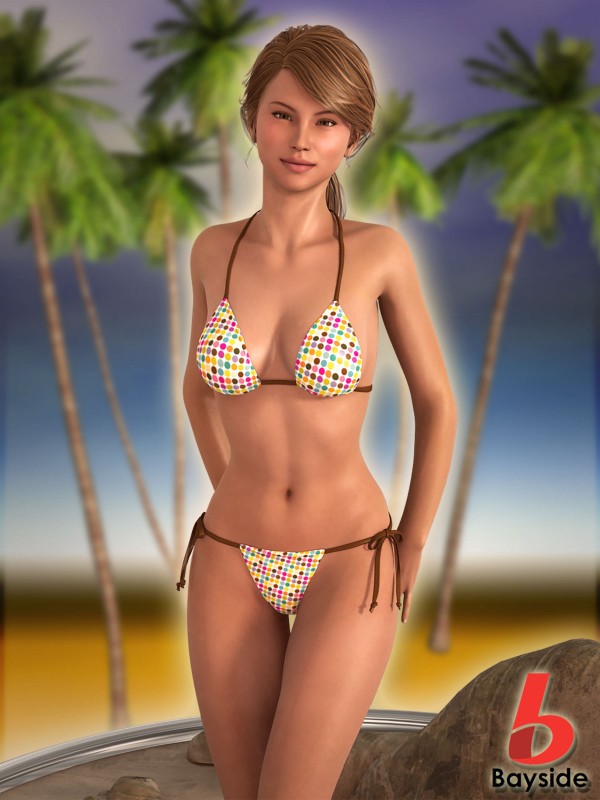
I’m very pleased to say that a texture pack I’ve made for the V6 String Bikini is now available on Renderosity.com! It’s called Bayside Textures, adding 12 beautiful new materials for both DAZ Studio and Poser users (the latter thanks to the DSON Importer).

This is my first ever Renderosity product – and hopefully not the last 😉

Most of the patterns were created in Manga Studio back in 2013, and it took me two years to turn this into a product. As my wife says, better late than never.

Read more

How to change Node Selection Highlighting in DAZ Studio

When you hover over any object in your DAZ Studio scene, surfaces highlight orange by default. This is a nice feature, but it can get annoying when all you see is bright orange and you can’t see any other objects anymore.   DAZ Studio 4.7 and earlier In DAZ Studio 4.7 and prior, this behaviour …

Read more

How to change the background colour in DAZ Studio 4.7

Contrary to what the documentation wants you to believe, and unlike DAZ Studio 4.6, the background colour can no longer be changed from the Viewport Properties menu at the top right. In DAZ Studio 4.7 and 4.8 the option has moved to Window – Style – Customize Colors. There’s a whole lot we can amend here, …

Read more

How to setup shortcuts to load figures in DAZ Studio

Even with Smart Content it can be tough to find a single figure from your library. If you find yourself loading a particular character a lot, you’ll be pleased to hear that there’s an easy to way to setup shortcuts on the menu bar for such things. In this article I’ll show you how to …

Read more

How to apply a Shader in DAZ Studio

Shaders are an important component in many 3D applications, but I never knew that DAZ Studio understood that concept too. I was under the impression that the relatively simple Surfaces Tab would be how to tweak what an object looks like. Turns out, DAZ Studio has Shaders! And here’s how to apply them. Pay attention …

Read more

Getting started with UberEnvironment in DAZ Studio

UberEnvironment is a shader based light, available exclusively in DAZ Studio. It brings image based lighting to DAZ Studio when using the 3Delight render engine. It has been around for a while, but it has been a bit of a mystery to me for the last 6 years. I think I’ve finally grasped some of its basics – time to write them down before I forget.

Unlike traditional lights in DAZ Studio, UberEnvirnoment creates a sphere in the scene onto which a HDR image is projected. The sphere itself then emits light, creating some very realistic looking ambient light. UberEnvironment can be used on its own or in combination with other lights for nicely balanced results.

Historically, the UberEnvirnoment product had to be purchased through DAZ by a vendor named omnifreaker. It has since been updated to UberEnvironment2 and is now included for free in DAZ Studio 4.x (as part of the “Default Light and Shaders” – make sure this installed).

The product itself is difficult to find in the Smart Content tab because it appears mixed in with some other scary items. It’s much easier to access it via the Content Library tab: navigate to

  • DAZ Studio Formats – My DAZ 3D Library
  • Light Presets (not Lights!)
  • omnifreaker – UberEnvironment2

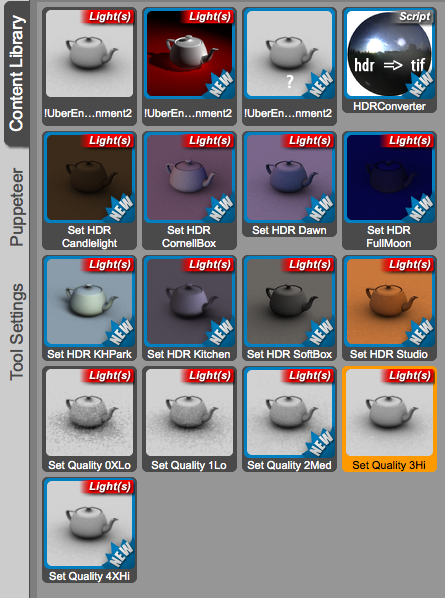
You’ll find the following icons:

Screen Shot 2015-04-28 at 16.00.47

Read more

How to disable Image Grids in Carrara

You know those grids in Carrara that often get in the way? Those that only appear in the viewport and not in the final render. The ones that show you the outlines of your objects in yellow: Sometimes you can’t see your scene with too much clutter. And I keep forgetting that there’s a super …

Read more

Filed under: Categories 3D Tagged as: Tags

How to reload image textures in Blender

We often have to tweak images in an external application while they’re already applied to a 3D object. To see our changes in action, it is necessary to reload the textures in Blender. Few applications detect such changes automatically (which is sad – because it’s not exactly rocket science to implement this). To do this, change …

Read more

How to use Background Images in Blender

Reference images are helpful for modelling objects or to add simple backgrounds to scenes. There are at least two ways in which we can add them in Blender. Adding Background Images One way to do it is via Background Images. On the tab next to the Properties Palette (expand it with the little plus icon …

Read more

How to use Blender as a simple Render Farm for animations

Blender has a bafflingly simply way to let several computers render the same animation. Render Farms are usually setup in a way that one machine is the “master”, and the others are declared “render slaves” that each render a single frame or even a single bucket of a frame. The master then assembles everything into a …

Read more

How to drape cloth in Blender

Cloth2

Blender has an excellent physics engine that can simulate cloth – among a great many other things. Blender does this using a modifier: all we have to do is declare one object as being “the cloth”, and other objects as the ones colliding with the cloth.

Let’s see how in this quick example.

Read more

Grouping and Parenting in Blender

If you’ve used grouping or parenting in other applications, it may throw you off guard how Blender thinks about those things. A little explanation is in order to bring clarity to our cluttered 3D minds. Usually we can group objects together so that when we select one object, all others in the group are selected at the same …

Read more

How to render with Depth of Field in Blender Render

Blender-DOF

The Blender Render Engine uses postwork to create a depth of field effect, much like Carrara does. The advantage is that after a long and complex render, depth of field can be applied after the fact without having to re-render.

I must admit that rendering with depth of field in Blender is not for the faint-hearted – I thought it’s best to take some notes while I still remember how it works (using version 2.7.3). Note that this will only work for the Blender Render Engine, not for Cycles.

Read more

How to render Motion Blur in Blender

Motion Blur is the illusion of moving objects in still images. 3D applications create this effect usually by rendering several images of an animation and mixing them together as a blend effect. This is in contrast to an ordinary still image in which everything appears is focus as if it was shot with very fast film …

Read more

How to constrain an object to a Motion Path in Blender

Carrara has a concept of Motion Paths. Those are bezier curves to which another object can be constrained during animation. I’ve described how to use them in this article. Blender has the same concept: create a curve (any curve will do), then add a Clamp To constraint to your object using the curve. Here’s how …

Read more

How to create keyframe animations in Blender

Keyframe Animations work a little differently in Blender than in other packages I’ve used. It all makes sense and is very intuitive – but I fear I might forget this, so here’s a quick guide on how animations work in Blender. At the bottom of the interface is the standard timeline. Move the green line …

Read more

How to speed up rendering times (or improve quality) with 3Delight in DAZ Studio

It’s easy to reduce rendering times in DAZ Studio with 3Delight at the expense of quality. Likewise, it’s possible to greatly improve the rendering quality with the same setting: the secret lies in the Shading Rate Slider.

On the Render Tab, under Render Settings, take a look at a lone slider called Shading Rate. The default is 1 and it produces a good compromise between speed and quality.

Screen Shot 2015-04-15 at 17.56.00

The higher the Shading Rate is set, the lower the quality of the image is – but at the same time, render times speed up. This is great to get an impression of the overall scene without having to wait ages.

Conversely, the lower the Shading Rate is set, the higher the render quality is as a result – which increases render times, but gives a very nice quality boost. It’s easy to overlook this setting!

Here are some example renders. Click on the images to see the full resolution at 1920×1080. No postwork was applied. The scene is Stonemason’s Tin Pan Alley with the Genesis Troll.

Shading Rate 1 (Default) – Render Time: 1 minute

Troll-SR1-1minThe default setting gives a good compromise between quality and speed. I always wondered how to make such a render look better.

Read more

How to apply textures in Blender (with Blender Render)

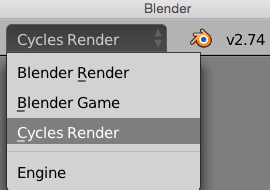
Adding textures in Blender depends on which render engine is used. In this article I’ll discuss how to do this for Blender Render. I’ll explain how to do this with Cycles in another article. It’s easier to make a texture appear in Blender Render. Make sure it’s selected as the render engine at the top of the …

Read more

How to assign Materials in Blender (Blender Render)

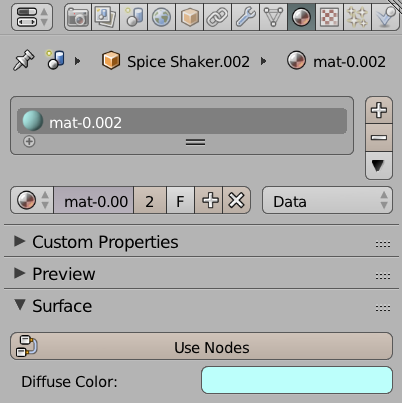
Materials are closely related to Textures in 3D modelling: they describe the surface properties of an object, or parts of an object. Which colour it has, if there are any texture maps applied, how shiny it is, how rough it is. That sort of thing is described via Material Properties. Other 3D applications may call them Shaders or Surface Properties.

Blender calls them Materials, and here’s how to assign properties to them. The actual properties you get depend on which rendering engine is used: Blender Render or Cycles. I’ll stick with the traditional Blender Render in this description. I’ll discuss how to do this for Cycles in this article.

Select an object and head over to the little shiny ball icon in the Properties Palette on the right hand side. The icon is located between and upside-down triangle and a checkerboard icon.

Screen Shot 2015-04-15 at 14.34.41

By default Blender creates a default grey material. Feel free to amend it, or add a new material to this list by clicking the little plus icon to the right of the materials list. This  creates a new slot. Now click Create Material to proceed.

Screen Shot 2015-04-15 at 14.40.56

Give it a nice name, then pick a Diffuse colour to change the appearance of your entire object. You’ll even see a nice preview of your new material.

Screen Shot 2015-04-15 at 14.45.54

See where it says Lambert? Pick something else and see the effect. This describes the basic reflective properties of your object – it’s a Blender internal thing, so it won’t matter when you come to export your object for use in another 3D application.

Read more

How to point the camera at an object in Blender

Other 3D packages usually have a camera setting that allows us to “point at” an object. This can be either part of a scene or a null object which doesn’t show up but can be animated. The idea behind this is that no matter where you move the camera, it will always frame your object of …

Read more