Blender 2.79 Archives

Using Blender on a Laptop with a Trackpad

After futzing CentOS 7 on my old Samsung Q330 laptop, I thought it would be fun to see if the old hardware from 2010 would be capable of running Blender. After all, the team have recently added CentOS as a new pre-built package to the list of downloadable options, and for me that was the perfect opportunity to try it out.

Turns out my Q330 only runs OpenGL Version 2.1, which means it can’t run Blender 2.8+. However it’s still capable of running 2.79, and it made me smile to see it full screen.
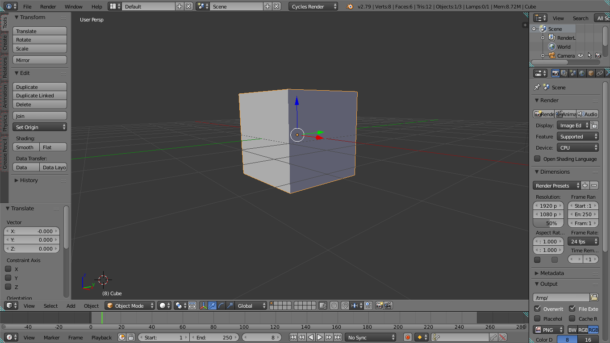
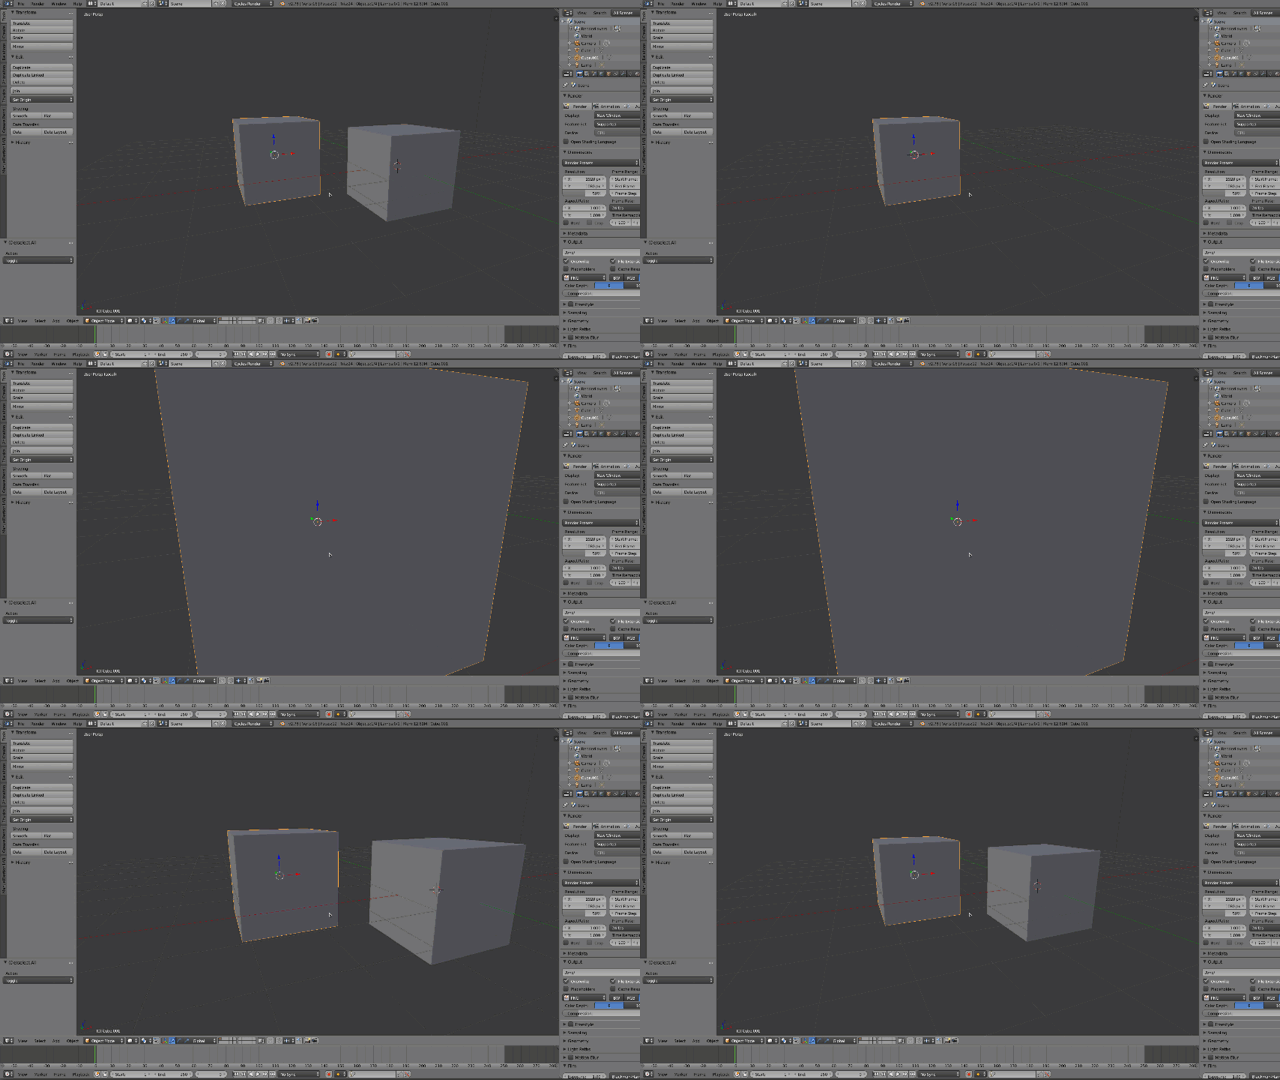
Of course trying to move anything on the screen proved to be difficult, because I had never done that before with a standard trackpad. My Mac has one, and it behaves beautifully with gestures out of the box, but I guess Windows and Linux users don’t have that luxury, even if a trackpad is present.

How do we navigate 3D space in Blender then, if there’s no mouse nearby? Well I’ve just found out, and I’d love to share it with you. I’ve only been able to test this in Blender 2.79, but I’m assuming
Read more

Shattering my Logo in Blender – 3D Shenanigans #15

On this week’s live stream I’ll take my 3D Shenanigans Logo and shatter it into pieces, to build a creepy backwards animation using the Cell Fracture add-on in Blender 2.79. I’ll start by explaining how the tool works, then we’ll move on to building the logo from scratch, add materials, and then we’ll build something …

Read more

Animating Numbers with Blender and DAZ Studio – 3D Shenanigans #12

In this live event I’ll show you how to create 3D Text Objects in Blender 2.8, then bring them in to DAZ Studio to animate and render. We’ll animate a single number first, then apply the same animation to the other numbers and add small variations using aniMate. Other than that, I’m happy to answer …

Read more

Adding Materials to our Objects in Blender (Cycles)

In this episode I’m giving our objects some colour with simple shaders: I’m making the grass green, give the ground an earthy brown and add a shiny golden touch to our logo. I’m also covering the logo with another replicator, simulating an interesting effect. This is part 4 of a mini series about how to create …

Read more

Replicating an Object with Blender’s Particle Emitter

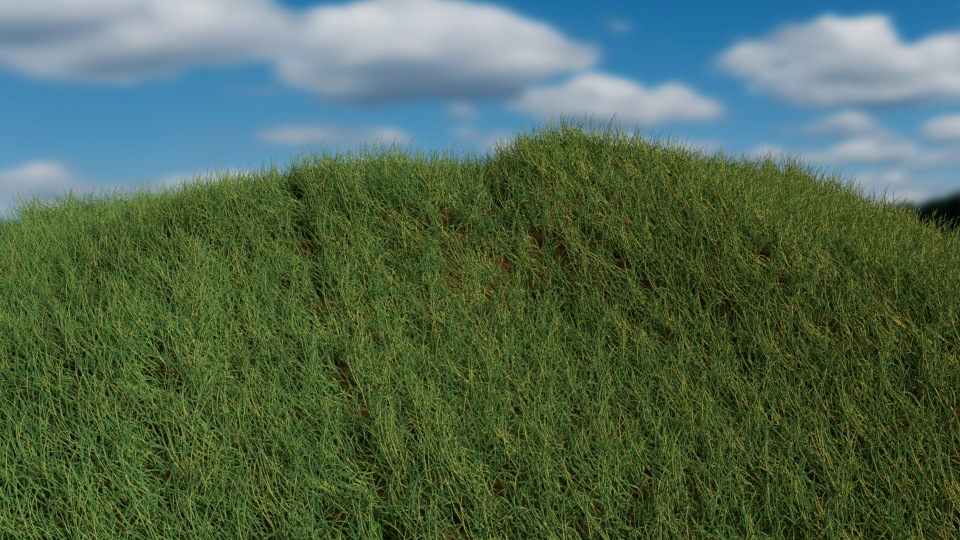
In this episode I’m building several simple grass stalks and replicate them along a plane using Blender’s Particle Emitter. I’ll talk you through the scary options we need and explain some of the concepts in using the Particle Emitter as an Object Replicator. This is part 3 of a mini series about how to create a …

Read more

How to turn a Raster Image into a vectorised SVG in Photoshop

The other day I wanted to convert a logo into a path, so that I could use it as a shape in Blender. It was in fact the WordPress logo that was provided as a PNG or PDF from the WordPress Branding section.

The trouble was, both the PNG and the PDF are rasterised, and as such cannot easily be used for an extrusion in 3D as an SVG file would. The question then was, how do I convert an image into an SVG in Photoshop, so that I could import it into Blender?

It took a bit of fiddling, but here’s how I did it.

Quick introduction to SVG Files

SVG files can actually contain three types of data:

  • Vector Graphics, such as paths (which is what we want)
  • Raster Graphics, such as bitmap images (which we have, but don’t want)
  • and Fonts

What I needed in Blender was indeed a Vector Path. Although the other two data types can be contained in an SVG file, Blender can only read path information at the time of writing. It makes sense too, because really I’d like to the path information available as a curve in Blender, not the potential raster or font information.

I’m mentioning this here because

  • a.) I didn’t know this, and
  • b.) importing an SVG containing either fonts or raster graphics will import nothing into Blender – which had me stumped.

Thanks to cegaton on Blender Stackexchange for this explanation!

Hence, for Photoshop to export vector data instead of raster data in our SVG file, we need to jump through a few hoops – but it is possible. Let’s see how!

Read more

How to create Text Objects in Blender

In this episode I’ll show you how to create text objects in Blender, modify font and extrusion properties, and how to turn a text object into a proper mesh. https://www.versluis.com/wp-content/uploads/2018/08/Blender-Text.mp3 Podcast: Download (Duration: 10:52 — 10.0MB)

How to create DAZ Character Morphs with Blender

In this video I’m demonstrating how to export a character from DAZ Studio, apply a geometrical change in Blender, and import that change back into DAZ Studio as a Morph Target.

First we’ll prepare and export a Genesis 3 character (Eva 7) as OBJ. Here are the steps I’m using in the video:

Read more

How to import an object as Shape Key in Blender

Blender stores Morph Targets as Shape Keys. Those can be accessed and created in the palette that resembles the Flux Capacitor icon (it reads Data when you hover over it).  To store one object’s shape in another one as a Shape Key, do the following: import both objects into Blender SHIFT-select both objects make sure …

Read more

Exporting assets from DAZ Studio to Blender (and back)

In this episode I’ll show you how to export assets from DAZ Studio to Blender and back, at a consistent scale and orientation. The default Blender export preset in DAZ Studio is broken, hence the workflow requires a bit of tweaking and knowledge on how Blender thinks about units and scale (which I’ll also show …

Read more

How to setup a Height Shader in Blender

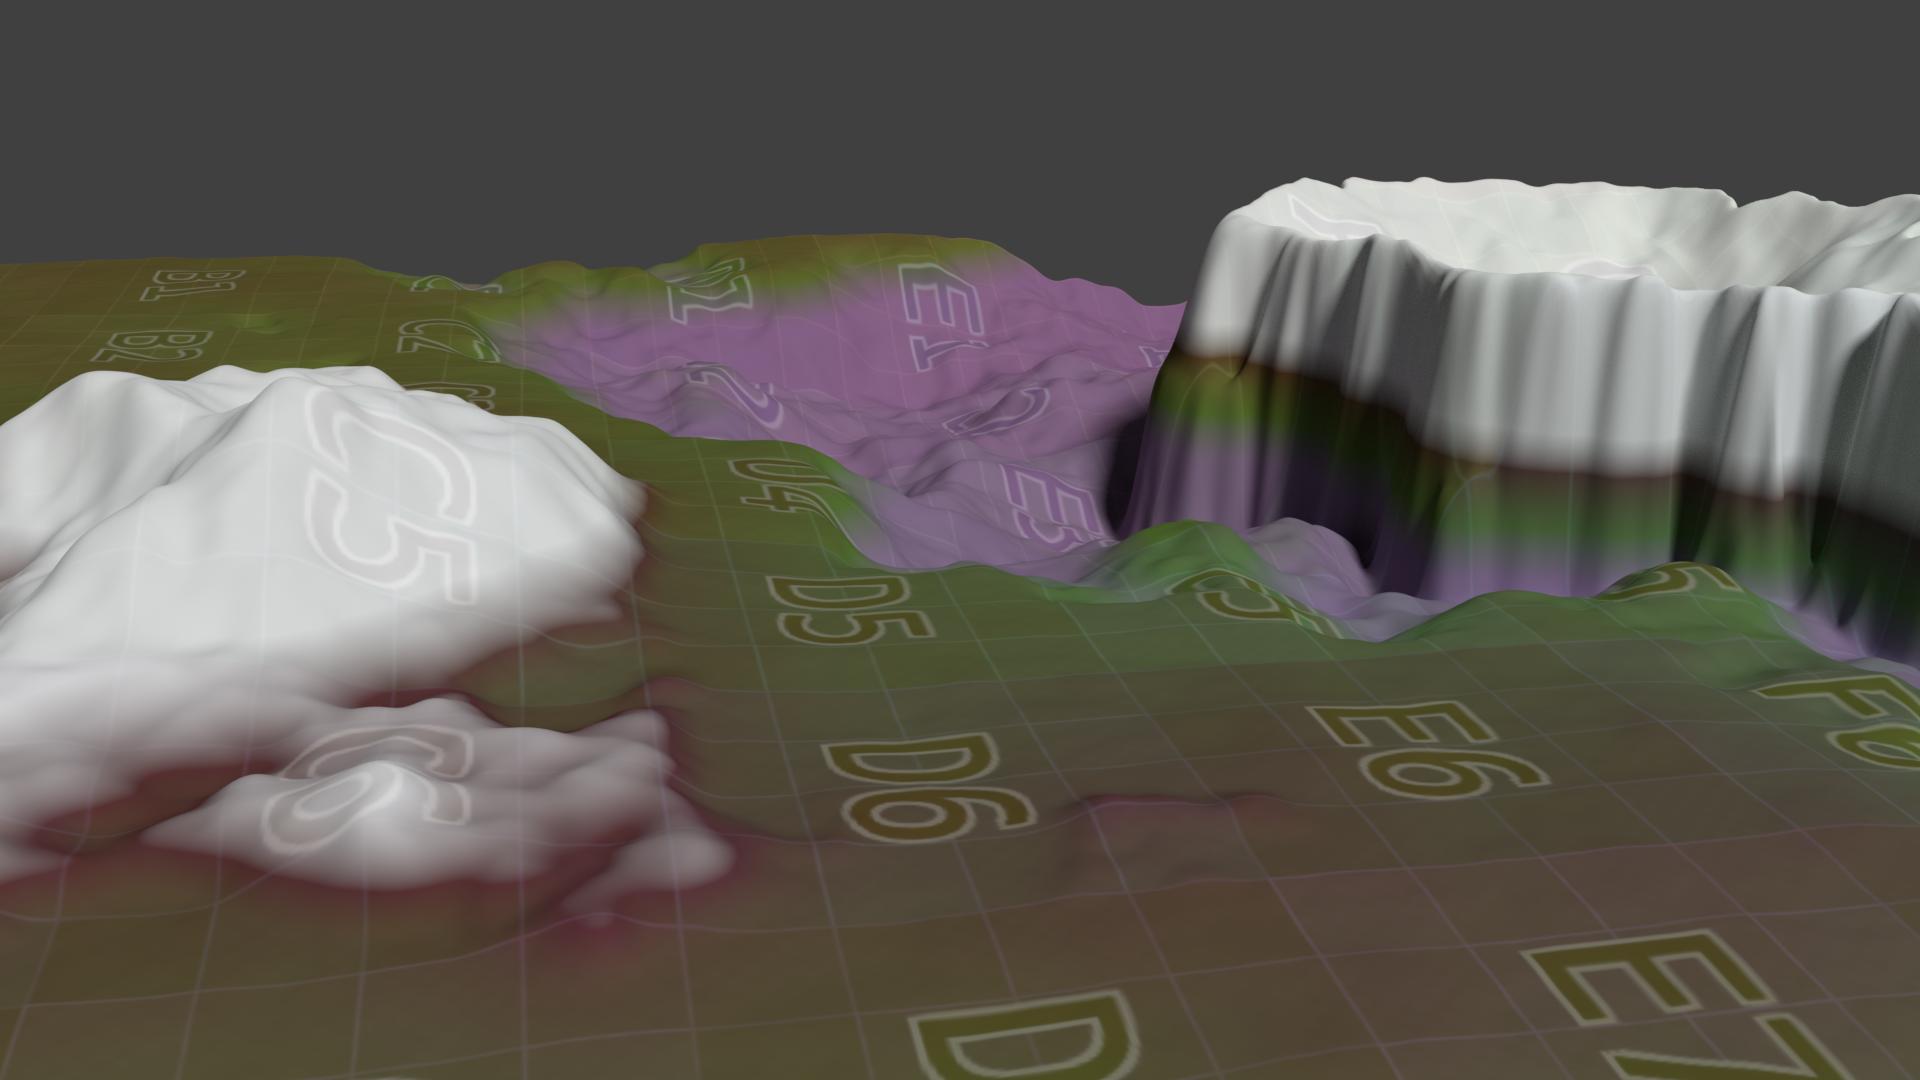
While we were discussing how to generate a terrain in my previous post, the next question is of course how to we give our terrain different colour values depending on its height. For example, at the very top of our terrain we may have snow covered mountains. Slightly further down we have yellowish rocks on …

Read more

How to apply textures in ZBrush

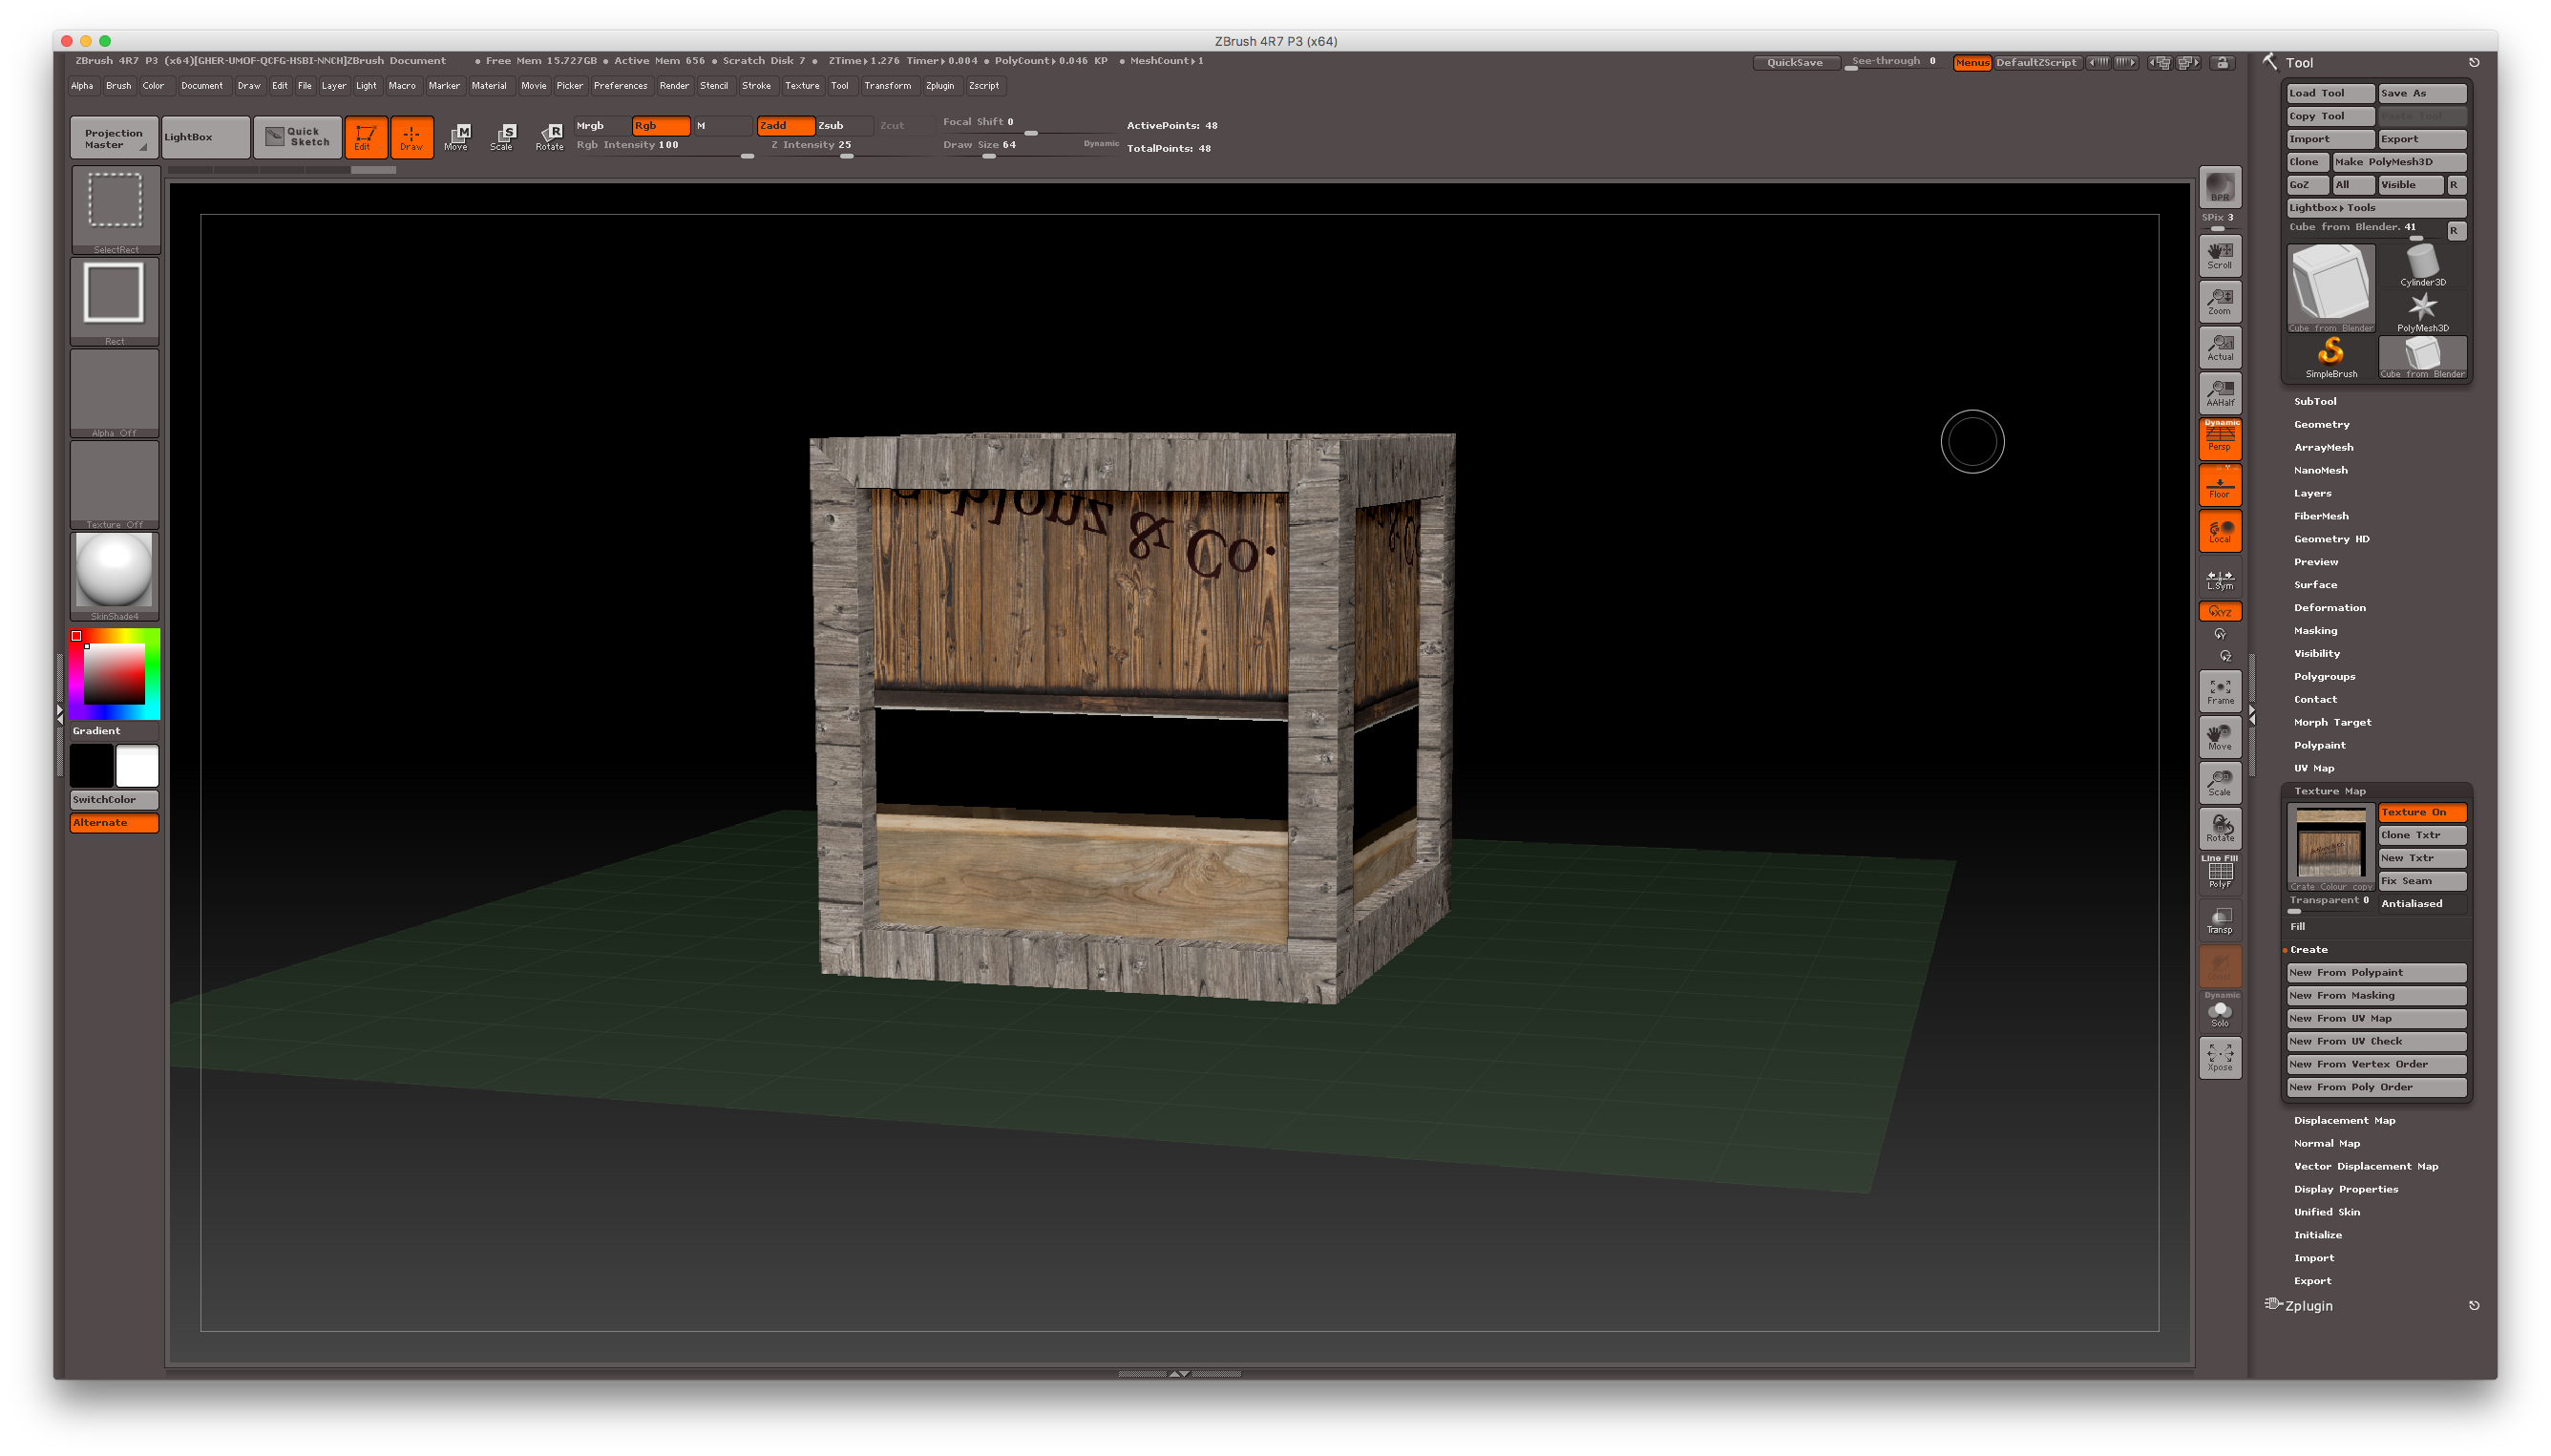
I was trying to import a texture into ZBrush from an object I had created and UV mapped in Blender. The above shows an example of such an object, looking all nice and dandy in Blender.

However, when I imported it into ZBrush (after figuring out how to do that), I was shocked to see how ZBrush displayed my texture. Take a look:

That’s neither funny nor necessary. I’ve tested the same principle in DAZ Studio, Carrara and Poser and they all played ball, displaying the texture without a hitch. Only Hexagon wanted the texture flipped vertically, but – just like Carrara – offered handy tick boxes as to which direction an imported texture needed to be mirrored.

Zbrush also has such an option, but it’s not next to where you select the texture.

In this article I’ll show you how to import and apply a texture in ZBrush, to an object that has been created and UV mapped in another application. Let’s do this step by step:

Read more

How to map a keyboard shortcut for Local View in Blender

I’ve just learned that Blender has a wonderfully helpful function called Local View. This will isolate a selection, zoom in on it, and hide all other items in the scene. Using Local View again will bring back all items as they were seen before.

Thanks to Darrin Lile for this tip!

We can execute Local View with the default keyboard shortcut “Numpad /” (the division operator on your numpad) – but of course that only works if you have a numpad. On my Windows system I have one, but sadly on my Mac and my laptop I do not.

In this article I’ll show you how to map this shortcut to another key. Let’s get started!

Read more

How to select every other vertex in Blender

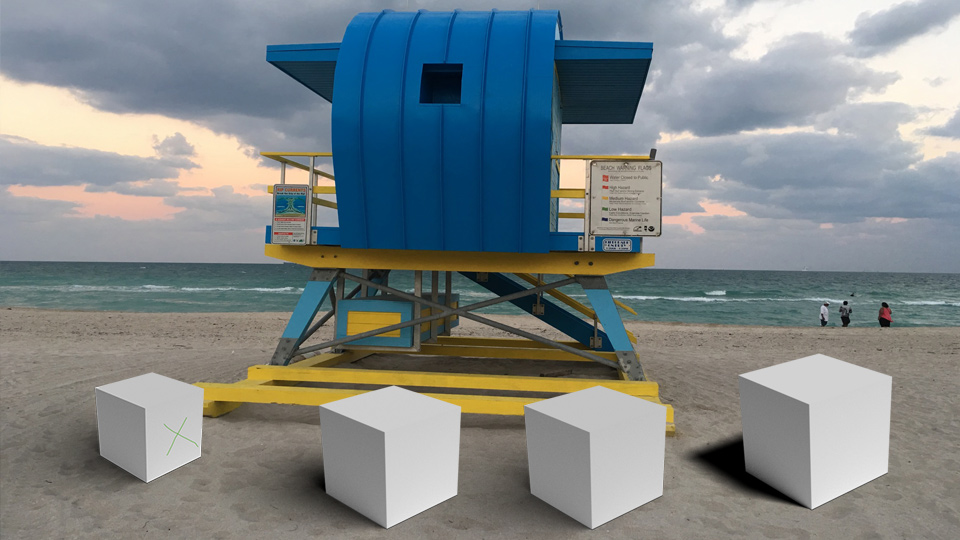
Hexagon had a really nice nth-selection tool (1 over n it was called). With it you could select every other vertex or edge or face, creating things like the star shaped pattern above. You’ll be pleased to hear that Blender can do this too! Rather than select every other point though, Blender likes to deselect instead. …

Read more

How to render “Manuel Bastioni LAB” characters without purple skin in Blender

I recently discovered the Manuel Bastioni LAB add-on for Blender. Judging it only by the title you’d never guess it’s an extravagant people generator of the highest caliber! Bastioni was working with the folks from MakeHuman for many years, but The LAB is his own project.

In a nutshell, it creates ready-to-use characters, complete with poses and morphs, as well as many other complex goodies. And as with many complex things, rendering can take a while. I tend to prepare a scene on one machine, transfer it to a faster system and let it render while I setup the next scene.

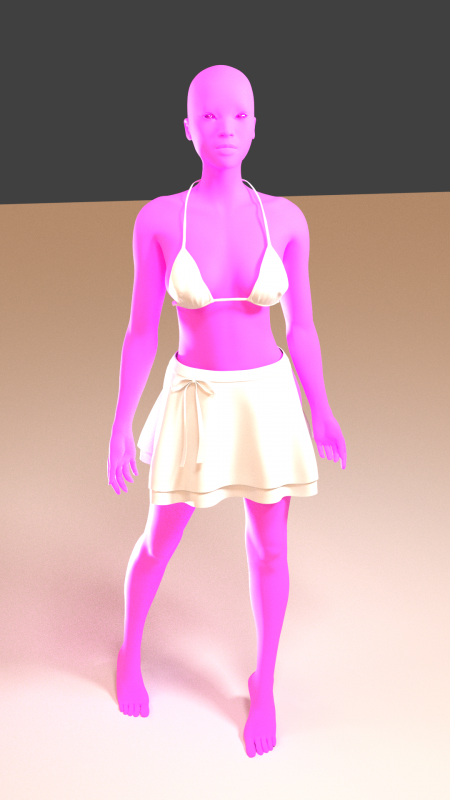
This workflow usually works a treat with .blend files, but not necessarily with those containing Manuel Bastioni characters. Turns out the skin has a good chance of looking alien purple. Quite a nice effect, but perhaps not all the time.

Lucky for us, knowing why this happens will help us understand how to fix the problem. It’s not a bug, just a question of which box to tick when saving those files. Let me show you which box that is and how to avoid the purple skin effect.

The Purple Skin Phenomenon

Read more

How to create a translucent shader in Blender (Cycles)

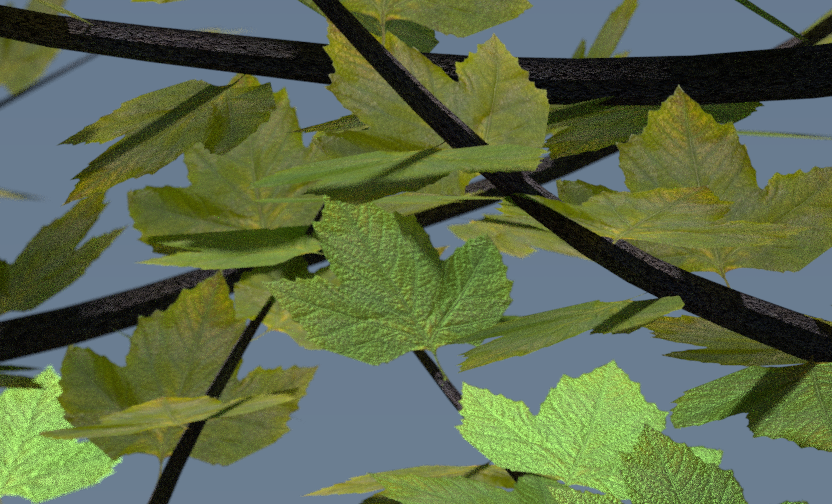
By default all our 3D objects are opaque, meaning light does not pass through them. Like a brick wall. But many objects in reality let some amount of light through, like a piece of paper or a glass of lemonade. This partial transparency is called translucency. In the picture above, light passes through the leaf, …

Read more

Why I joined The Blender Cloud

Blender LogoYesterday, while I was receiving my 13th chemotherapy shot at the hospital infusion suite, I’ve spontaneously joined The Blender Cloud.
Full of pride I mentioned this on Twitter, and Ton Roosendaal asked me to sum up what got me on board in one tweet. That’s not an easy feat, considering what the Blender Cloud has to offer, and the more I thought about it, the more reasons sprang to mind.

Here’s why I did it (in slightly more than 160 characters).

Read more

How to create a transparency shader in Blender (Cycles)

screen-shot-2016-11-21-at-14-03-09

Texture files can have a transparency value, and as such we’d like to use it on occasion with 3D objects. The above image is created using flat square leaves, onto which an image of a leaf is projected. Outside the leaf, the area on the PNG file is transparent.

Here’s how to create a Cycles Shader in Blender that will show only the leaf and not the surrounding area of the texture.

Read more

How to make a texture repeat in Blender (Cycles)

Sometimes we need a seamless texture to repeat on an object without the help of Photoshop. That’s possible in Blender’s Node Editor, albeit not exactly intuitive. We need to add both a Texture Coordinate node, as well as a Mapping node to our shader to make this happen. Here’s how to do it: setup your texture …

Read more

How to grow grass on a landscape in Blender

I have previously grown some grass on a terrain in Carrara, and thought I’d try the same in Blender. I didn’t know much about how to do this, but the approach is very similar in Blender.

Like with my Carrara approach, I’ve modelled a few grass stalks from a cylinder first. Those are then replicated over a larger terrain. Neither a replicator nor a terrain generator exists in Blender, so here’s how I did it.

Read more

How to flip or rotate a texture in Blender

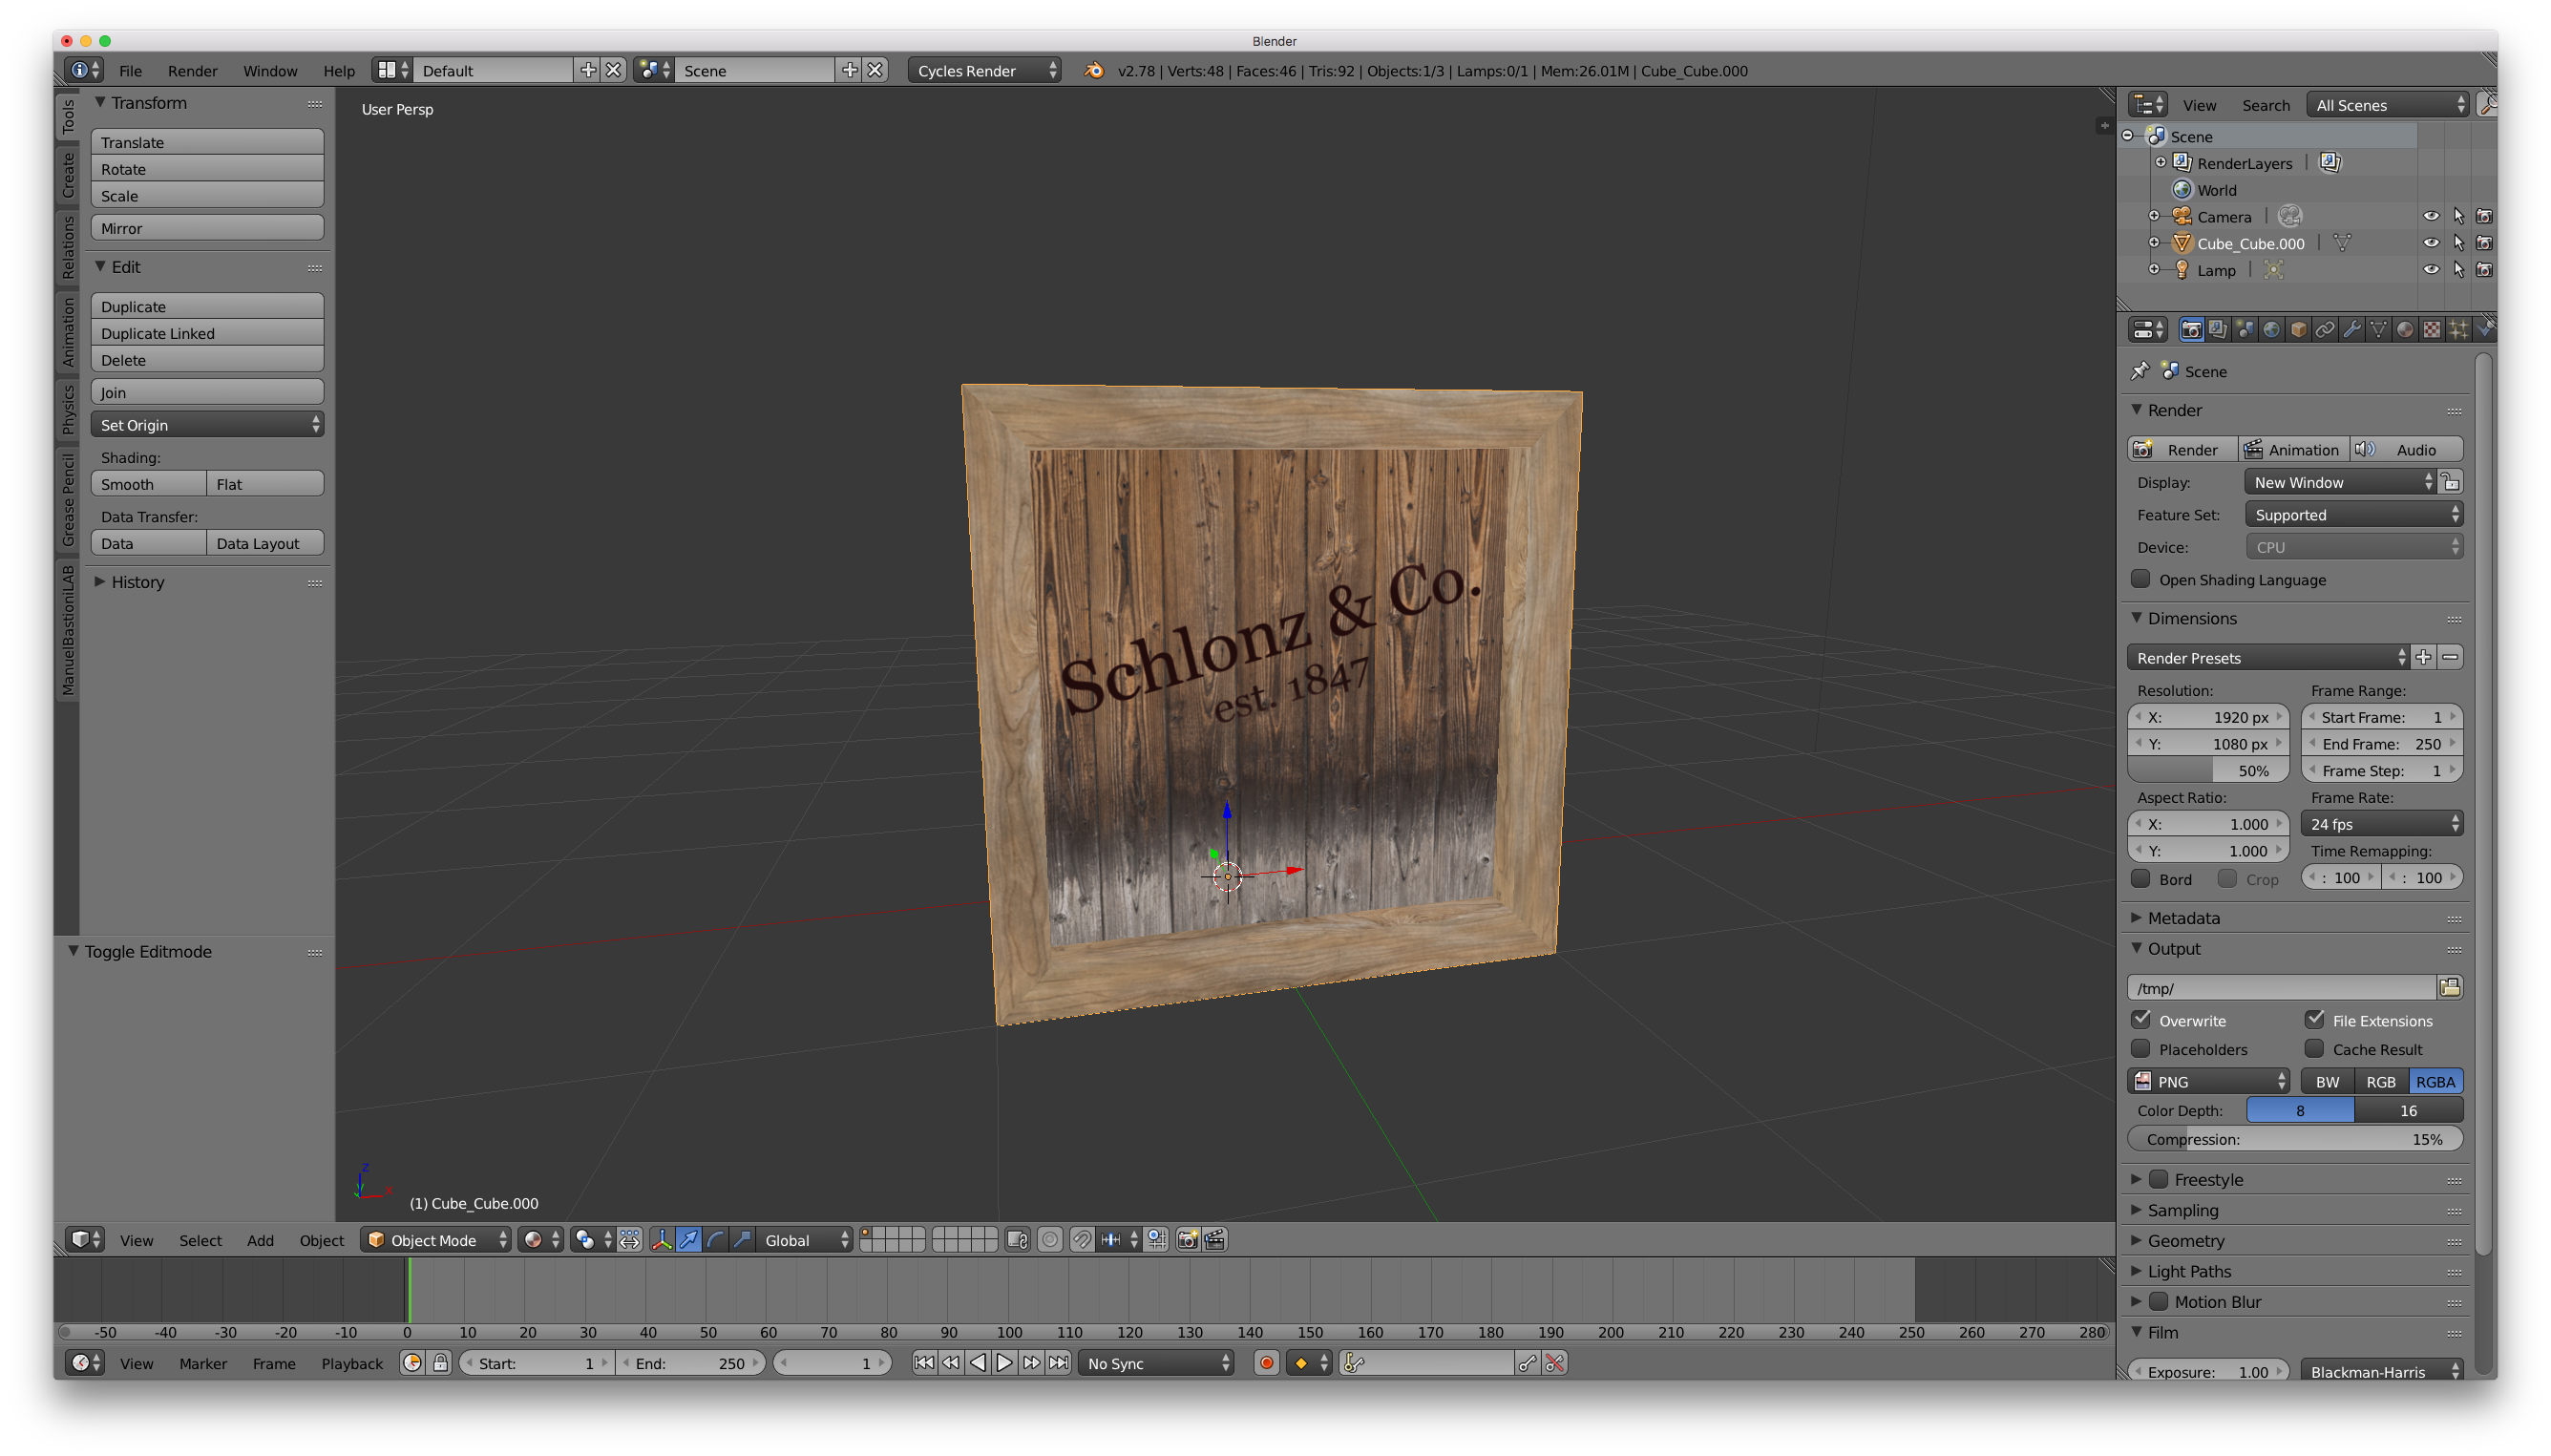
When you’re UV unwrapping in Blender, it can sometimes happen that a texture doesn’t show the way you had intended it to. Instead it may appear rotated or mirrored (flipped). Take the above example of a simple frame with a picture in the middle. When I originally added the texture file after unwrapping, the crab …

Read more